How to Replace a Trailer Plug
Overview
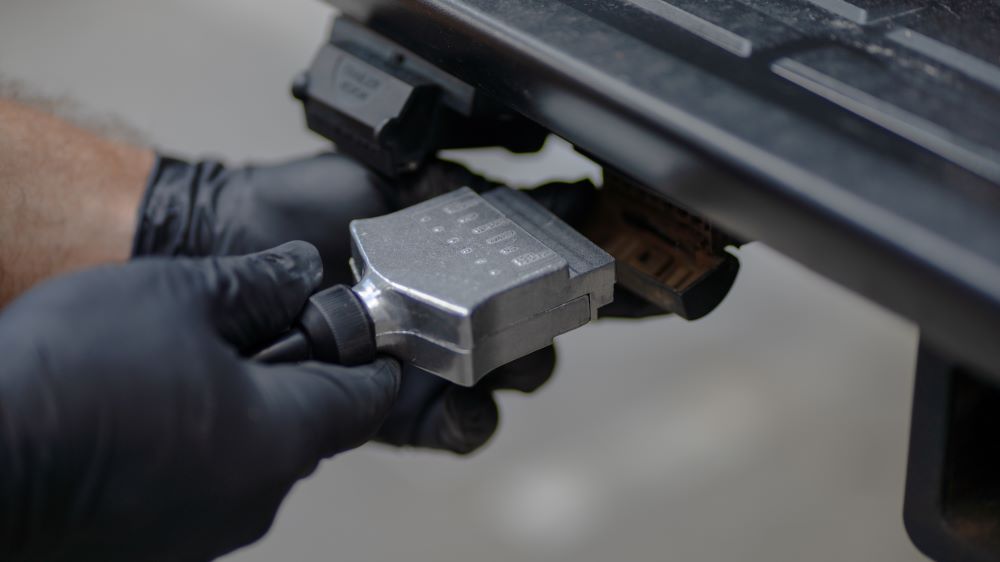
There’s nothing worse than getting ready to use your trailer and discovering the lights don’t work. Maybe you’ve bought a new trailer, only to find its plug doesn’t match your car, or you’re doing some routine maintenance and need to replace an old, worn-out plug.
Trailer plugs are a critical part of keeping your trailer safe and roadworthy, ensuring proper connections for lights, brakes, and other essential features. In Australia and New Zealand, you’ll commonly come across three main types of trailer plugs:
While most trailer plugs are 12V, vehicles imported from North America or Europe may require different setups, sometimes even 24V systems.
Knowing which plug type your trailer uses and ensuring it matches your vehicle is crucial for a hassle-free and safe towing experience. Whether you’re repairing, upgrading, or adapting, understanding these common plug types will help you hit the road with confidence.
You may also need to repair or replace your Trailer Wire, we have a full DIY video on which can be seen here.
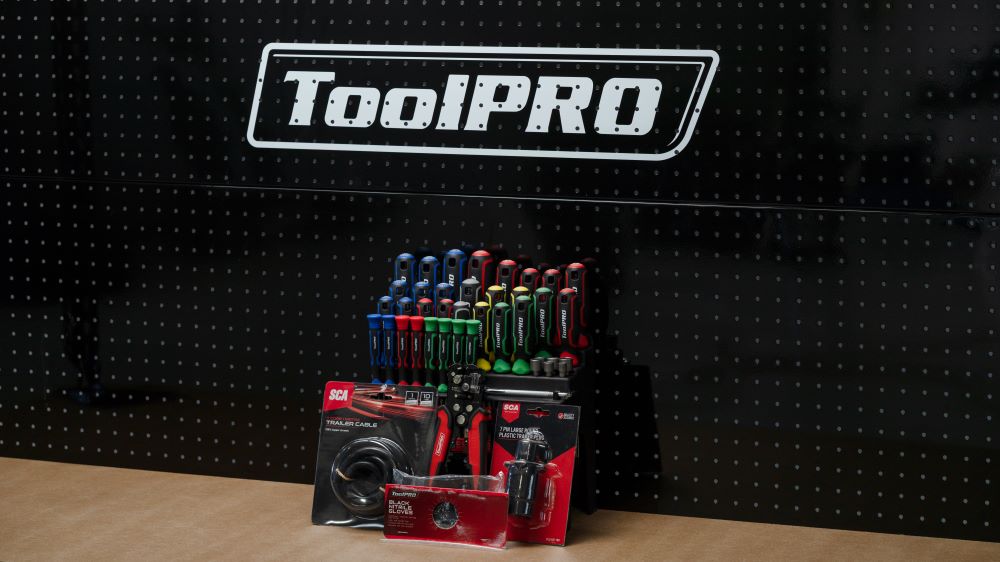
Items
If you have experience with DIY projects, you may already have all the necessary tools on hand:
Steps
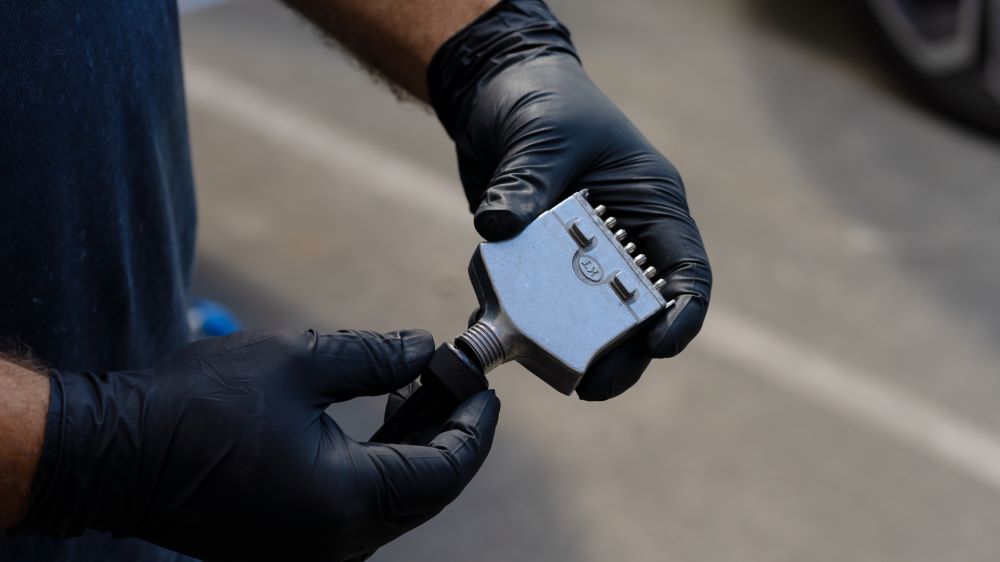
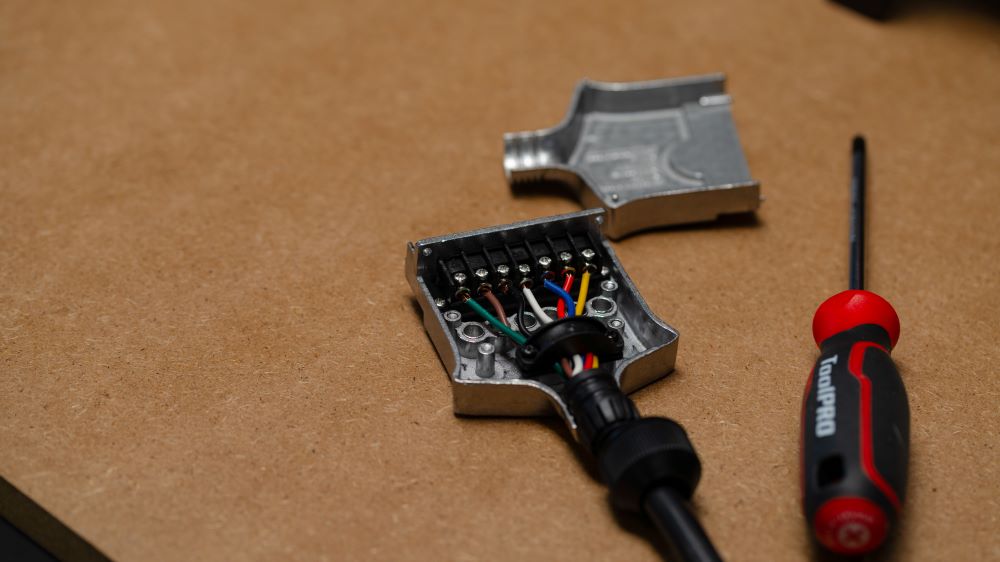
Remove the trailer plug
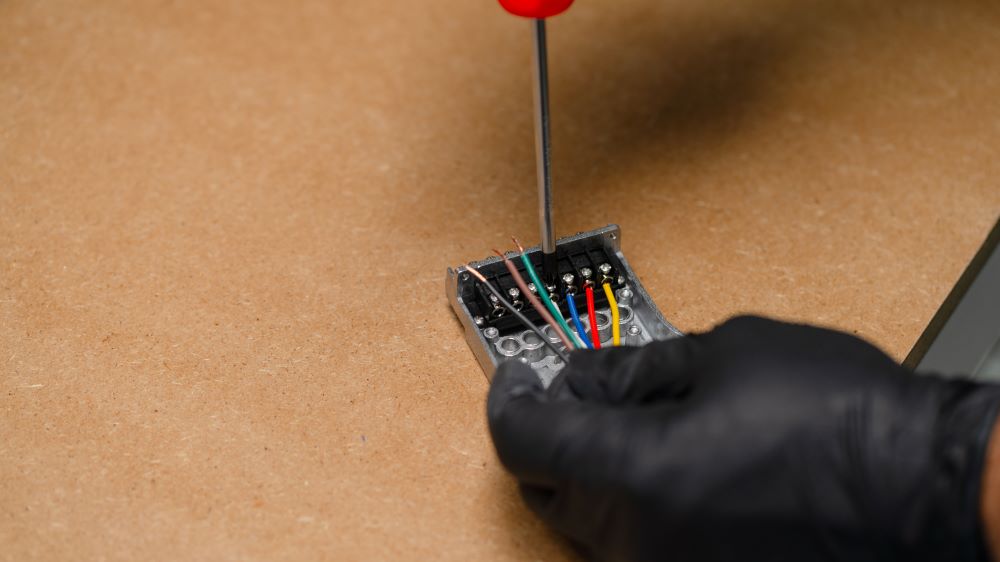
If your trailer is older, it may have had a repair job done on it in the past. Remove any electrical tape wrapped around the wires or plug. Use a screwdriver to remove the screws in the plastic cover, usually just two screws. Some plugs, like the one featured in this article are ‘screw end’ instead of two screws. These can be opened by unscrewing and sliding the end down the wires. This will reveal the inside of the plug and expose the wires. Most flat plugs also have an extra clamp holding the wires in place; remove this as well.
Prepare the new plug
If you’re unsure which plug you need, bring the old one to Supercheap Auto, where a team member can assist you. Follow the same steps as above to open your new plug and remove the clamp. Once it’s opened, carefully thread the wires into the plug. If the wires are too short or damaged, you may need to add some new wire. For guidance, check out our DIY guide on how to solder and join wires.
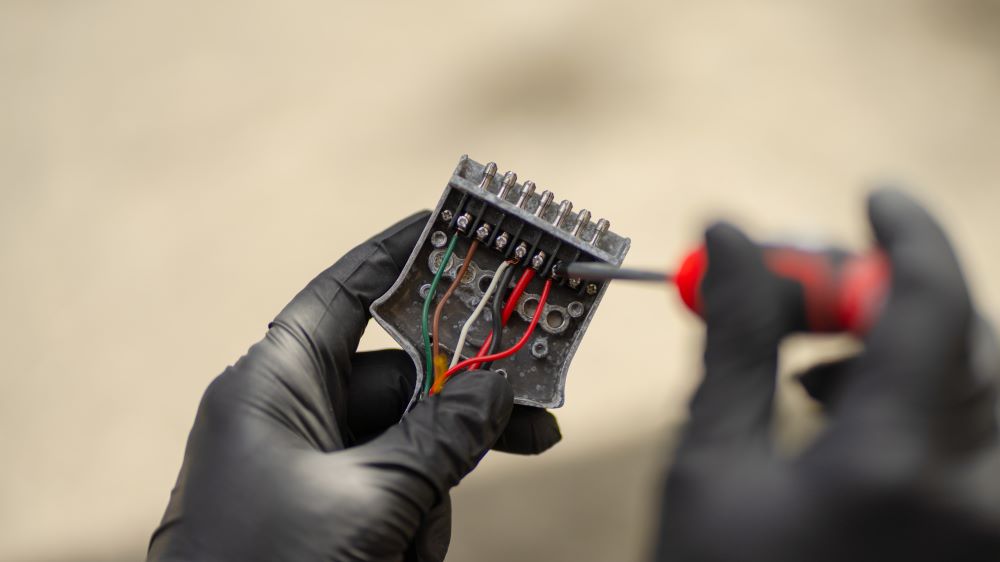
Reattach the wires
Untangle the wires to make it easier to connect them to their respective points. If the wire ends are frayed or uneven, trim and strip them to ensure a clean, tight fit.

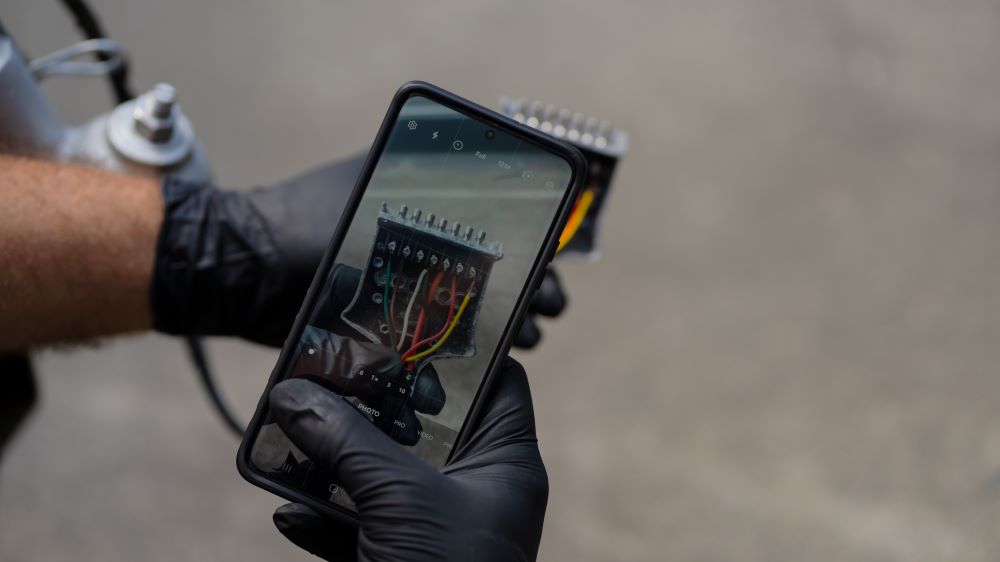
Refer back to the photo or notes you took earlier (or the trailer plug wiring diagram on the plug packaging, perhaps even below in this article, SUPER!) to reconnect the wires to the correct pins. Ensure each connection is seated fully.
Test Your Work
Before heading out, test all lights and features to ensure the plug is functioning correctly. Just like that, you’ve replaced your trailer plug, solved your electrical problems, and avoided any nasty fines for non-functioning lights. Now you’re ready to hit the road safely and confidently!
Safety Tips
Before starting, ensure the trailer is unplugged from the vehicle, and avoid working on live wires to prevent electric shocks or short circuits. Use insulated tools and wear gloves to protect your hands from sharp wires or corrosion. Check all wires for damage, cutting away frayed sections, and refer to wiring diagrams to ensure accurate connections.
If the trailer is attached to a vehicle, secure it on a level surface with the parking brake engaged to prevent movement. After installing the new plug, test all lights and features in a safe area before driving. Dispose of old materials responsibly, and if you’re unsure about any step, seek advice from a professional.
FAQs
Trailer Plug Wiring Diagram
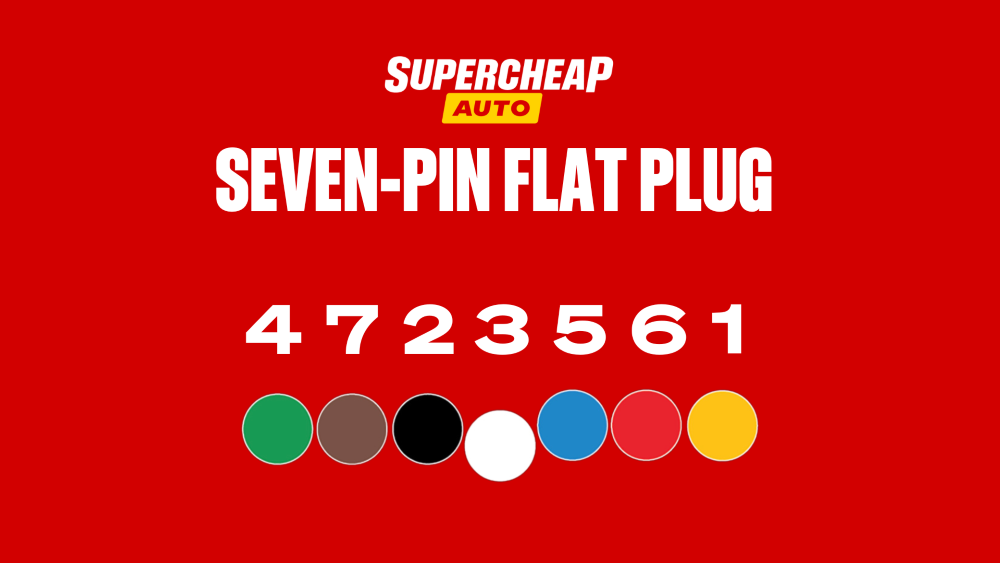
The pins in a trailer plug each have their own use and the wires must run to the correct pin to function correctly. Below you will find a seven pin flat plug diagram, seven pin round plug diagram and a 12 pin flat plug diagram. It is essential that the wires are connected correctly to avoid any issues like non functioning lights, features or electrical damage.
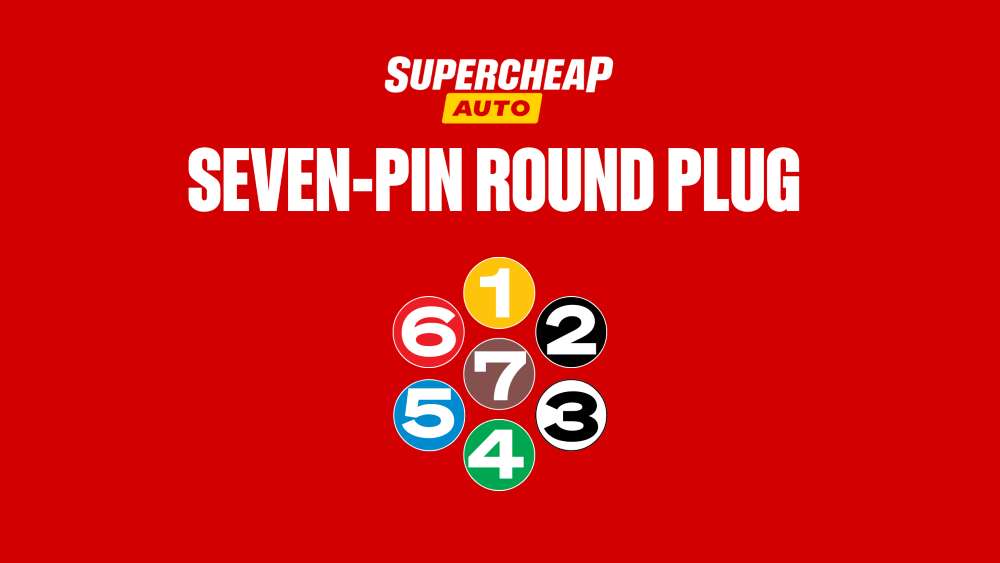
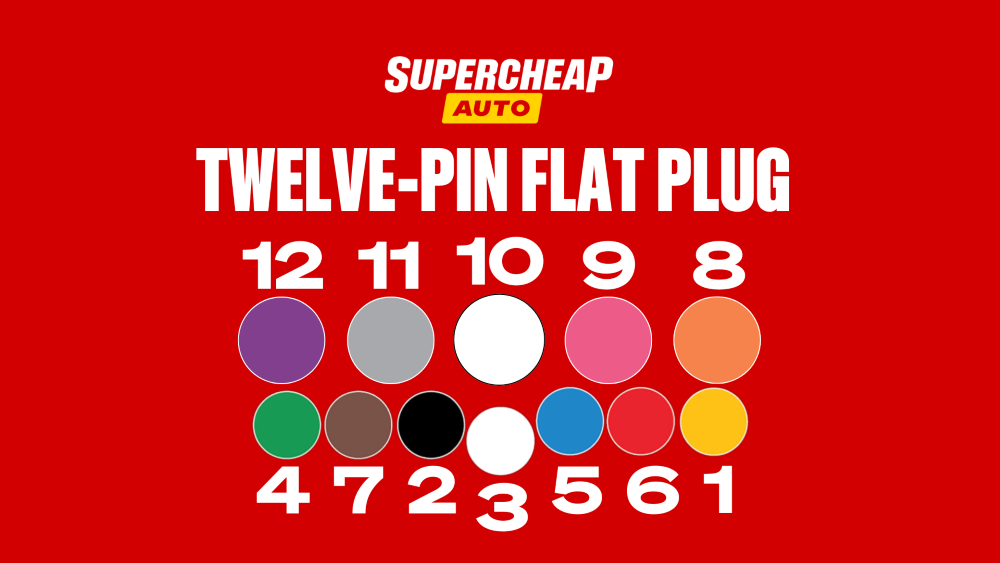
Which wires do what & where do they go?
1. YELLOW: Left Indicator
2. BLACK: Reversing Signal
3. WHITE: Earth
4. GREEN: Right Indicator
5. BLUE: Service Brakes
6. RED: Brake Lights
7. BROWN: Rear, Clearance & Side Marker lights
8. ORANGE: Battery Charger/Winch
9. PINK: Auxiliary/Battery Lead
10. WHITE: Earth
11. GREY: Rear Fog Lights
12. VIOLET: Auxiliary
Do I need to remove the plug to convert to a different plug type?
Yes and no. If you want a more permanent conversion it’s highly recommended to replace the plug with the type you want to convert to. If you’re just looking for a temporary fix, or don’t feel like doing a full conversion we have a large selection of trailer plug adapters available in store and online.
*Important information* - Click here to read more about our DIY Advice Terms and Conditions.