Hydraulic Jack Maintenance
Air trapped in the hydraulic system of a jack is one of the most common causes of failure, but it’s not a permanent problem, not by far! With just a flat head screwdriver you can have it working like new again in minutes.
Air becomes trapped in a jack mostly during transport, hence even the brand-new jack you just picked up from the store must have the following proceedure performed prior to first use. Air can also get mixed up if the jack is tilted on unusual angles, or just when topping up the oil. Here’s how to fix it.
Note:
When performing maintenance on any of these hydraulic jacks, never touch the overload protection underneath the orange caps. These are set from the factory and will never need adjusting.
If your jack has become spongy and is failing to lift with the pump of the handle, you may have air trapped in the hydraulic system. This can occur after shipping and handling or after topping up with oil.
Luckily fixing this issue isn’t difficult to fix and only requires purging the air from the jack. As well as purging, we’ll also show you how to perform an oil refill to ensure that your hydraulic jack gives years of trouble free service.
Hints & Tips
When performing maintenance on any of these hydraulic jacks, never touch the overload protection underneath the orange caps. These are set from the factory and will never need adjusting.
Small Hydraulic Trolley Jack
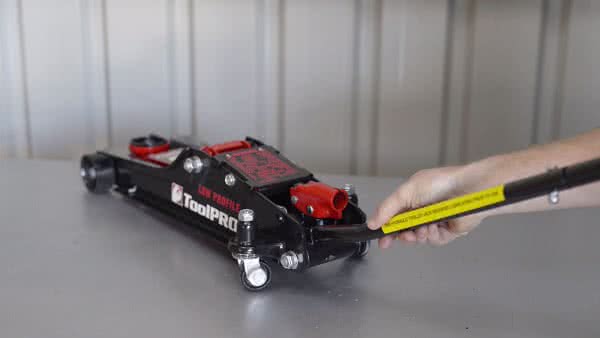
Step 1: For smaller jacks, start by opening the release valve and completely lowering the jack.
Step 2: Next, remove the black cover plate on top of the jack to access the hydraulic ram. Beneath the cover plate, and on top of the ram is a small rubber grommet. This is the oil filler plug.
Step 3: With the release valve still open, pump the jack handle rapidly several times.
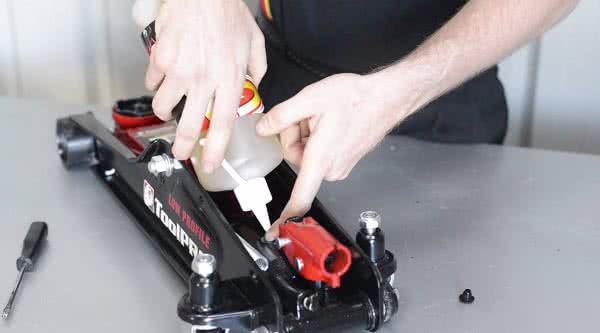
Step 4: Now slowly pinch the oil filler plug to release the trapped air. There may be an audible hiss as the air escapes, and take care not to completely remove the plug.
Step 5: Close the release valve and check the jack for proper operation. In some cases, the air purge process may need to be repeated a few times - to achieve the best result.
Step 6: To refill, simply remove the oil filler plug, and top up with hydraulic jack oil.
Large Hydraulic Trolley Jack
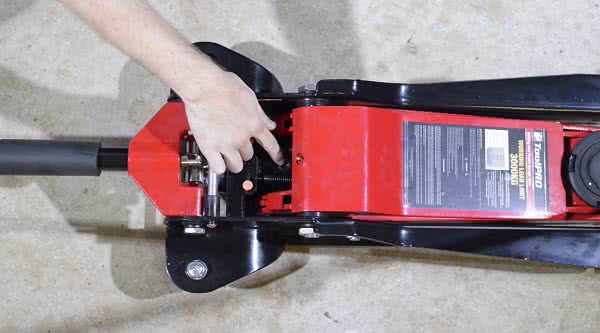
Step 1: On larger hydraulic jack models, twist the handle to open the release valve - and completely lower the jack.
Step 2: Pump the jack several times with the release valve still open, and then leave the jack handle in the downwards position.
Step 3: Locate the screw in filler plug on the oil chamber and loosen this just enough to allow the air to escape.
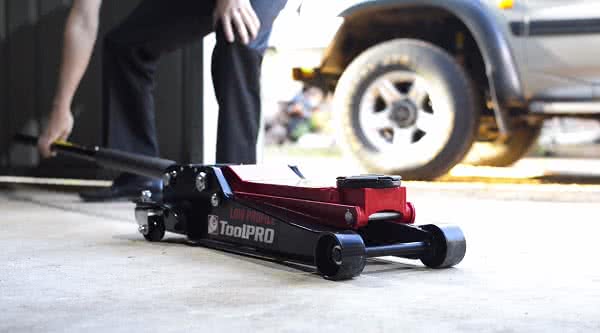
Step 4: Now tighten the filler plug and check the jack for proper operation. As with the smaller models, the air purge process may have to be repeated for maximum efficiency.
Step 5: As with the smaller models, the fill plug can be removed to top up or replace the hydraulic oil.
Bottle Jack
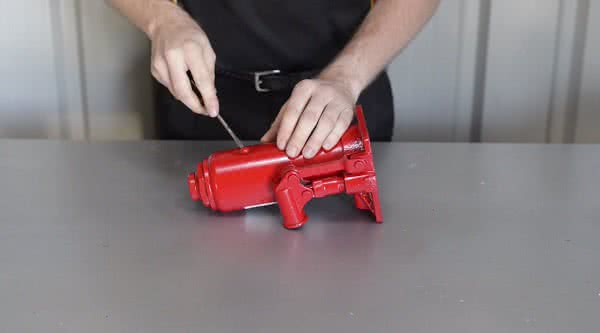
Step 1: Purging air from a bottle jack is similar to the small trolley jacks. Start by loosening the release valve, and pumping the handle a few times.
Step 2: Then, tip the bottle jack over so that the oil fill plug is facing upwards, and the unit is level.
Step 3: Push the oil fill plug sideways with a flat screwdriver to allow the air to escape, be careful not to damage the plug. As with all hydraulic jacks, the air purge process may have to be repeated for maximum efficiency.
Step 4: If you’re adding oil to the bottle jack, completely remove the fill plug and fill the jack until oil is level with the filler plug hole - when the jack is upright.
Bottle Jack
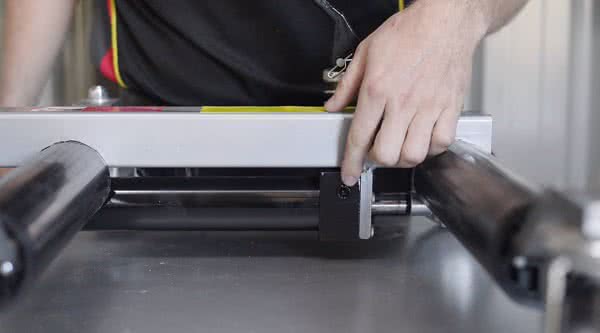
Step 1: Start by loosening the release valve below the foot pedal, and then rapidly depress the pedal several times.
Step 2: On the opposite side of the ram is the oil filler plug. Carefully loosen this just enough to release the trapped air, and then tighten again. As with all hydraulic jacks, the air purge process may have to be repeated for maximum efficiency.
Step 3: If your vehicle positioning jack requires a Hydraulic oil top up, you can do so by completely removing the filler plug and topping up until the oil is level with the filler plug hole.
It’s that simple!
As you can see, every jack is a little different. Be sure to refer to the user manual for your jack before hopping into this task; and you’ll have safe and reliable performance from it for years to come.
*Important information* - Click here to read more about our DIY Advice Terms and Conditions.