How To Change Automatic Transmission Fluid
Overview
Changing your automatic transmission fluid is necessary to keep the transmission running efficiently and smoothly.
To help you out, we’ve put together a quick step-by-step guide for you. Remember, if you’re unsure about any of these steps make sure you ask one of our team members or your local mechanic.
Items
Materials
- Automatic Transmission Oil
- Automatic Transmission Filter Kit
- Rags
Tools
- Jack Stands or Ramps
- Spanner or Socket Set
- Torque Wrench
- Drain Pan
Steps
Warm Up Transmission
Firstly warm up the transmission fluid by idling and selecting through the gears or going for a short drive.
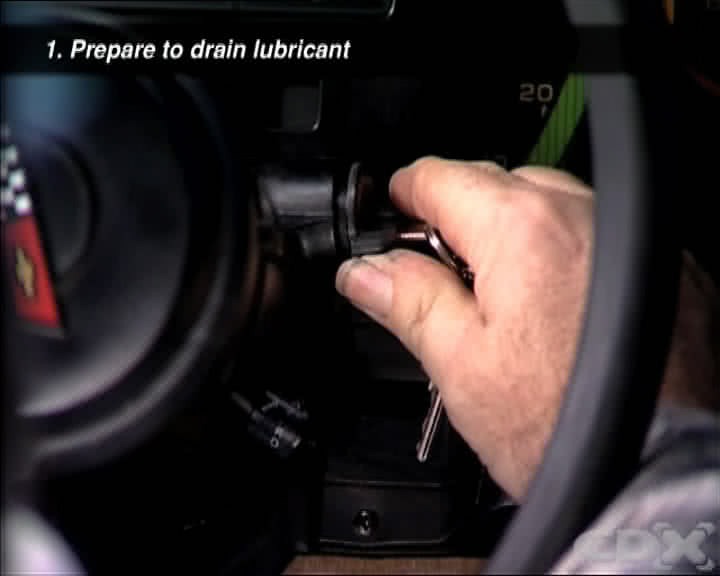
Raise The Vehicle
Raise the vehicle and ensure it is level and stable.
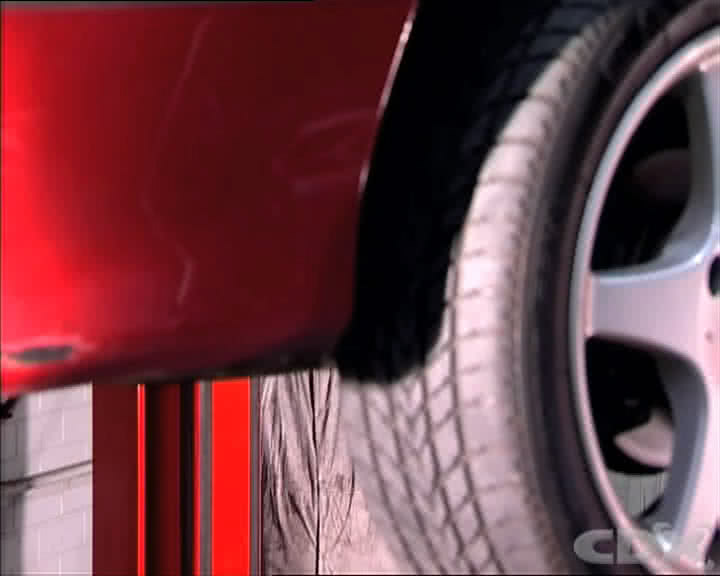
Check For Leaks
Do a visual inspection of the transmission for leaks.
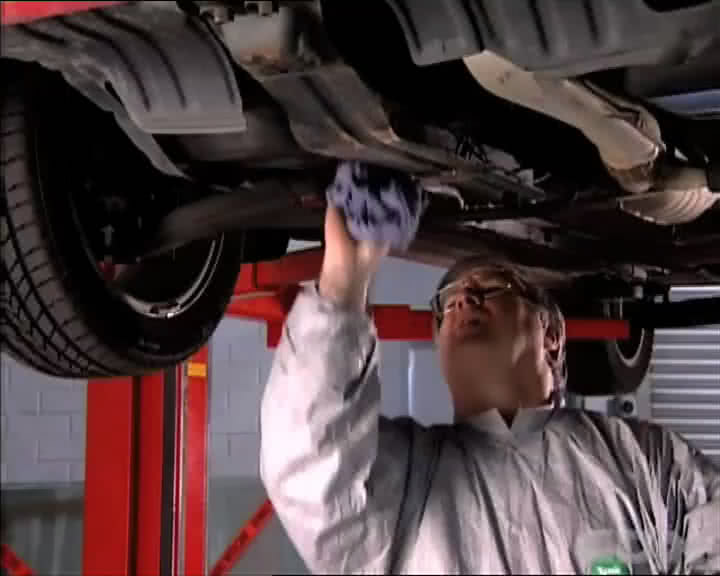
Locate Drain Plug
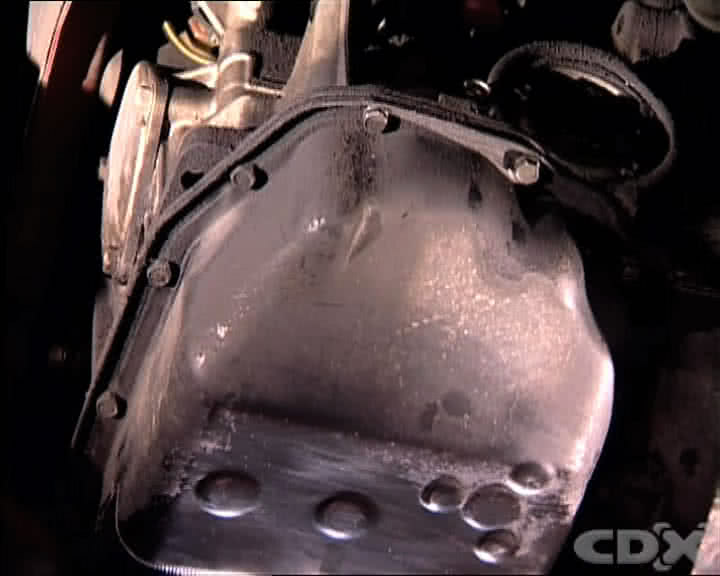
Most transmissions have easily accessible drain plugs, however some will require the oil pan to be removed in order to drain. Others may require a suction pump to draw the fluid out of the filling point.
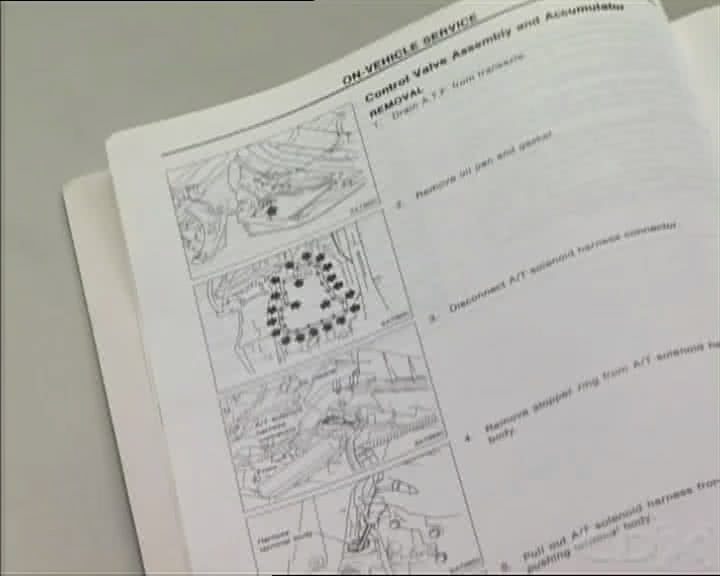
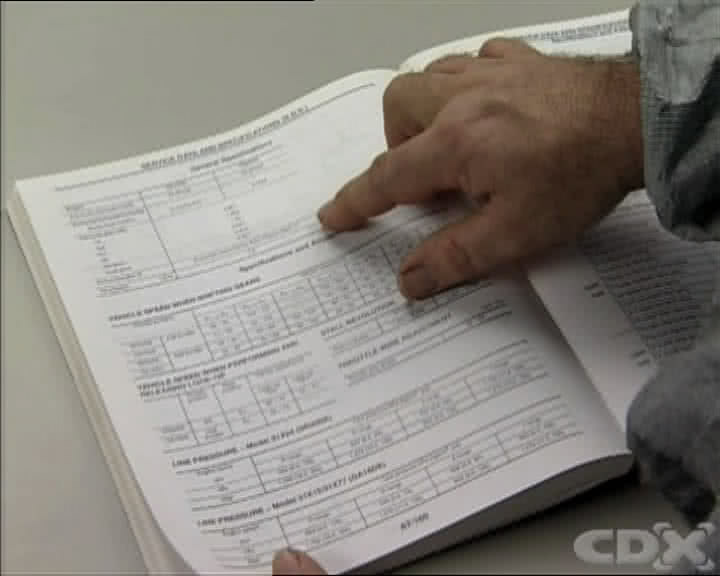
Consult the workshop manual for your vehicle to find out the correct procedure.
Be careful as the lubricant can be hot enough to cause serious burns
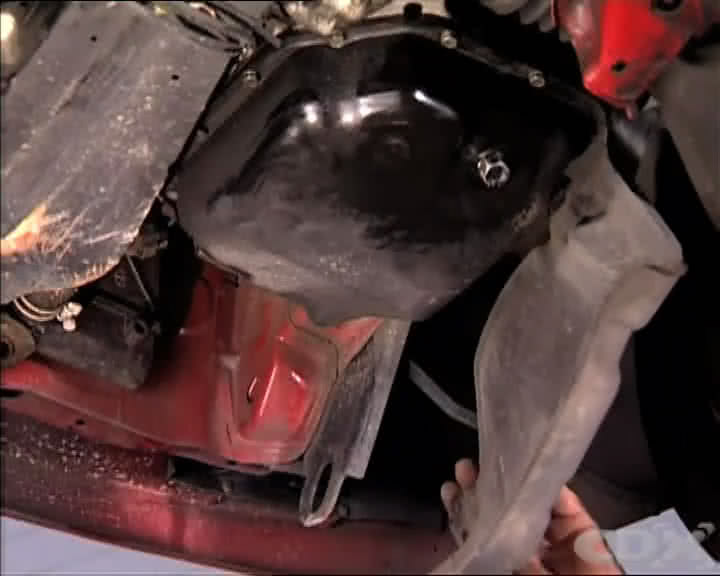
Once located, remove any guards which may be in the way and select the correct spanner or socket to remove.
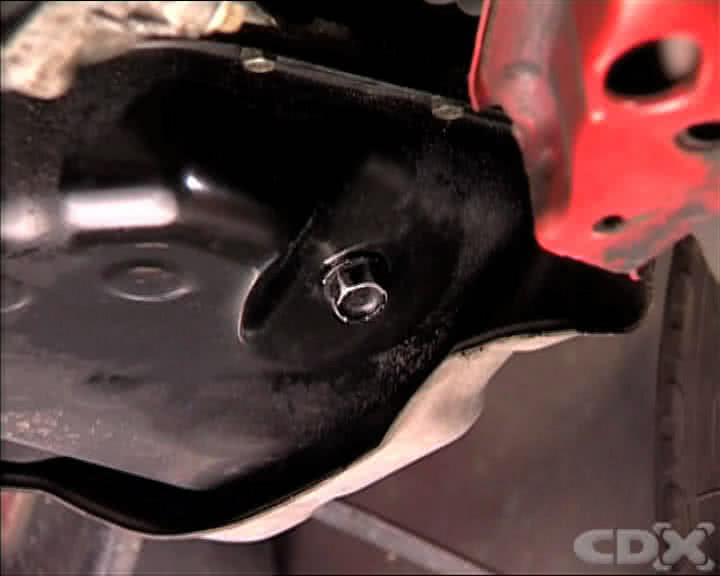
Drain Old Fluid
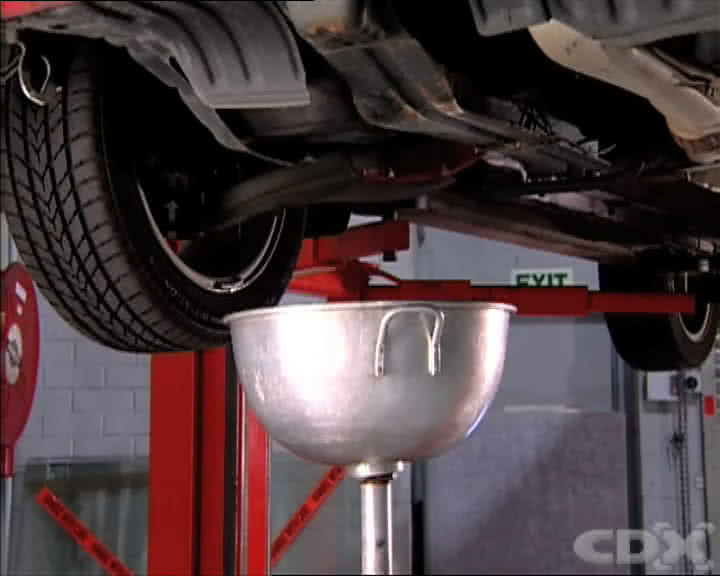
Position a large diameter drain pan underneath the transmission to catch the old fluid.
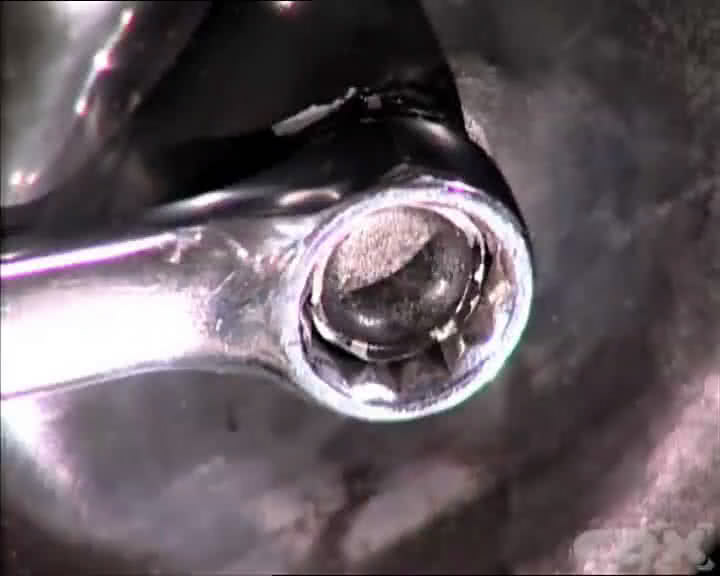
Remove the drain plug
If the bolt does not release, a quick spray of WD40 directly onto the bolt should help loosen it up. Spray and leave for 30minutes to 1hour to take effect.
If the filler bolt has become seized or stripped, and will still not release, stop the procedure immediately and book your car into your mechanic to have the oil checked or changed.
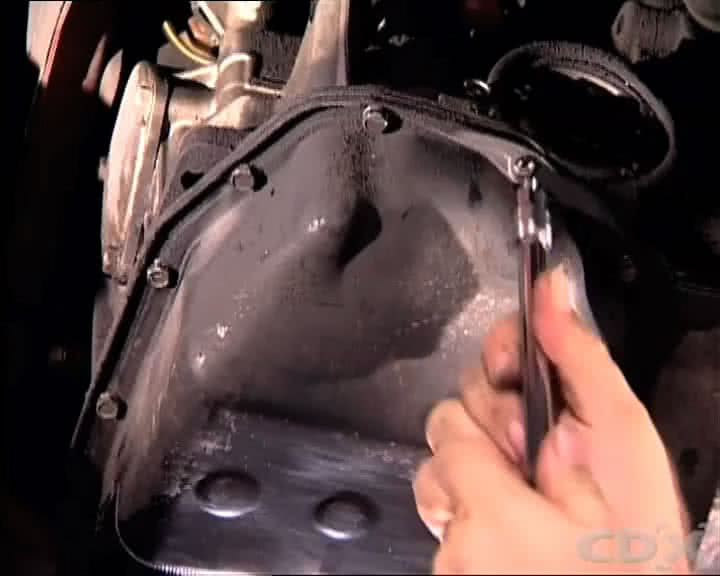
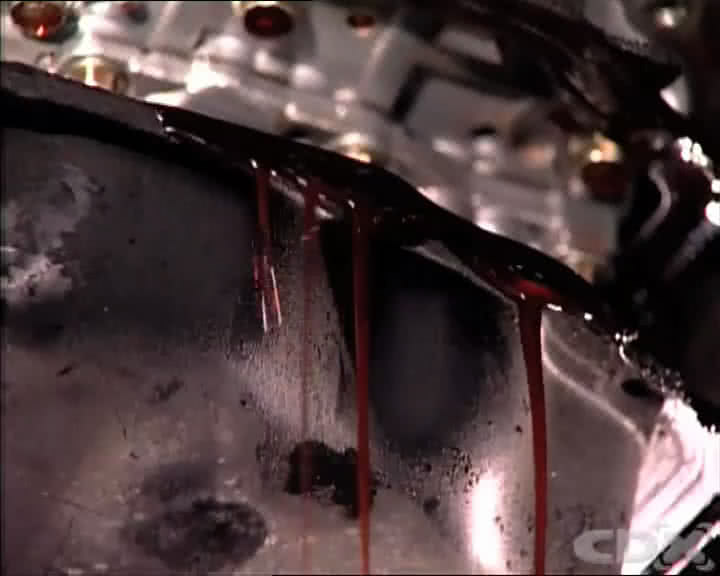
If there isn't a drain plug, remove all but three of the oil pan bolts - this is the minimum number required to keep the pan in place.
The fluid will flow into the drain pan.
Once the fluid stops flowing, support the oil pan with one hand and remove the remaining three bolts
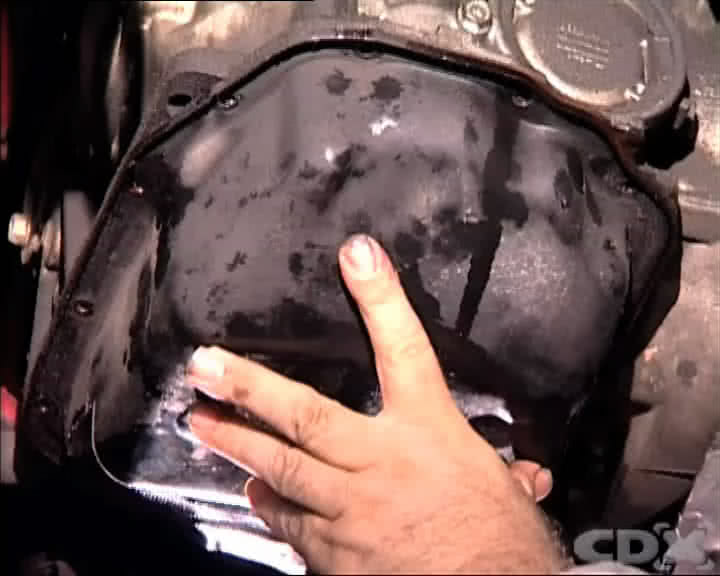
Examine Fluid
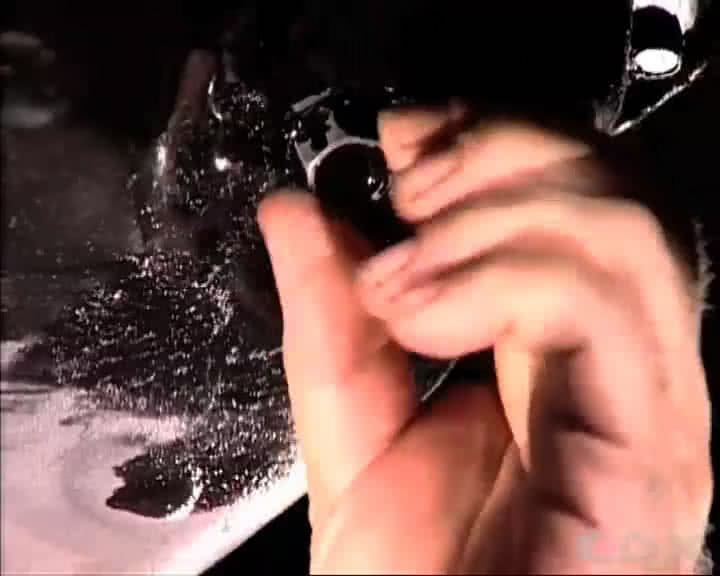
Examine the fluid for any metal particles. If the transmission was previously overfilled damage may have been caused.
Examine the oil pan for metal particles or pieces of clutch material. Any large build up or pieces may indicate a serious problem with the transmission and it should be inspected by a specialist.
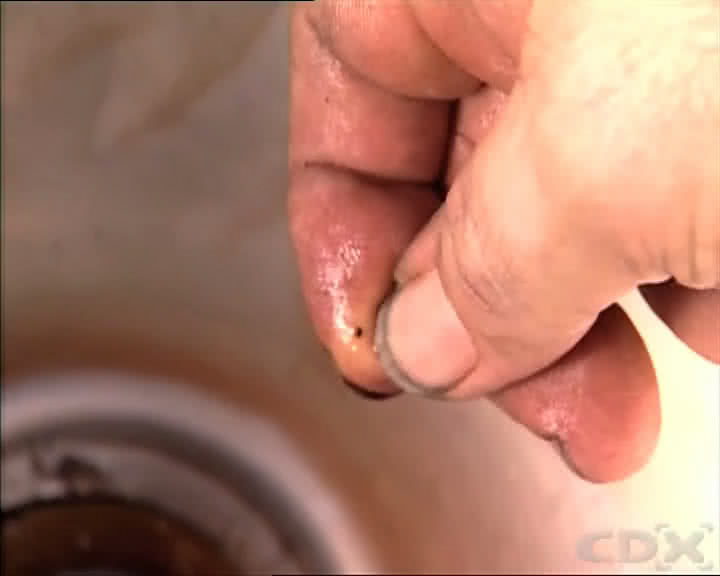
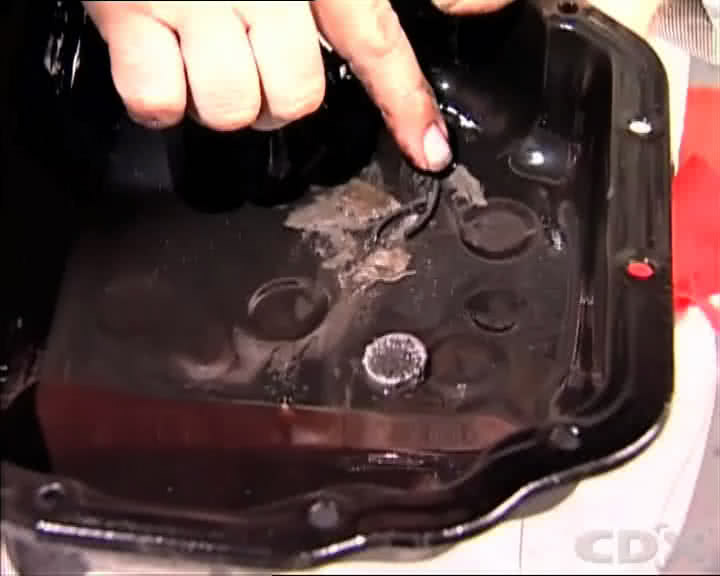
Remove Old Gasket
Carefully remove the gasket. Do not use a sharp tool which may damage the surface.
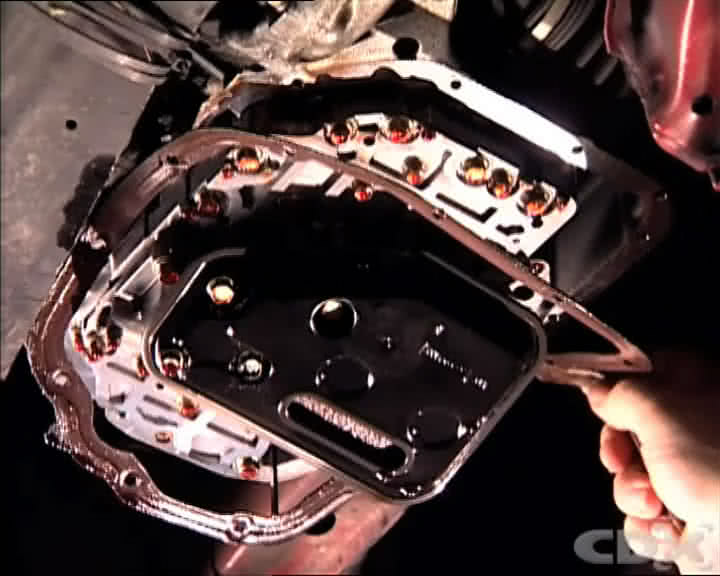
Clean Oil Pan
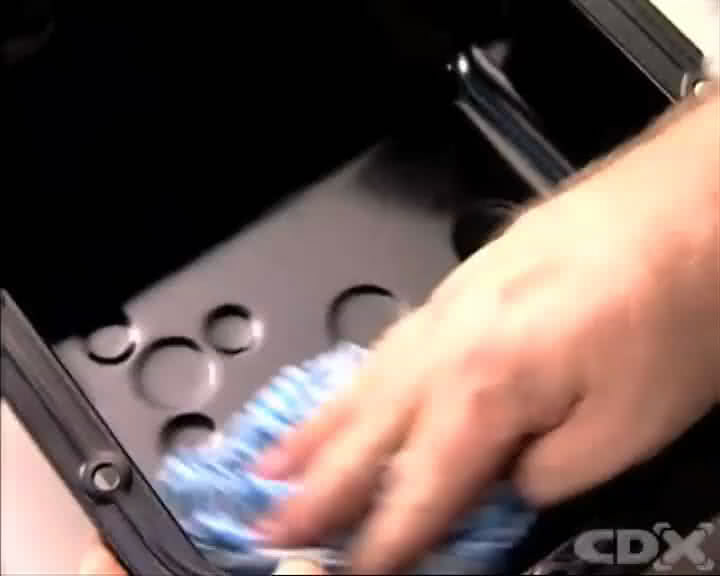
Clean the oil pan with a clean lint free cloth.
Replace Filter
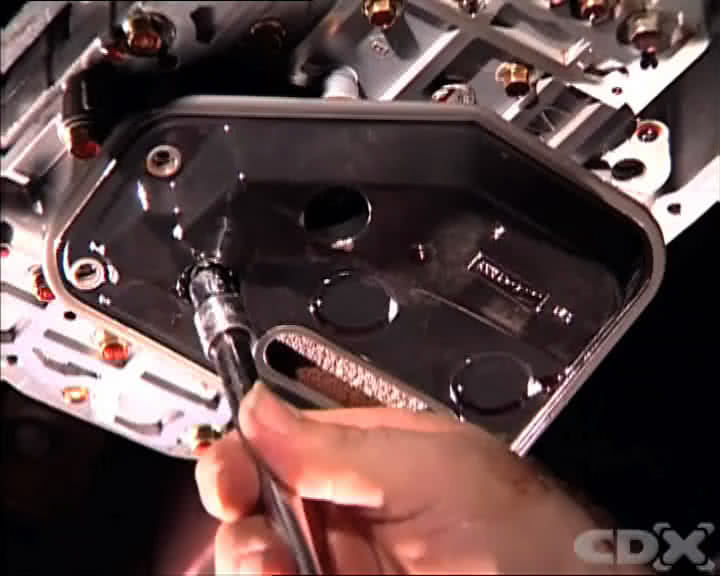
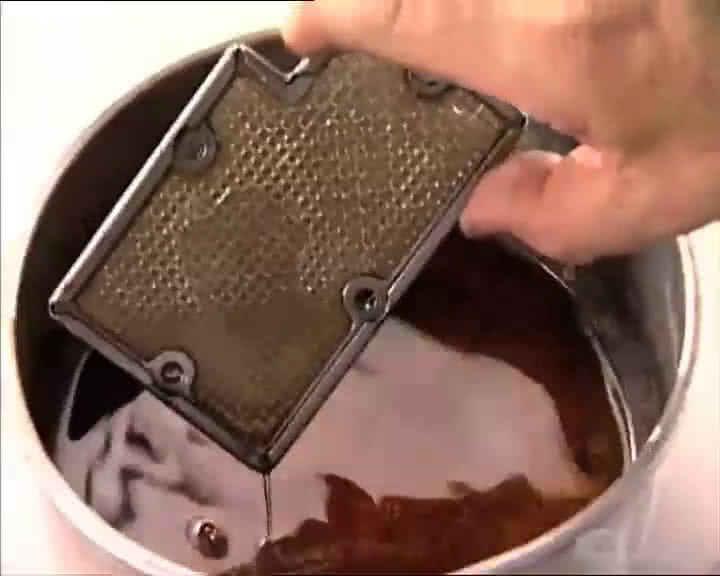
Remove the transmission filter. If you have a paper or cotton filter it must be changed every time the fluid is changed.
Metal filters can be cleaned with a solvent and reused after drying.
Wipe down the transmission using a clean lint free cloth to remove any remaining old fluid.
Install the new transmission filter.

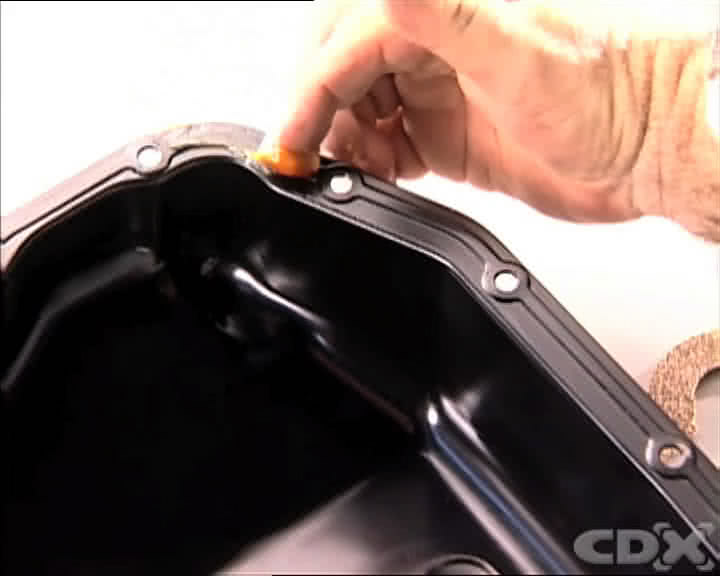
Install New Gasket
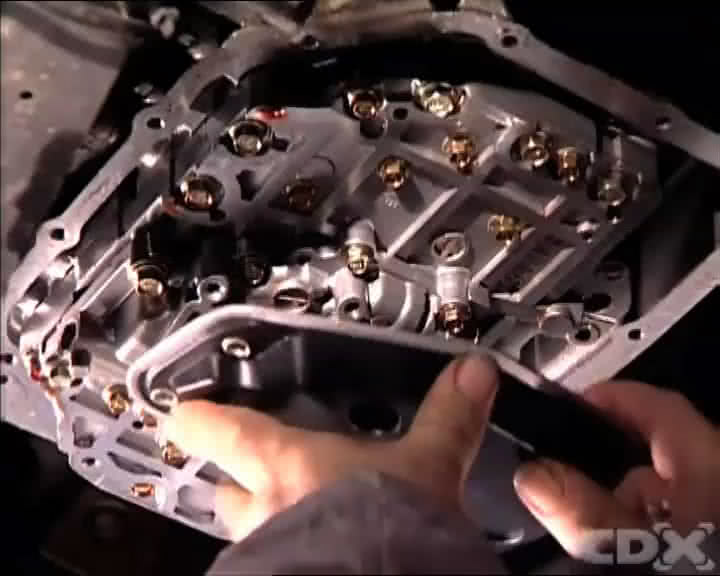
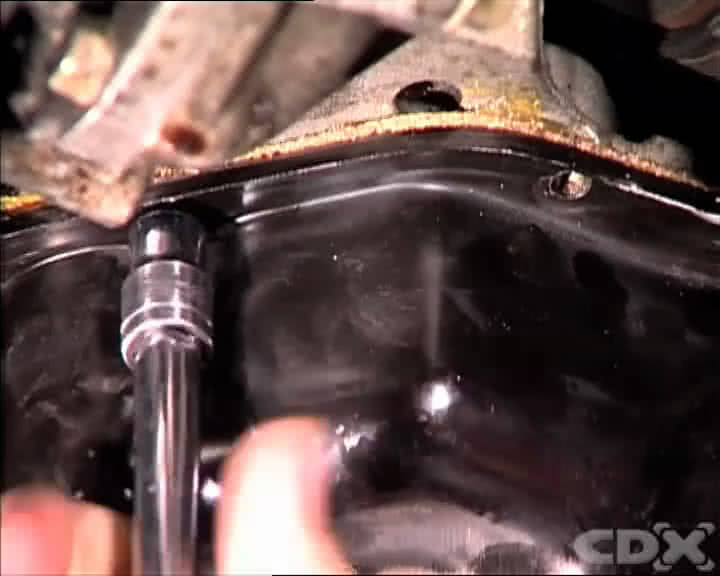
Install the new gasket using the manufacturers specified sealant if required. Re-attach the oil pan and tighten the bolts in a criss-cross pattern to the specified torque.
Re-install Drain Plug
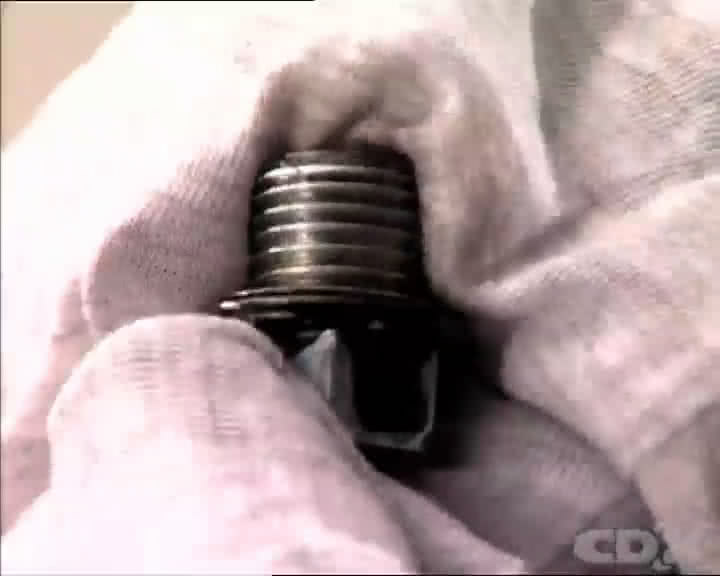
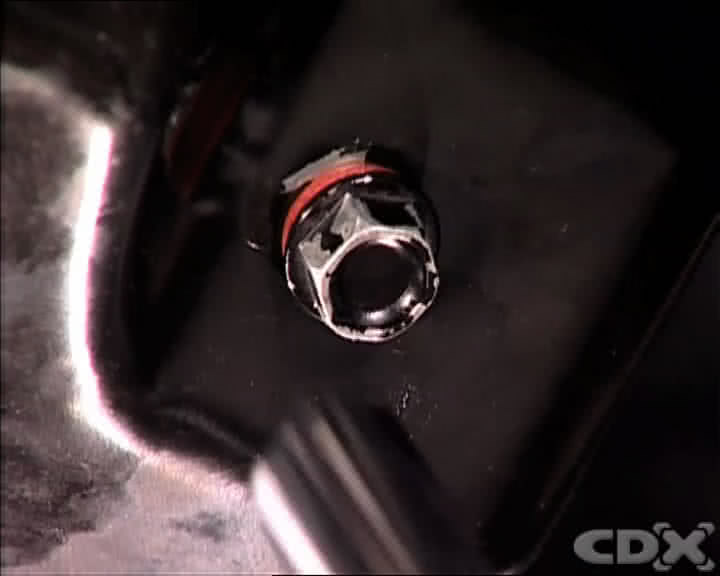
Wipe the drain plug and put it back with a new washer and tighten to the correct torque.
Refill With New Fluid
Check your owner’s manual for the correct type and quantity of fluid required.
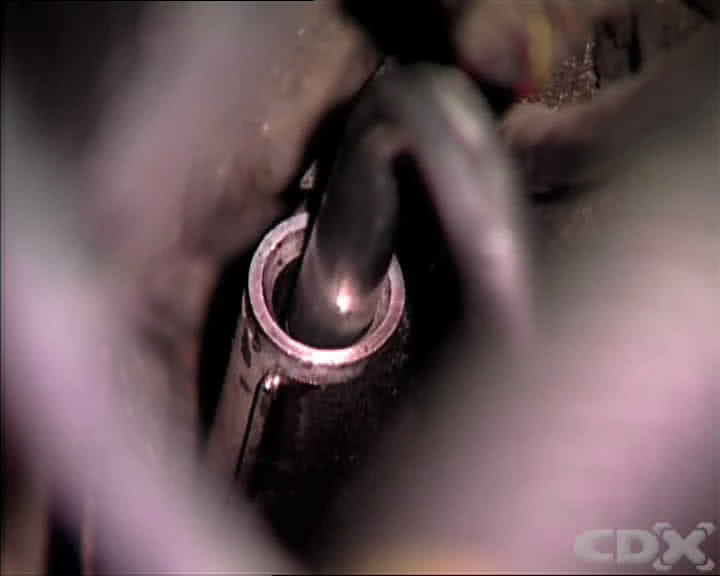
Fill the transmission with fresh fluid, pausing after each pump to allow the fluid to flow inside.
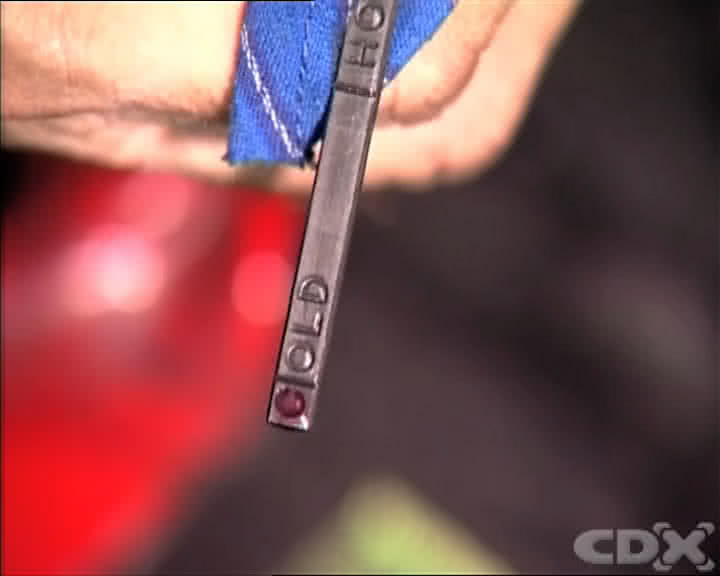
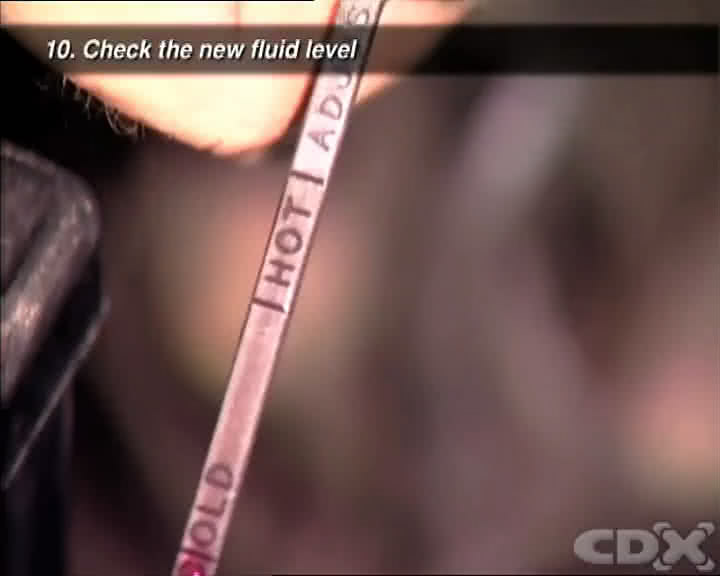
Check the level on the dipstick and stop when it reaches the cold level.
Circulate Fluid
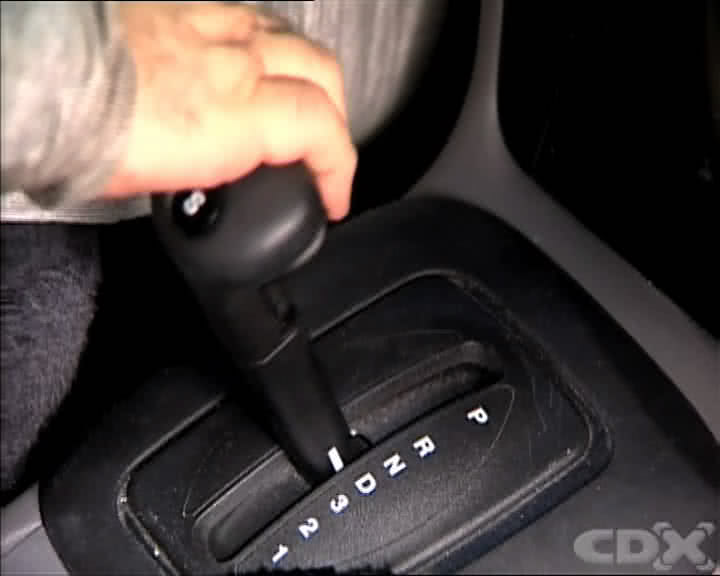
Start the engine, apply the foot brake and move the transmission selector through all of the gears. This will allow the transmission fluid to flow throughout.
Final Check Of Level
Place the transmission in the correct gear for level checking and check the level. Adjust if required.
*Important information* - Click here to read more about our DIY Advice Terms and Conditions.