How to Install Mud Flaps
Overview
What are mud flaps?
Mud flaps are flexible pieces of rubber or plastic which are installed at the rear of each wheel of your car. They stop mud, rocks, tar and debris from ruining your paint as you navigate all kinds of road conditions. With a range of styles, mud flaps also add a personal flair to your vehicle. Mud flaps may come fitted on your vehicle as standard equipment, or they may be a dealer fitted extra. If neither of these are the case for your car; you can learn how to install mud flaps with this three-step guide.
Why are mud flaps important?
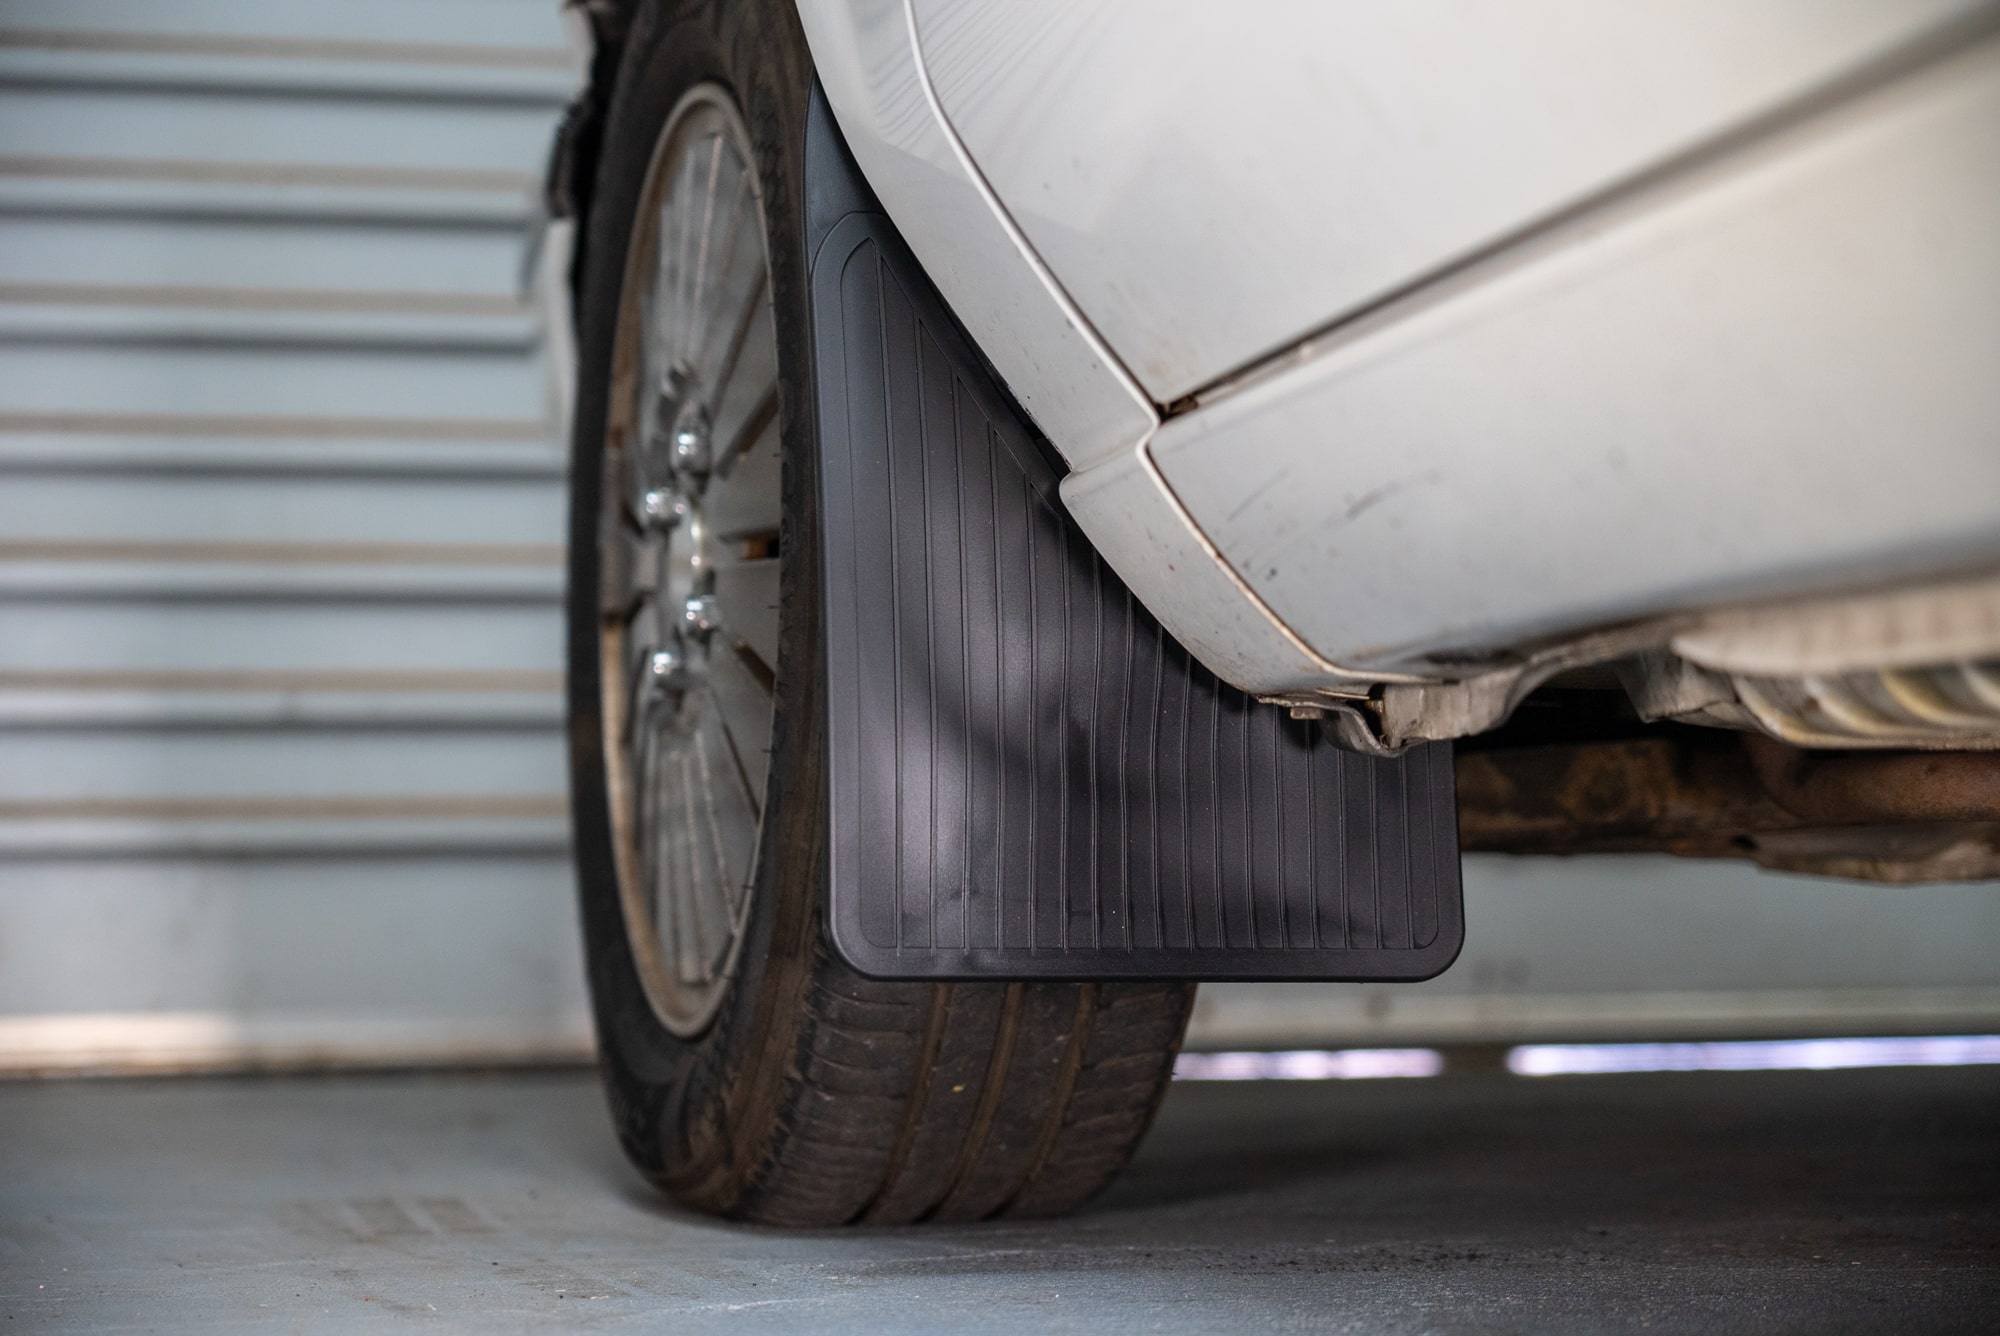
Mud flaps are essential to protect your vehicle's body and keep it looking great. They hang down low and prevent mud, stones, tar, and other road debris from flicking up and damaging your paint. Mud flaps are also a nod of respect to other road users, keeping road spray and windscreen chipping stones to a minimum. Fitting your vehicle with mud flaps is a smart, safety-conscious move that also keeps your ride in top-notch condition. With a well fitted set of mud flaps you’ll find that your car stays cleaner for longer, there is less chance of rust developing through stone chips, and you’ll enjoy a higher resale value when it’s time to move on.Items
For a successful mud flap installation you will need the following toolbars:
- Hand Tools– sockets, spanners and screwdrivers will do the trick
- Drill – a small battery drill is best to get into tight spaces
- Drill bits – most likelyA up to 8mm, though larger might be needed if you’re using push rivets
- Masking Tape – for marking and measuring
- Measuring Tape – also for masking and measuring
- Pencil or Marker – to mark your drill and screw holes
You may also need:
- Jack & Axle stands– because you may need to remove a wheel or two for easier access
- Punch Set or Punch Tool – for making extra holes in your mud flaps where required
Steps
Step 1: Choosing the Right Mud Flap
If ‘what mud flaps do I need’ is your first question, you should first consider shape. If you’re adding mud flaps to a trailer, extending existing mud flaps, or the bottom of your guards are reasonably squared off; then some rectangular mud flaps will do fine.
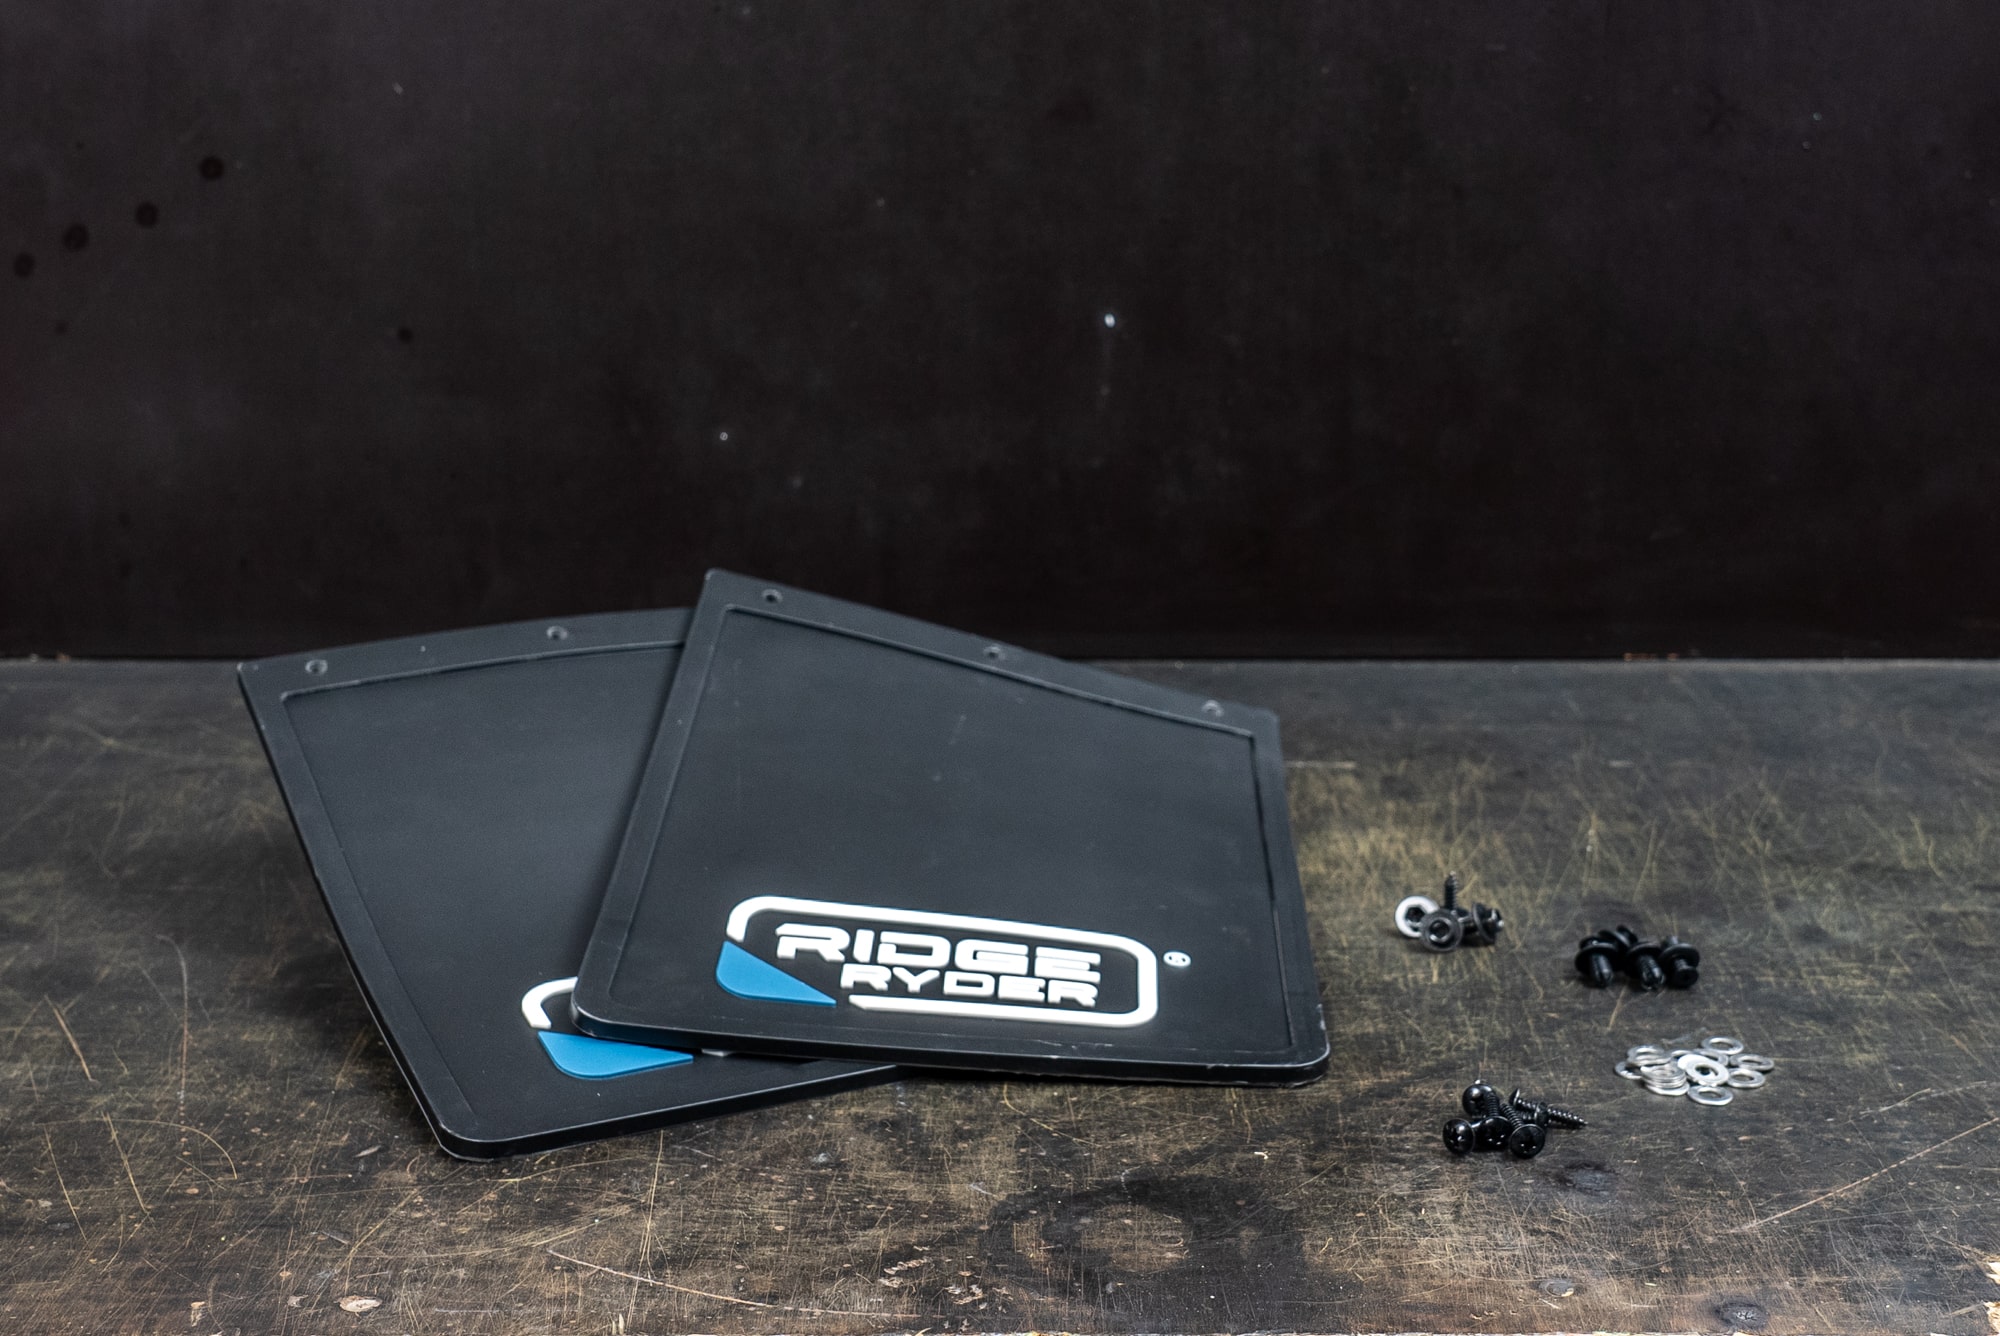
For a fresh installation on a vehicle with more contours and curves; you might like some more contoured mud flaps to match.
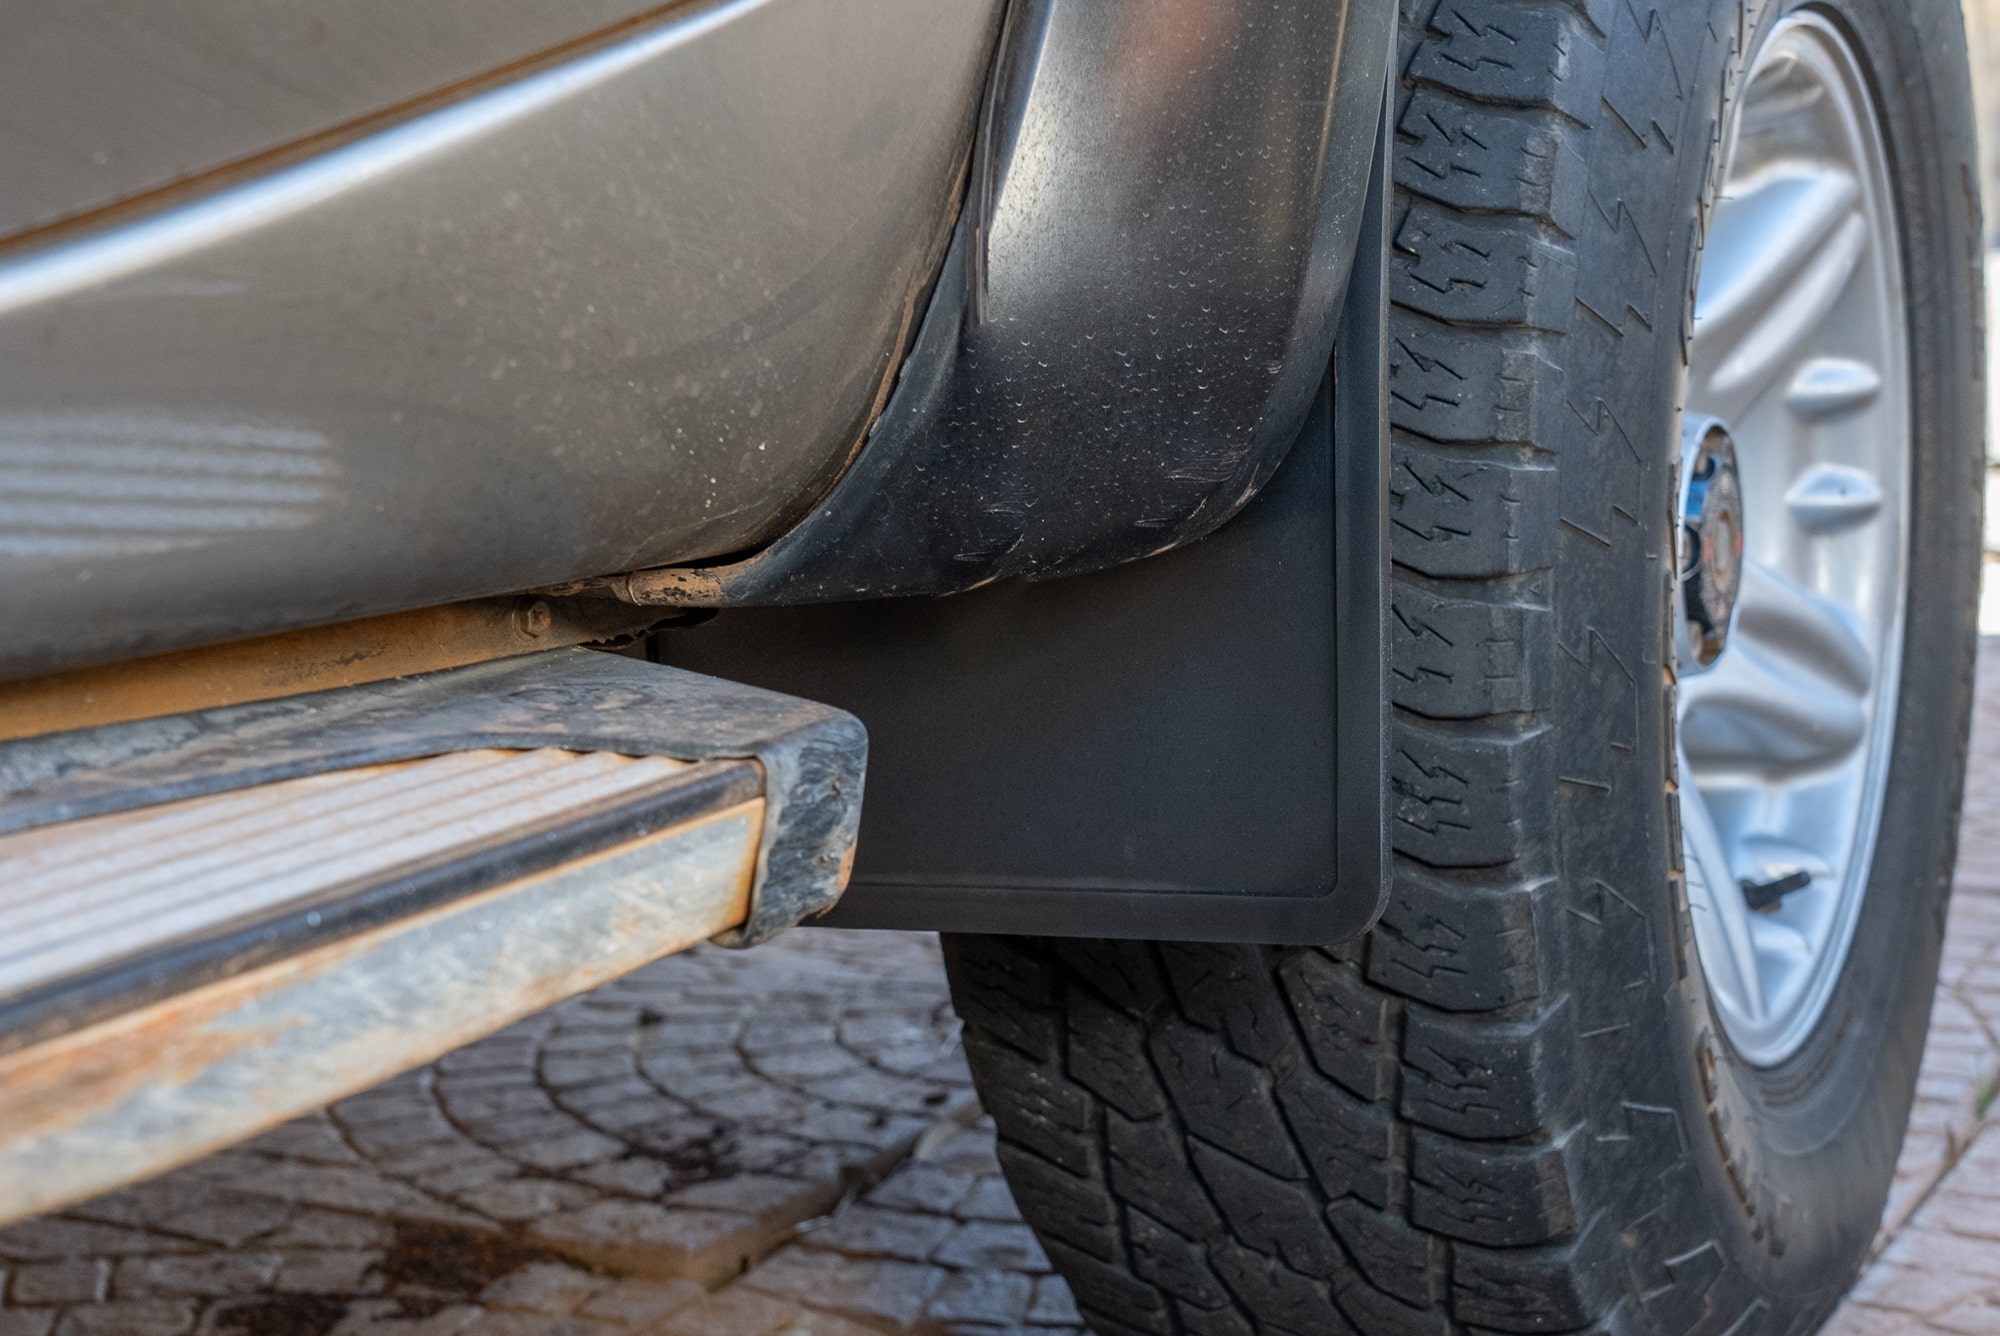
Next, what size mud flaps do I need? The closer to the road they hang, the better the protection. But think about things like speed bumps which could catch if your mud flaps are too long. The same goes for 4X4 mud flaps. They won’t last one trip over the rough stuff if they’re too long.
Step 2: Measure and Mark
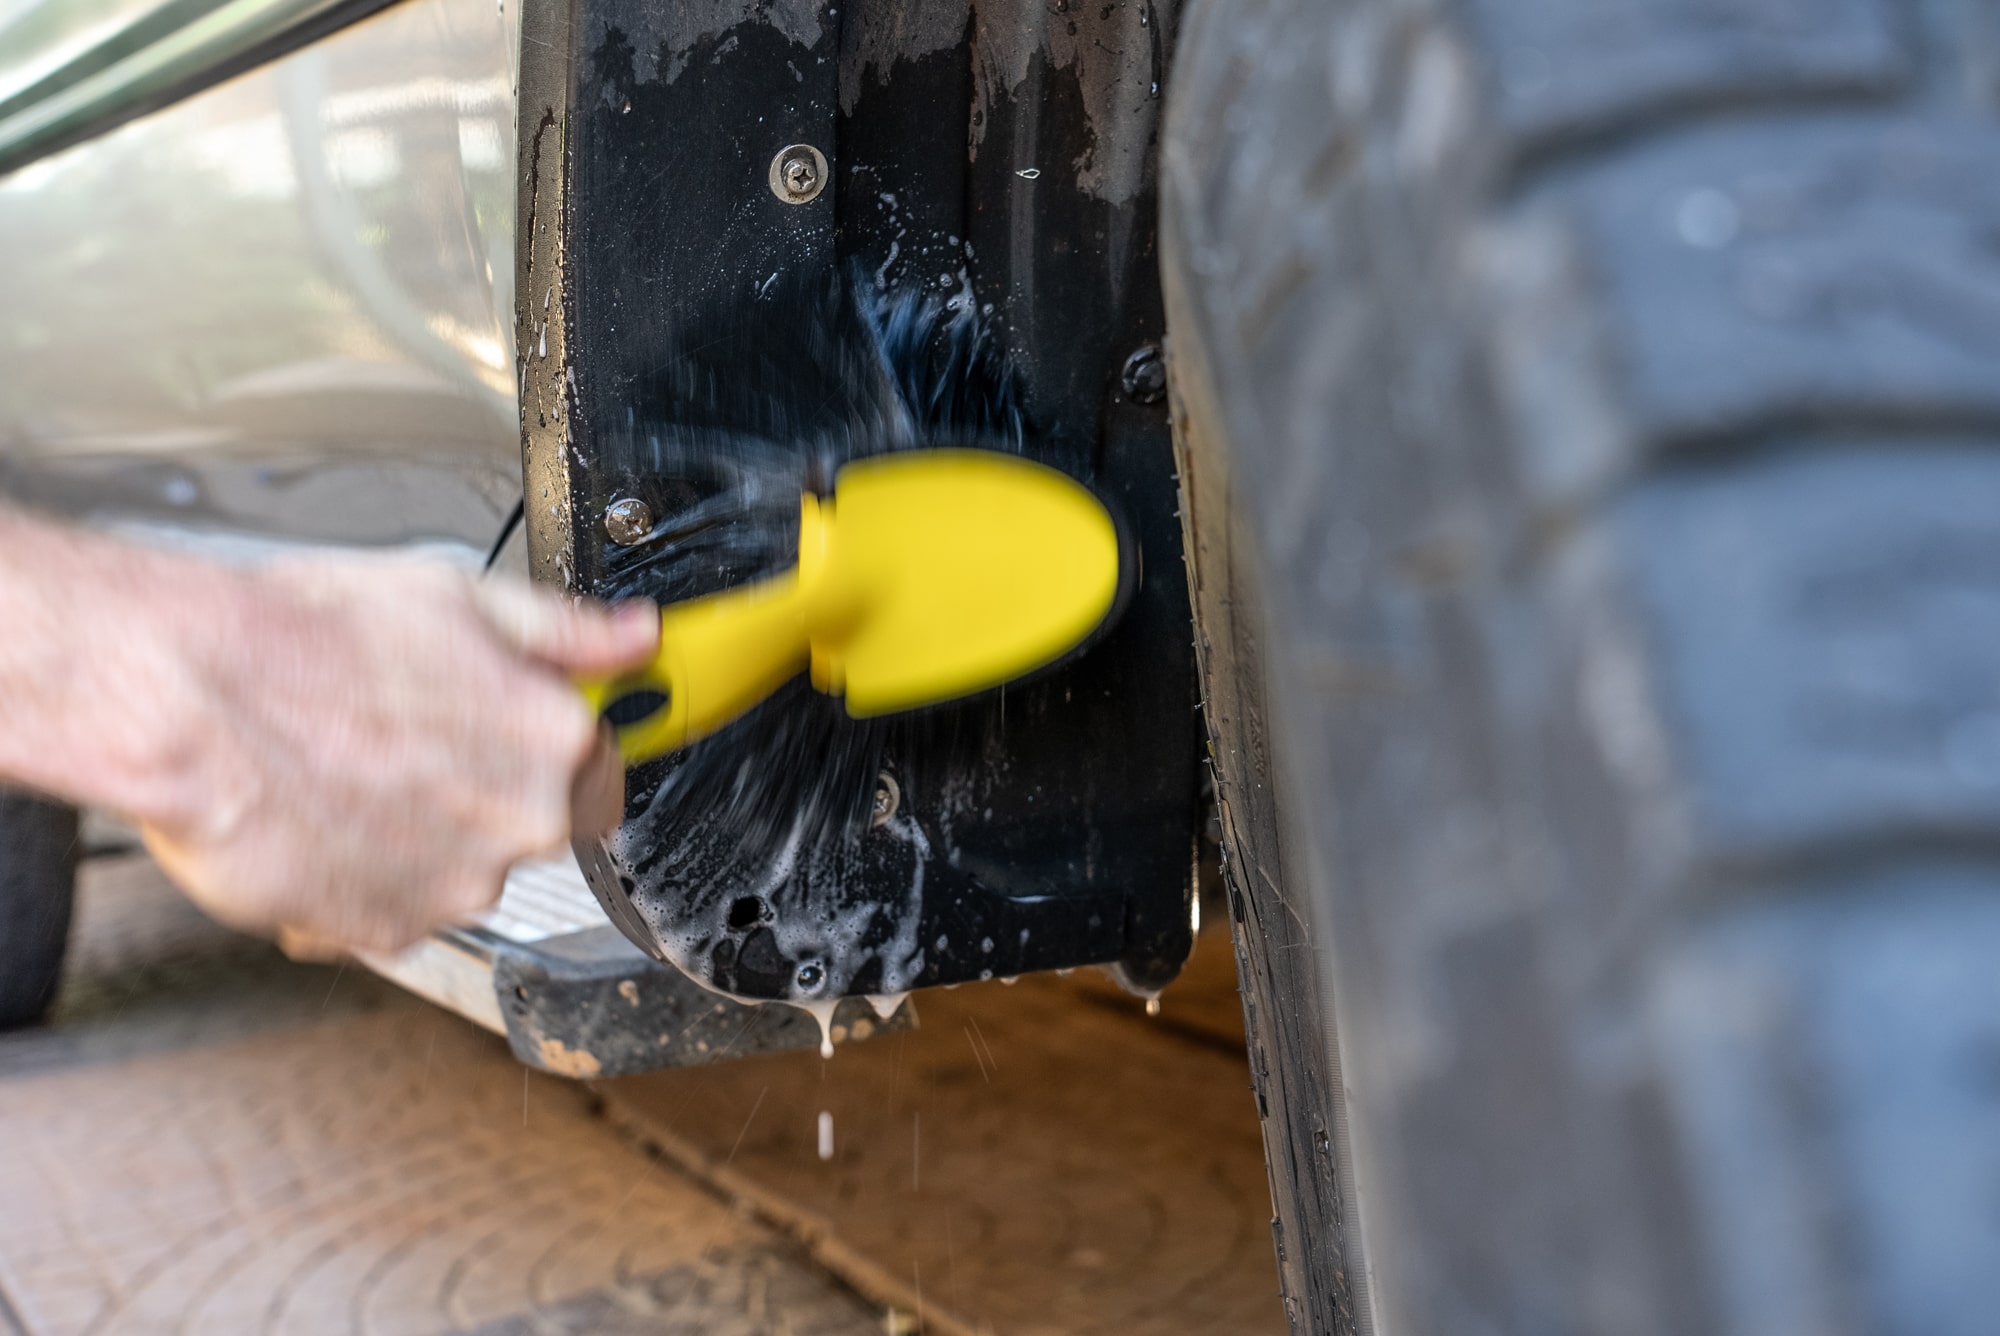
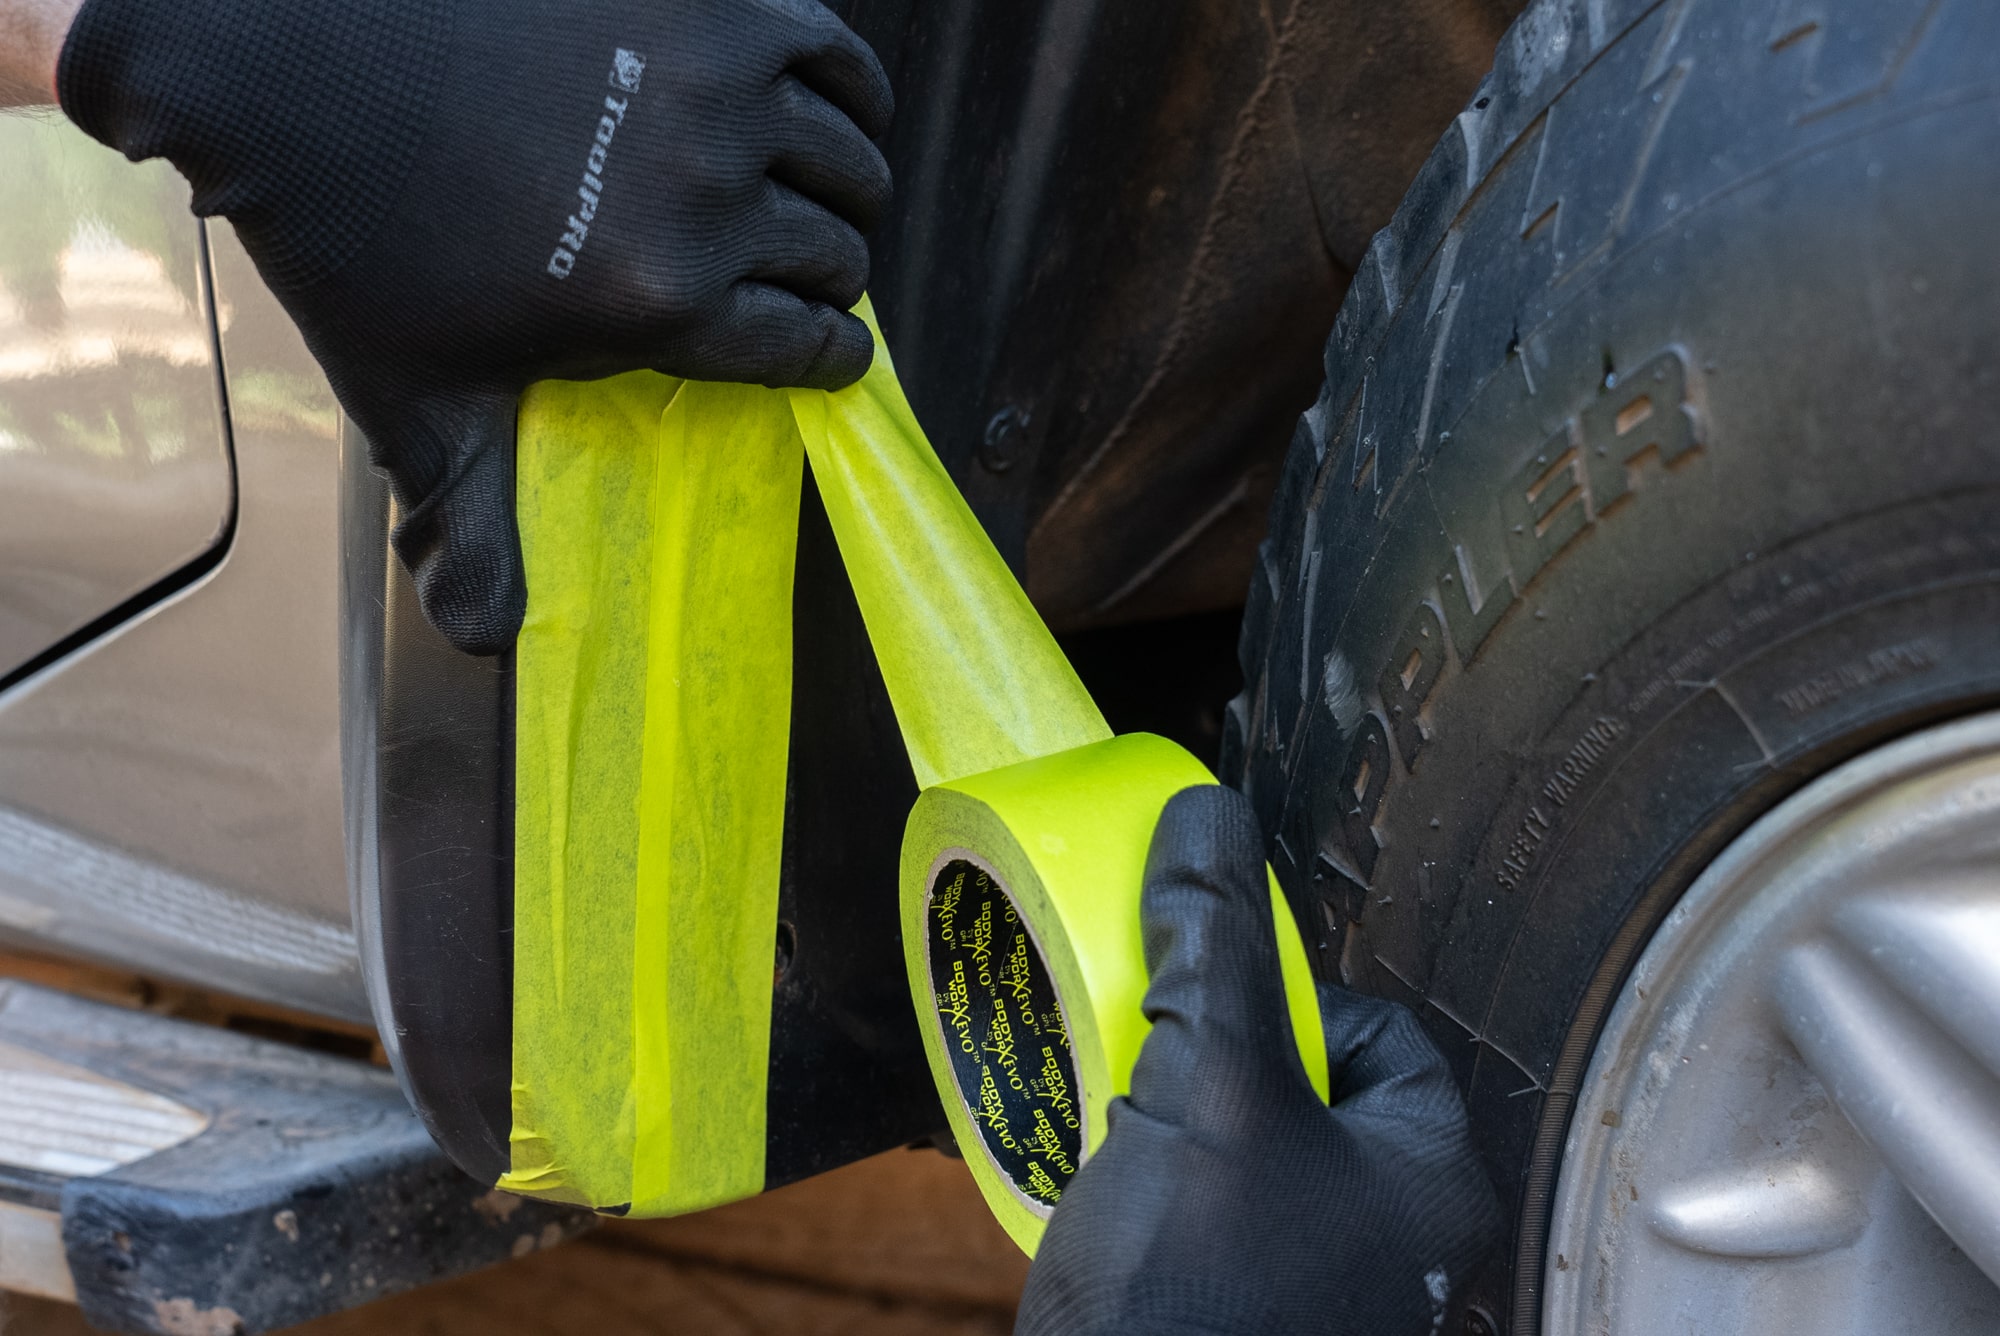
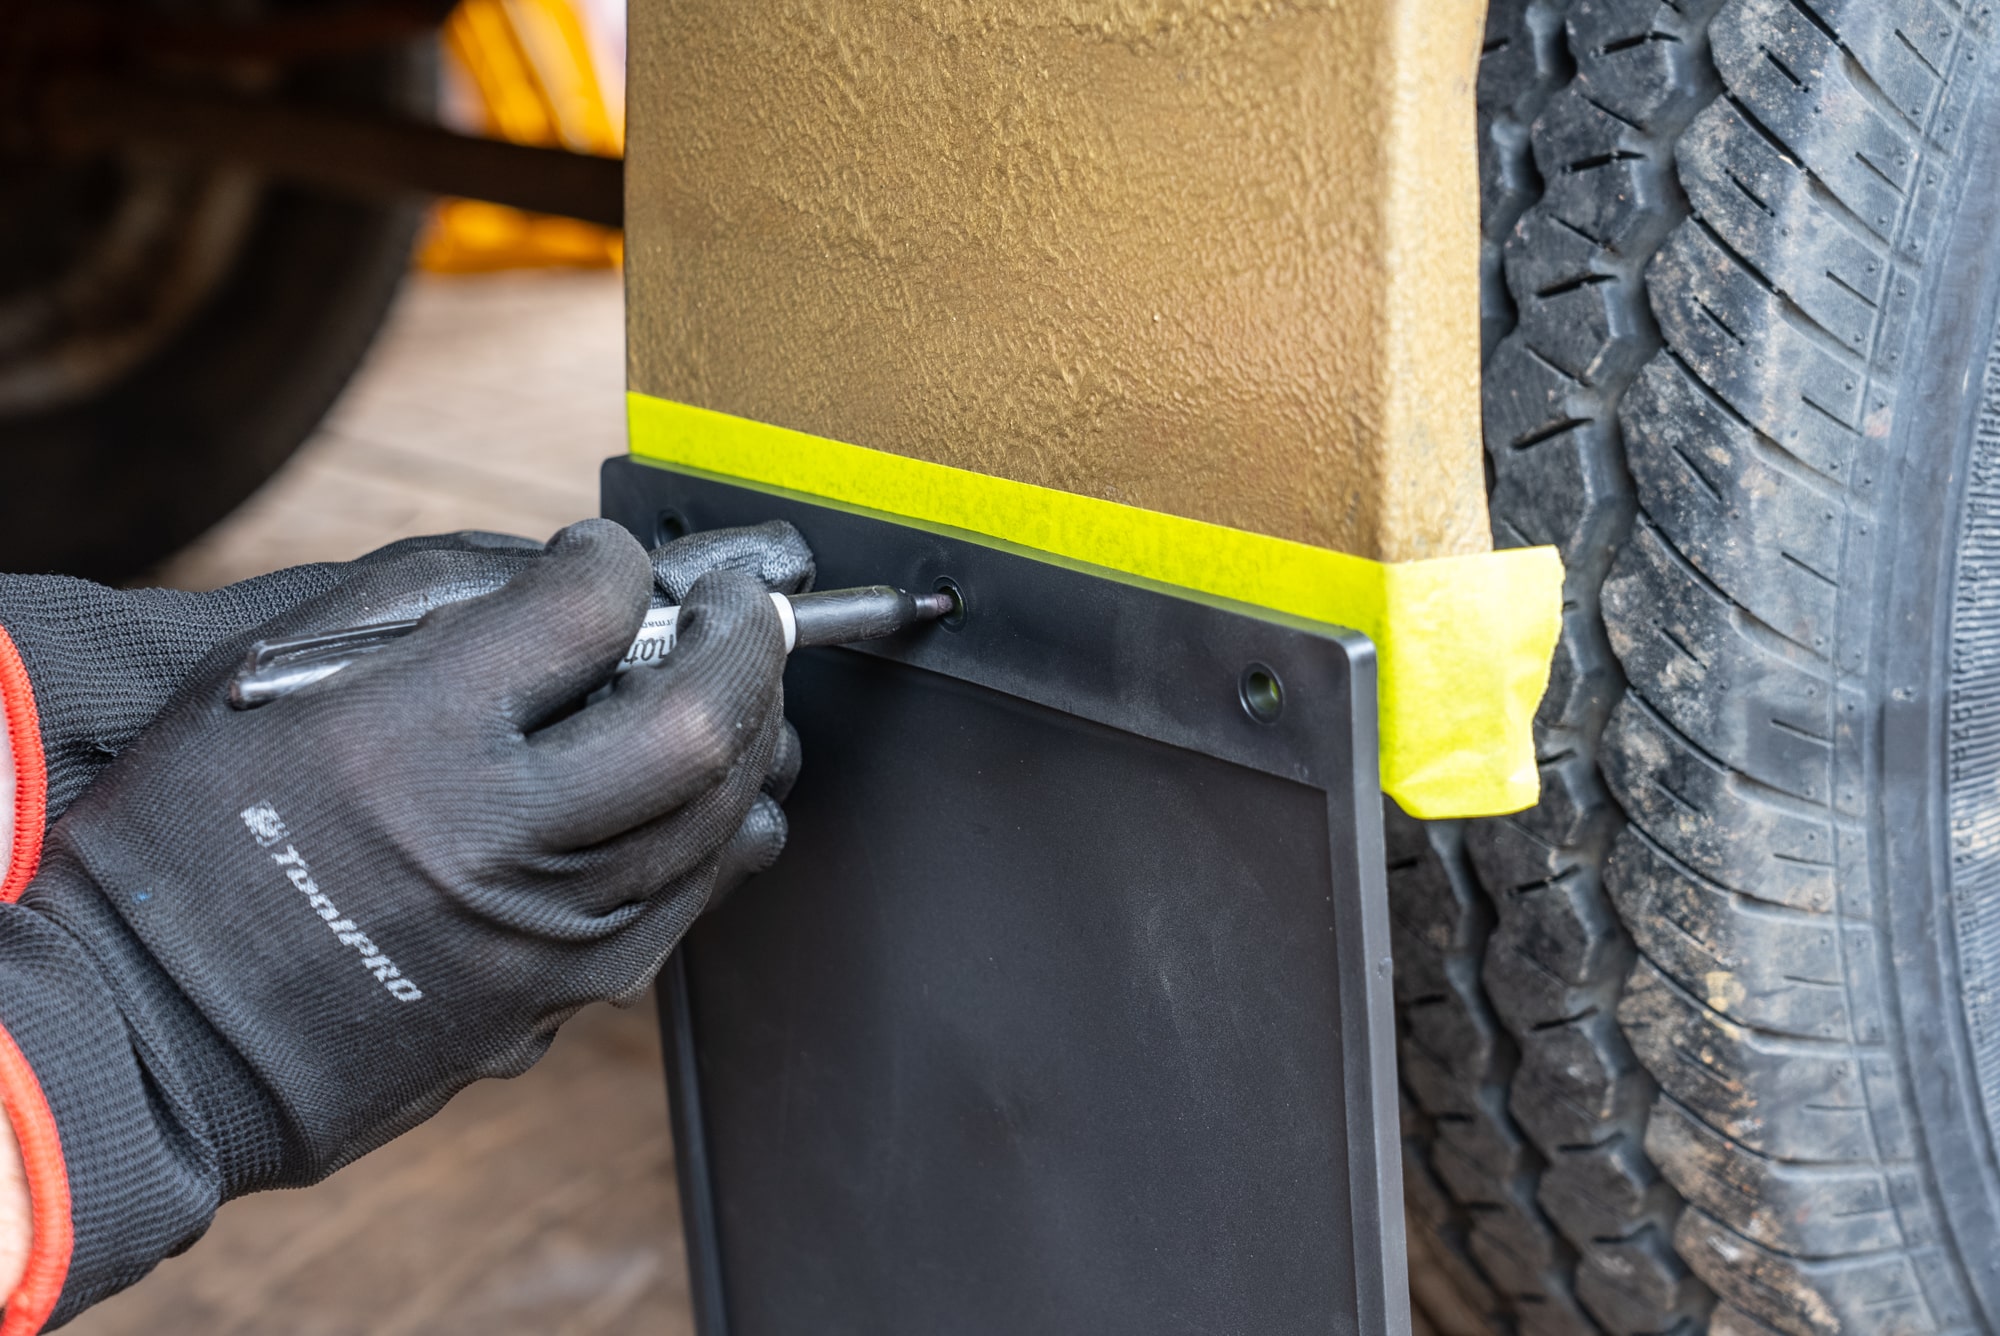
Where do mud flaps go? To get their position exactly right, you’ll need to measure and mark. Begin by cleaning inside the wheel arch with some soapy water. Then place some masking tape where you wish to mount each mud flap.
You can position each mud flap by eye and use an existing fastener as a reference point, or you can take a few measurements. Either way, take your time. Wonky mud flaps is not a SUPER look! Once you’re confident; put a mark on the masking tape through each hole on the mud flap.
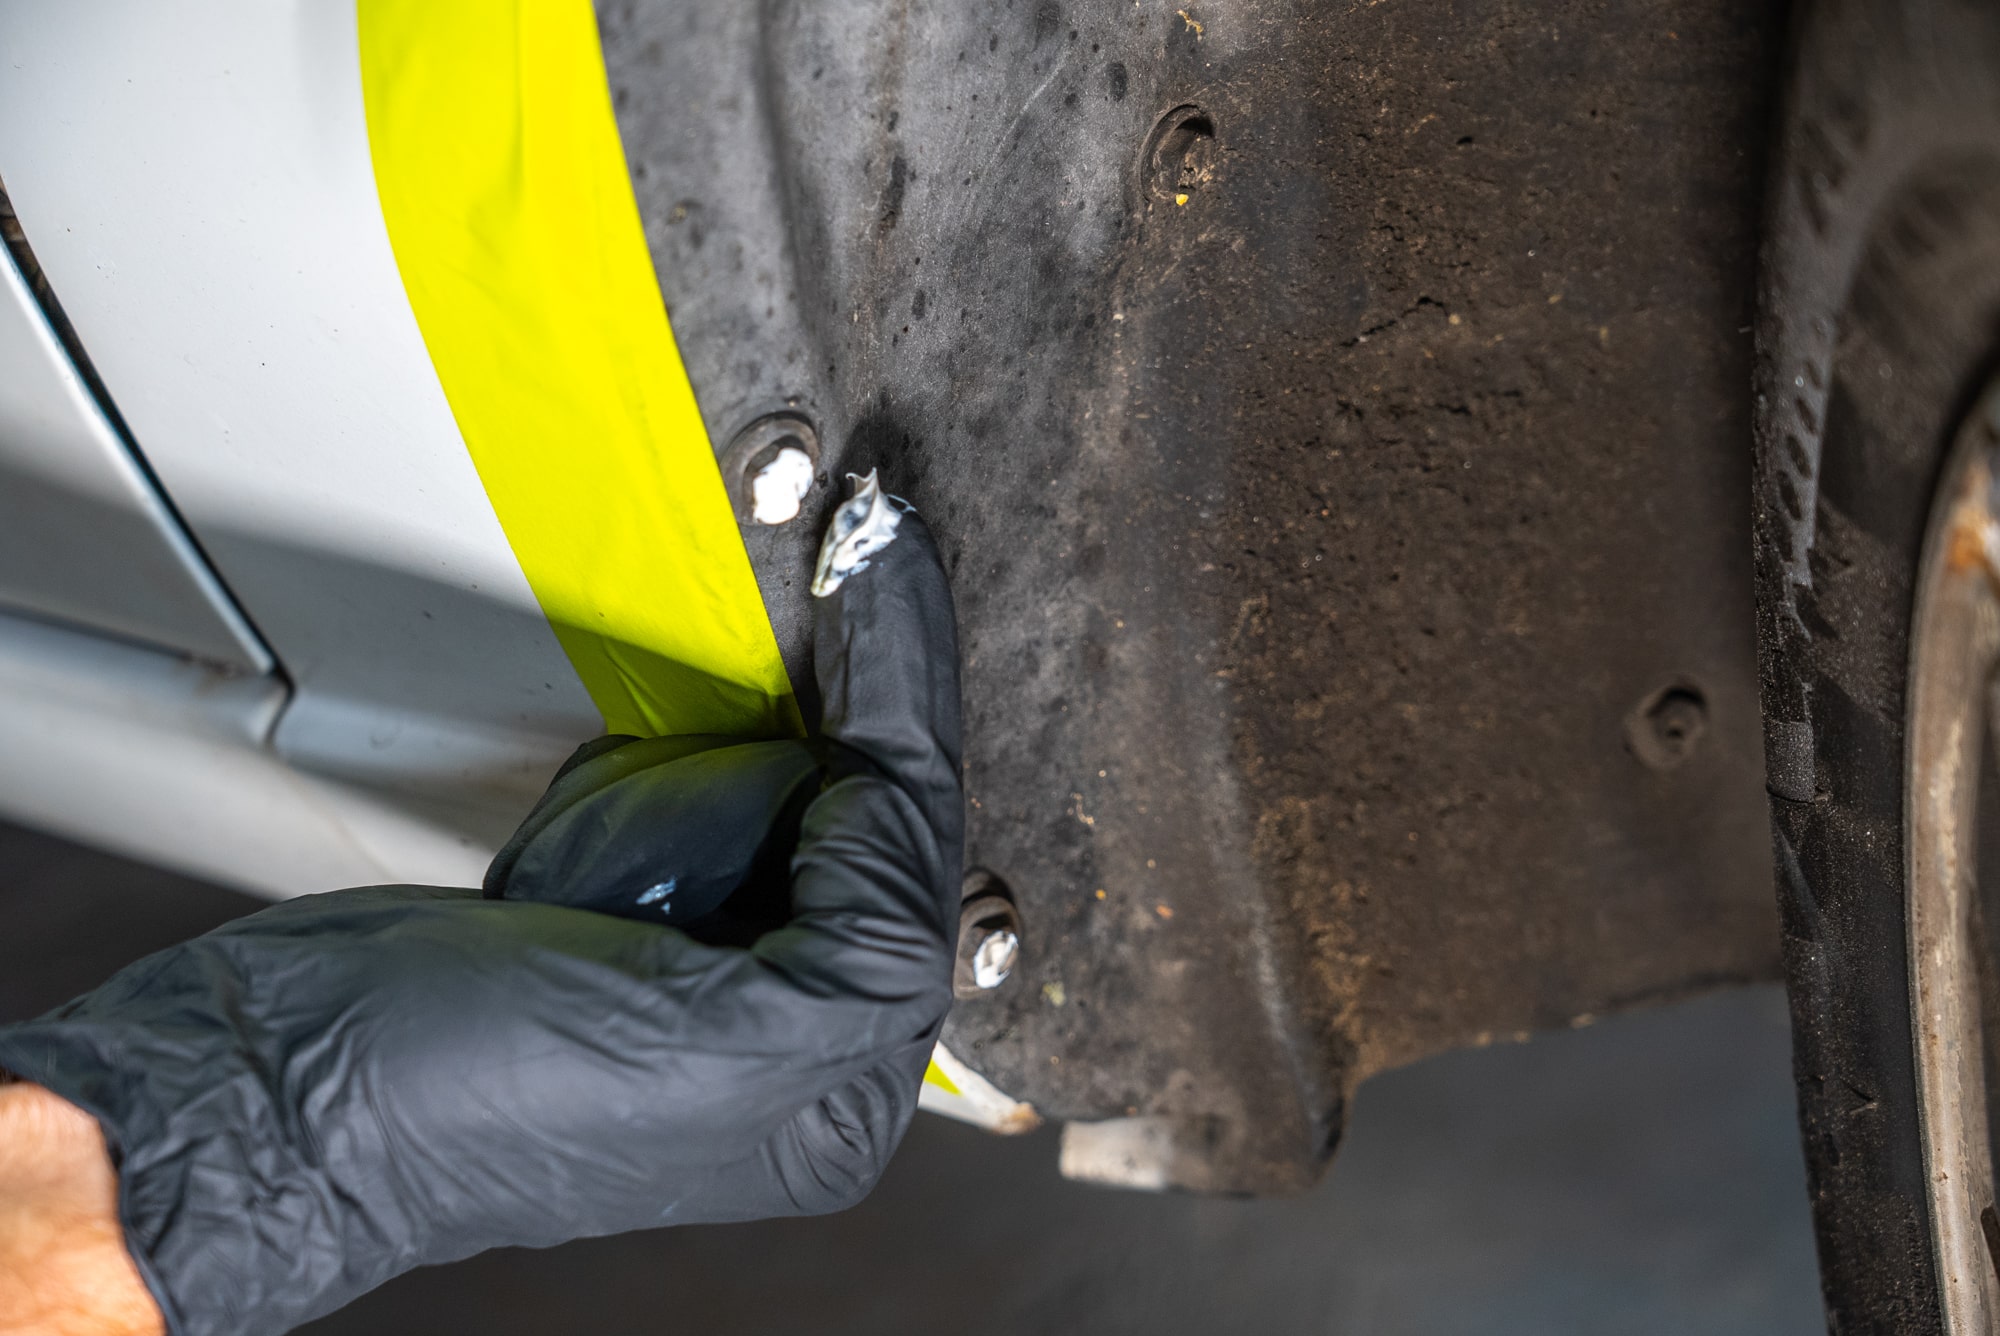
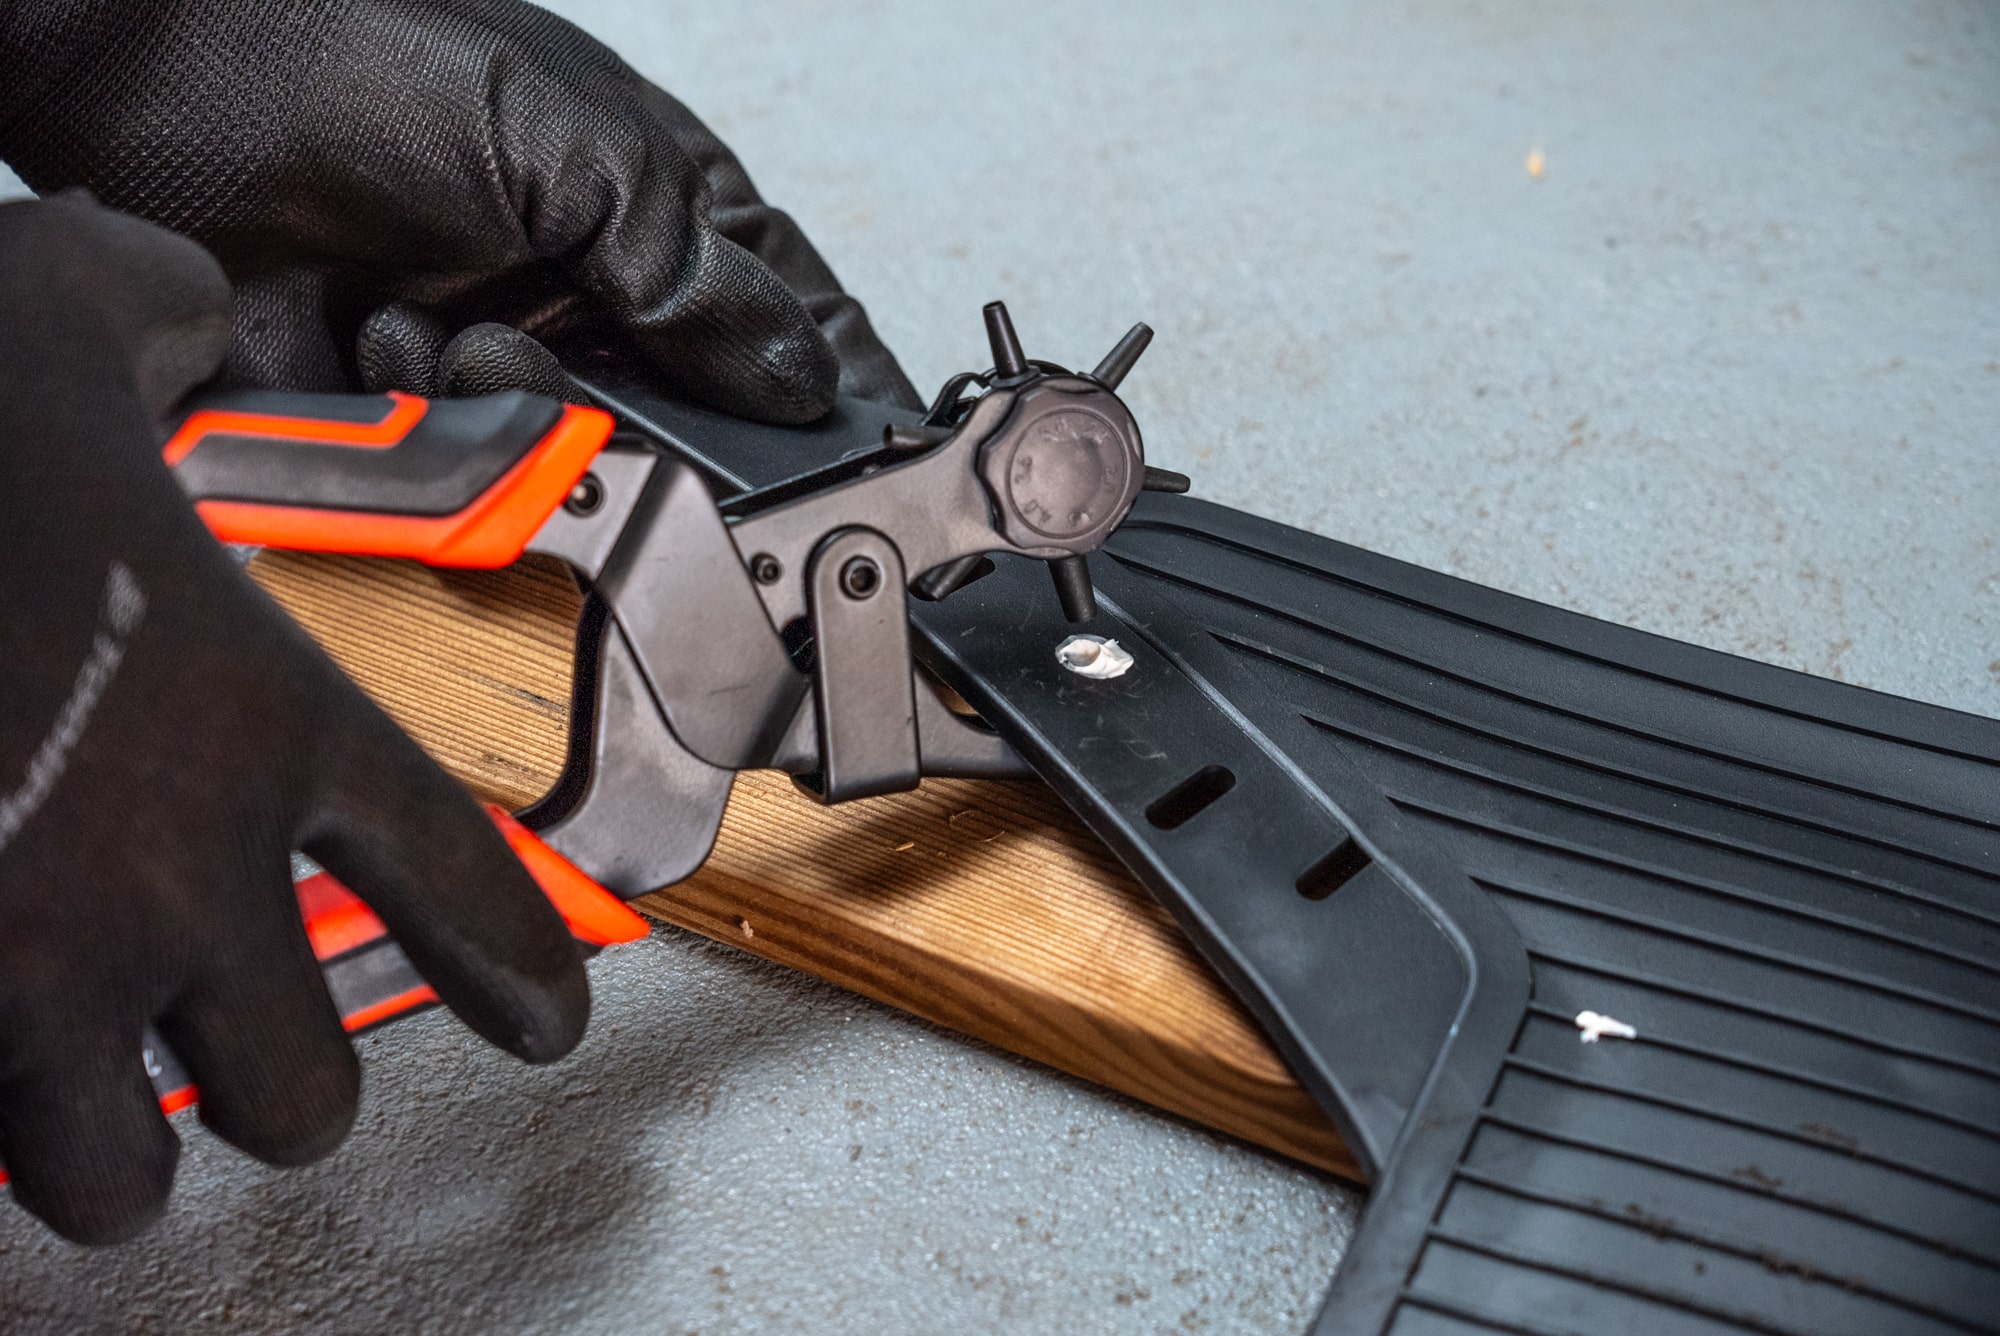
If you have existing fasteners inside the guard, you may be able to use these. Just place a dab of grease on the head of each fastener and when you raise the mud flap into place; the grease will transfer onto the mud flap. Now you have a mark to punch a hole using a hollow punch or punch toolbar.
Step 3: Drill & Mount Mud Flaps
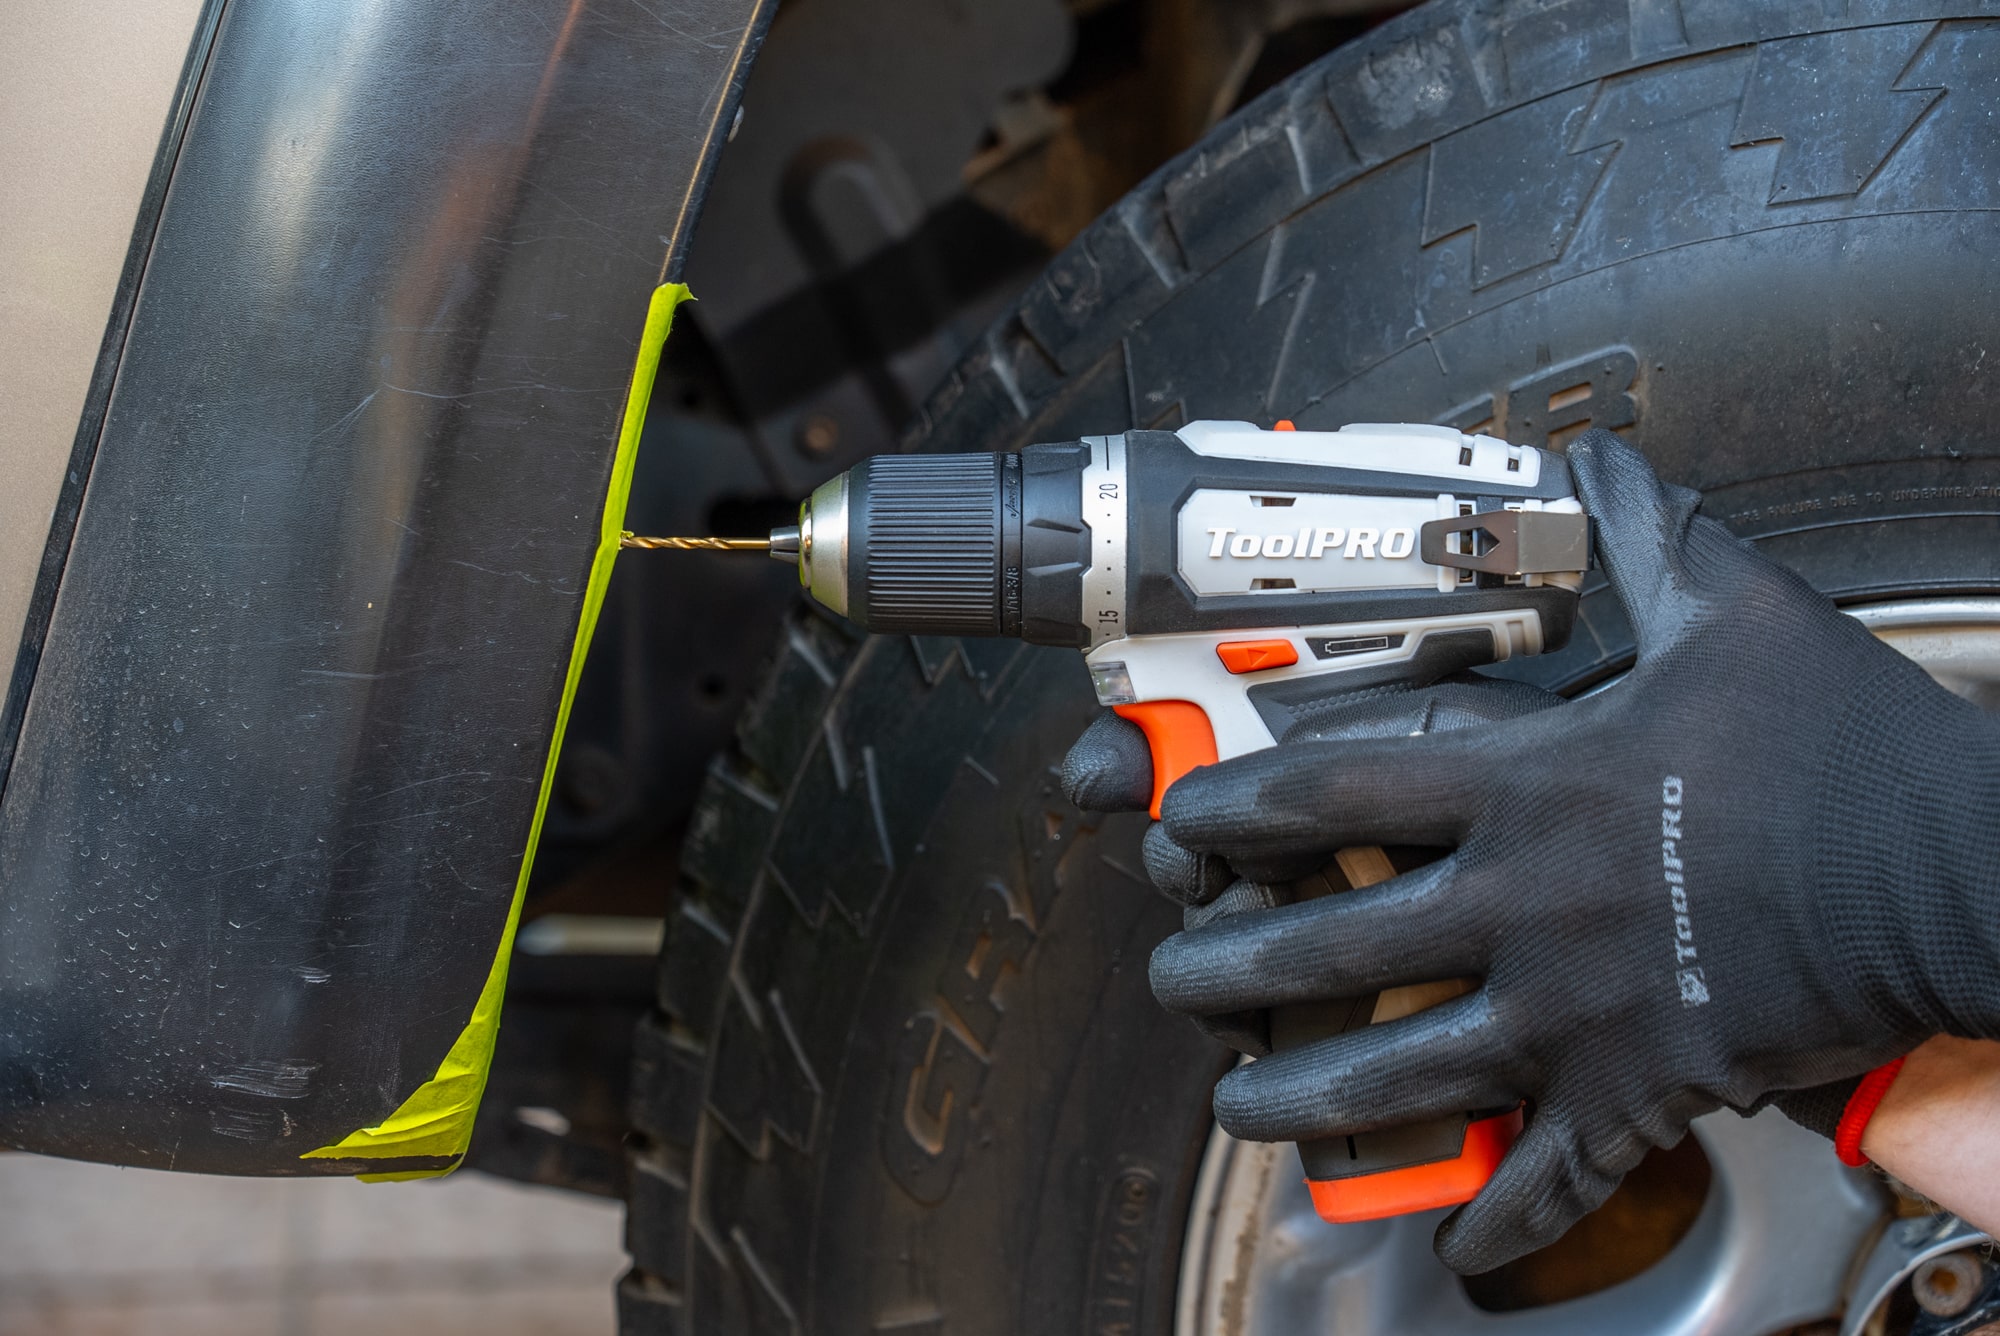
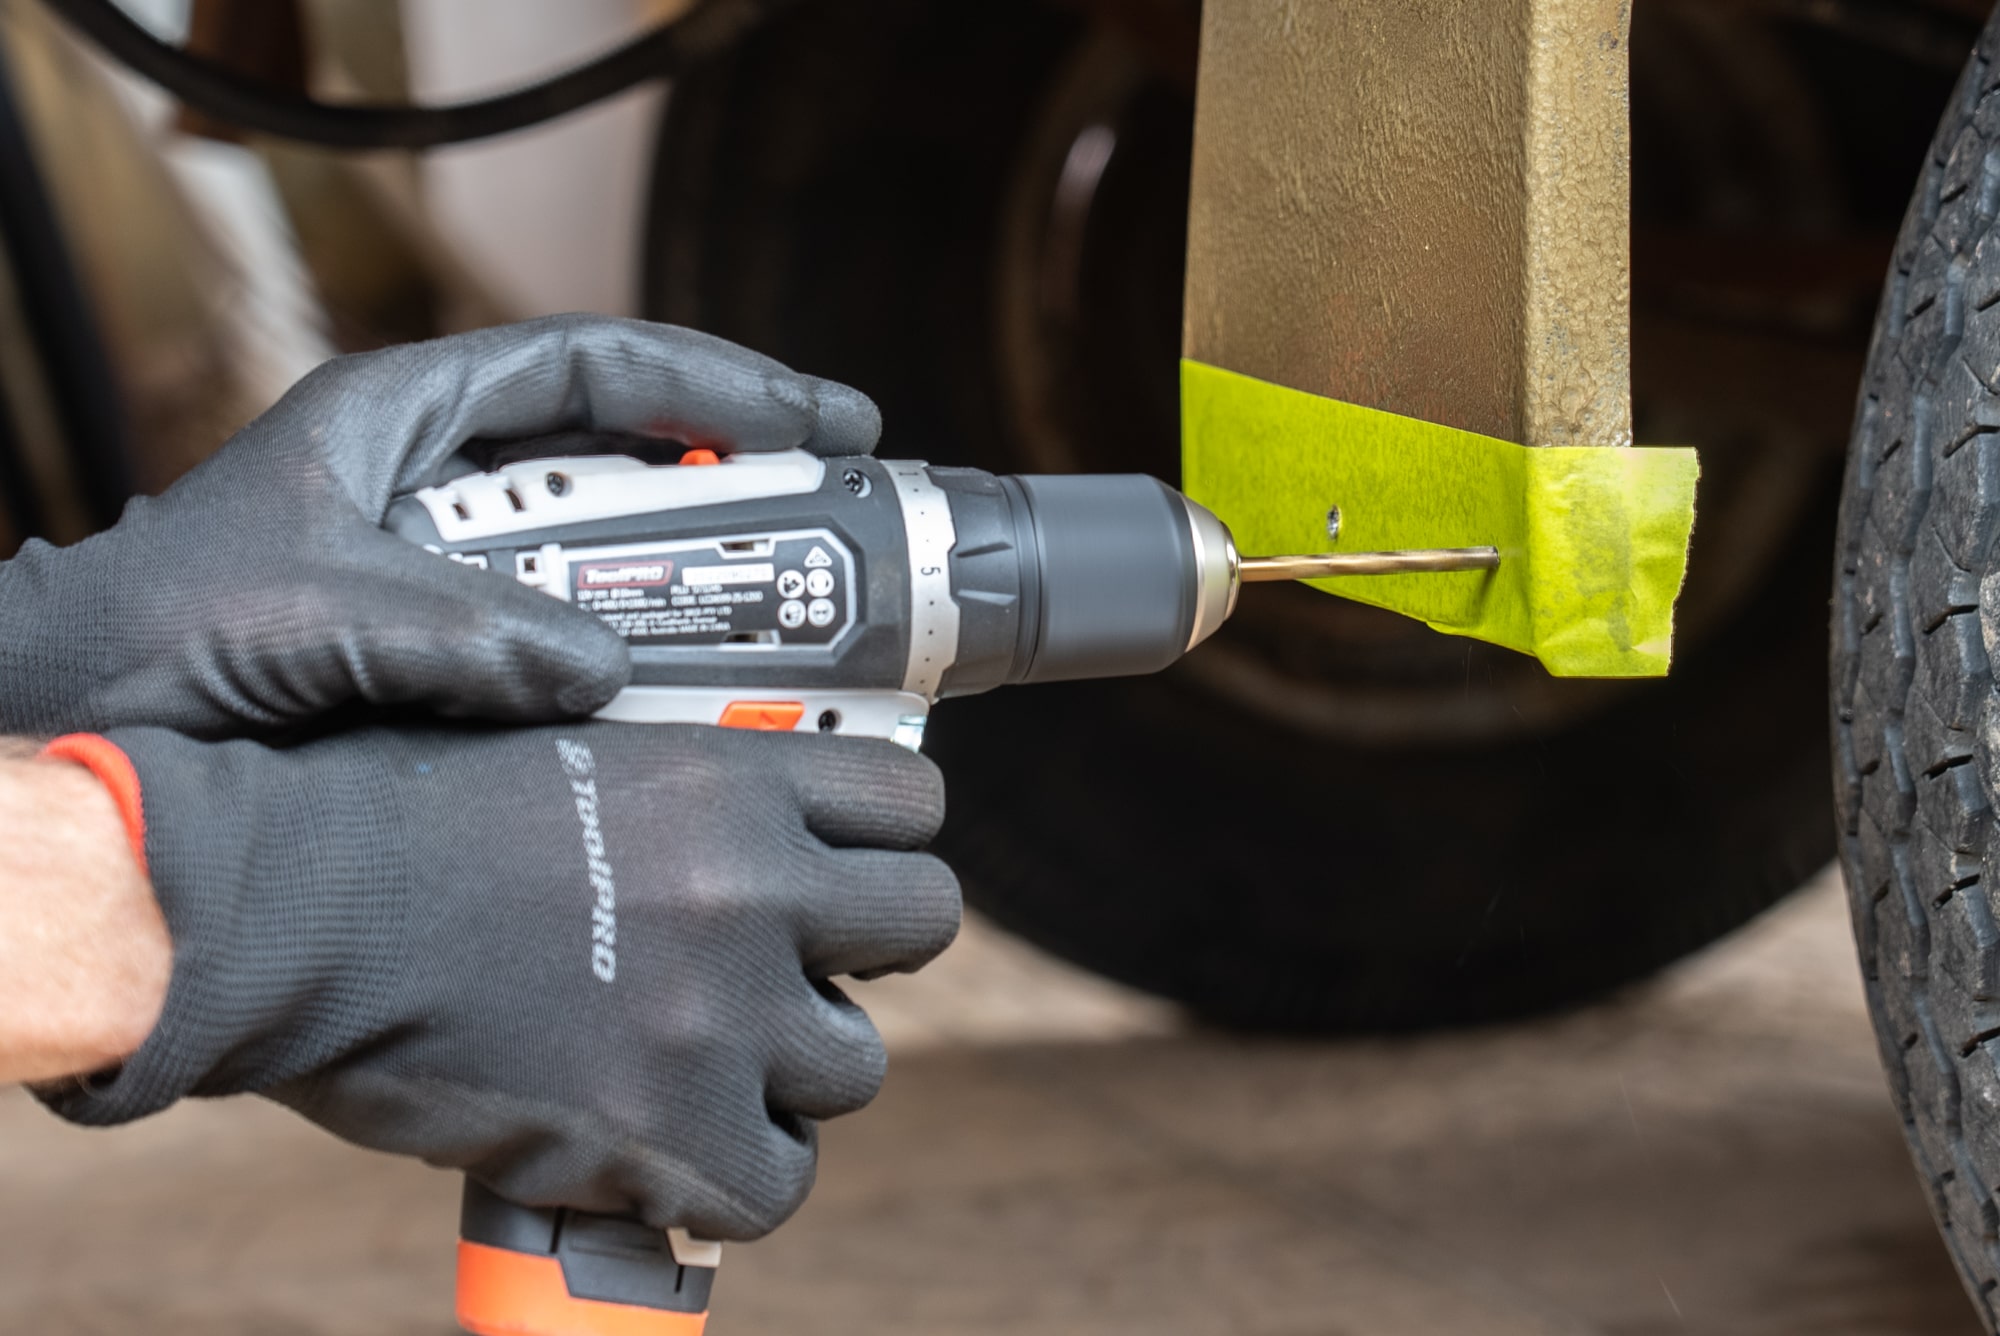
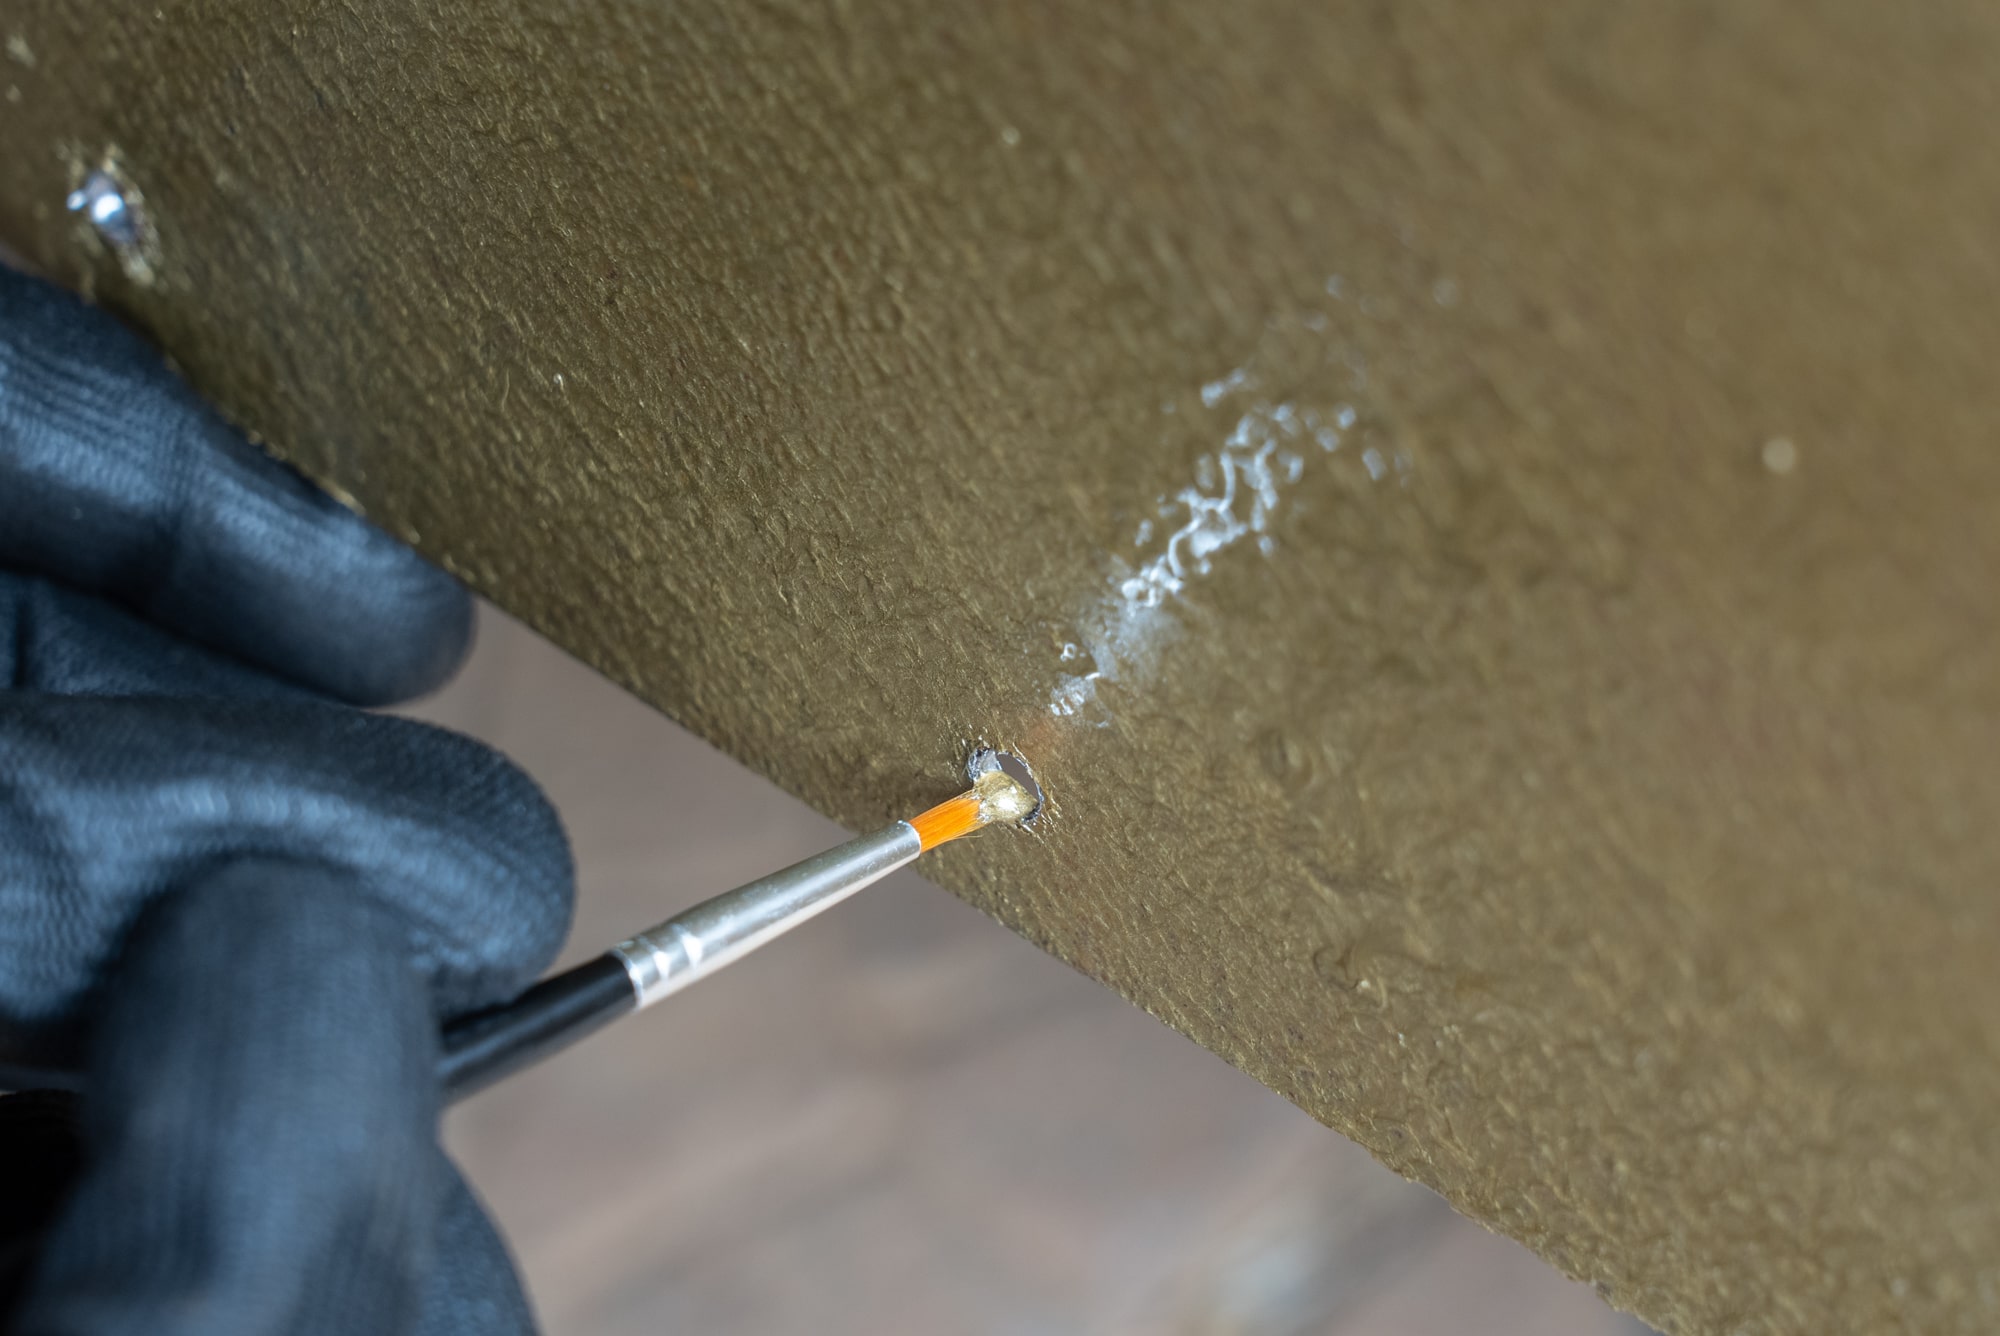
Drill the holes you marked to the same size as your fasteners. Unless you’re screwing into plastic, in which case always drill a little smaller. Wherever you drill into metal, apply a little touch up paint to prevent corrosion in the future.
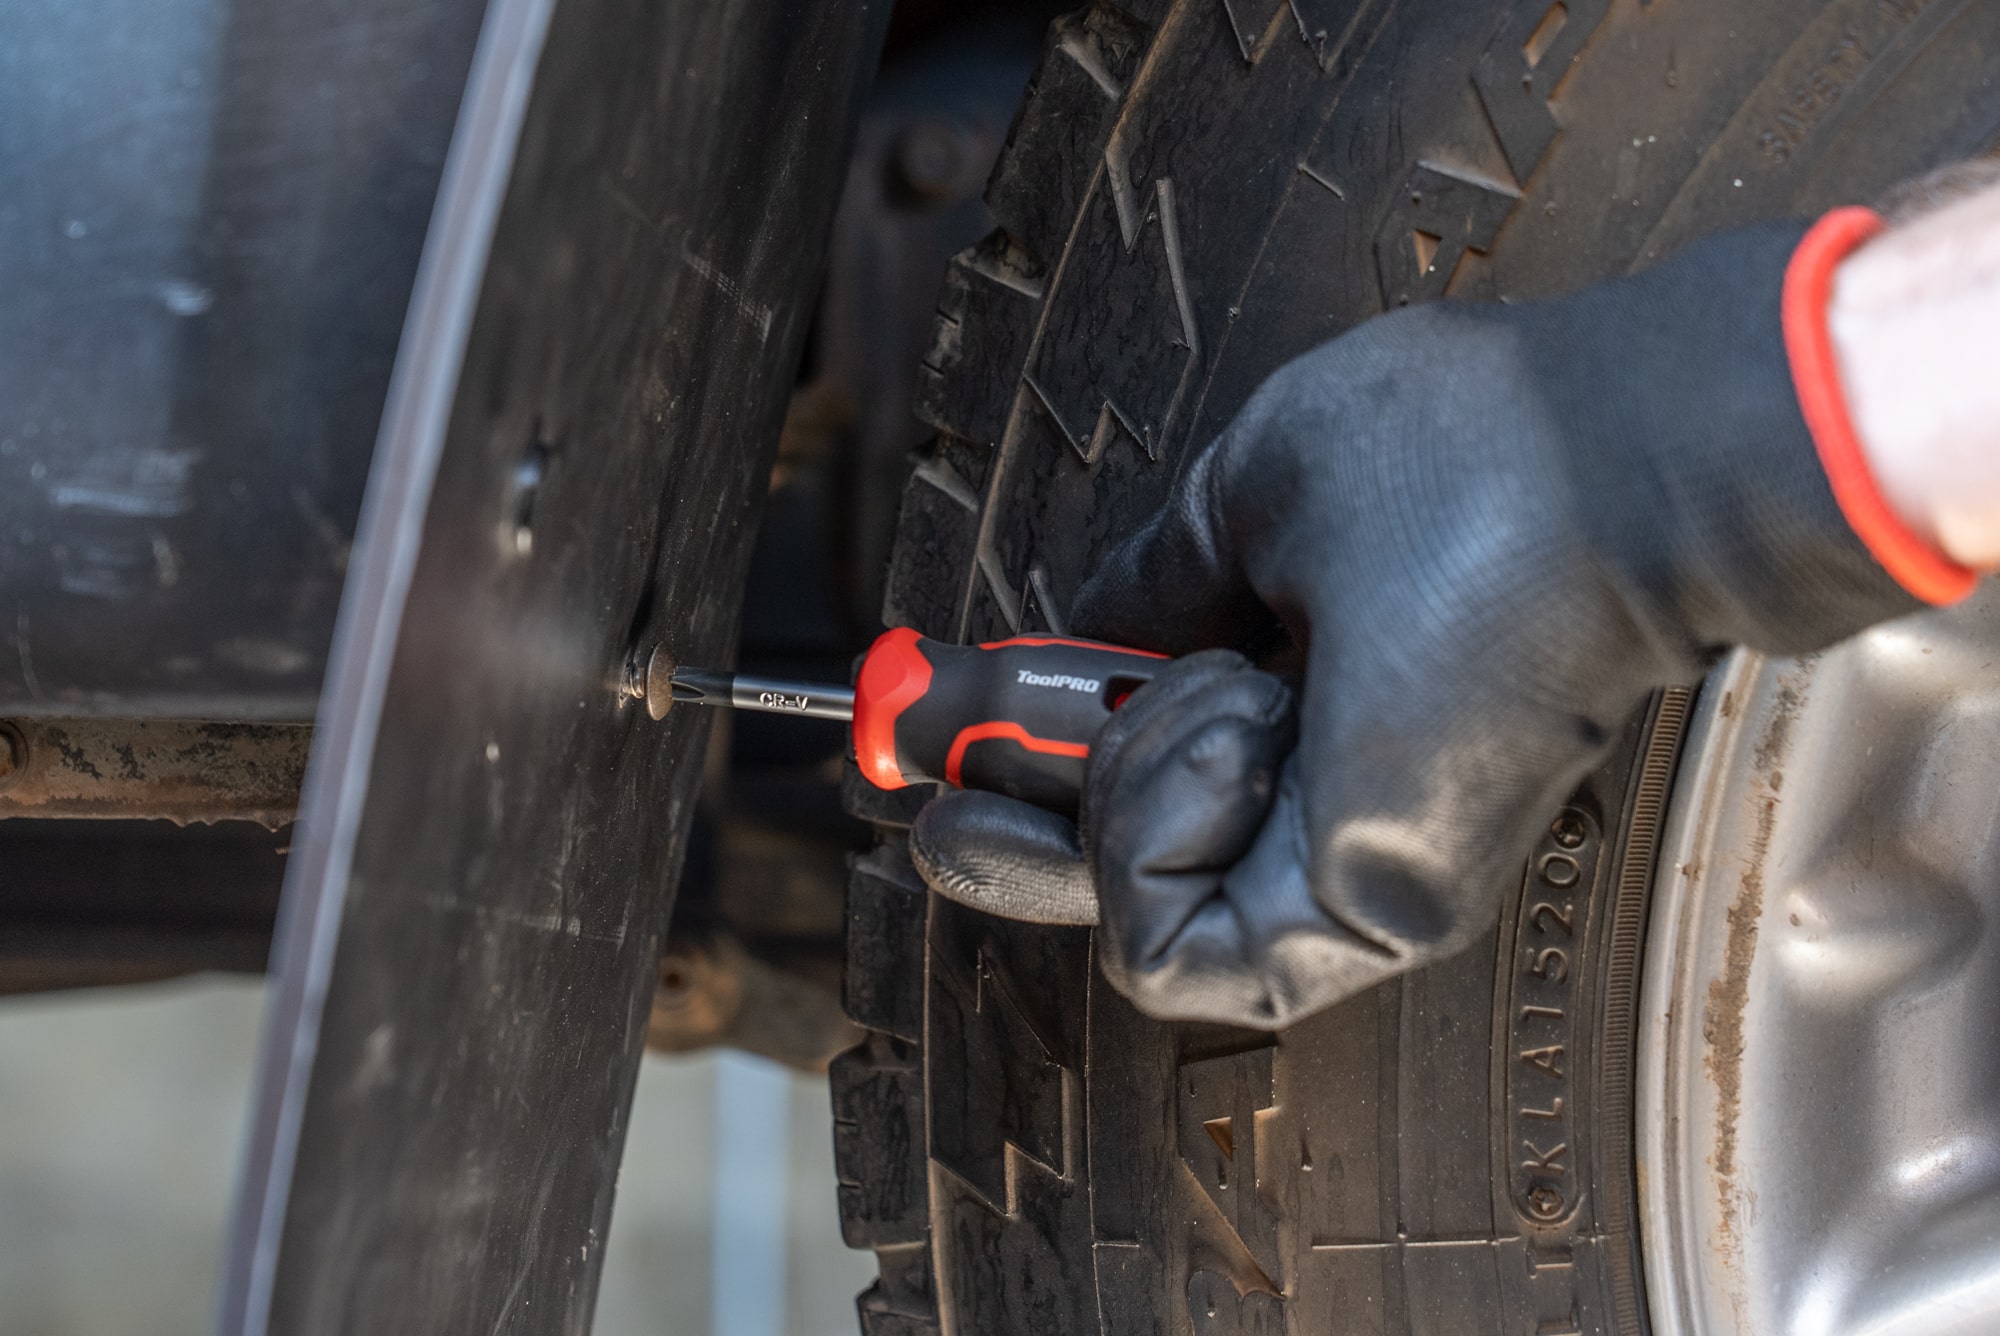
Now just fasten them on! Be careful not to over tighten any screws being fixed into plastic. If you’re using a few factory screws, you may need to add a larger washer, or even replace them with longer ones.
Tips
What are the benefits of installing mud flaps on my vehicle?
Mud flaps are pretty super! They provide a protective barrier for your paintwork defending against mud, rocks, and road debris. Your car will stay cleaner, which of course saves time washing. Safety-wise, they prevent debris from hitting other vehicles, protecting everyone on the road. Plus, they add a personalized touch to your vehicle's look. All of this can potentially boost resale value when you decide to sell.
Can I install mud flaps on any type of vehicle?
Mud flaps can be installed on virtually any type of vehicle. If your vehicle didn’t come with mud flaps, or they are not an option offered by the dealer; Supercheap Auto has a range of universal mud flaps which can be tailored to fit different types, sizes and styles of vehicles. However, it is a good idea to measure up your car and take a close look at what’s on offer. Some sizes and styles will fit much better than others.
How do I know which size and style of mud flaps are suitable for my vehicle?
The easiest way to know which size and style of mud flaps are suitable for your vehicle is to measure your vehicle and compare that measurement to different mud flaps. Longer and wider mud flaps are usually more suitable for 4X4 vehicles and trucks. The smaller contoured ones will fit great on a passenger car. And as for style – that choice is all yours.

Can I install mud flaps on my own or do I need professional assistance?
Mud flaps are one of the easiest accessories you can fit to your vehicle. If you have some basic hand toolbars, a power drill, a good eye and a little patience; you can easily fit mud flaps yourself in the driveway at home. If having a professional do the job is more appealing; it should not cost you much at all. Installing mud flaps is usually a quick and simple process.
*Important information* - Click here to read more about our DIY Advice Terms and Conditions.