How To Use A Multimeter
Overview
In the realm of diagnostics, a multimeter is the most versatile tools you can own. In the automotive domain it allows you to diagnose and troubleshoot issues related to car batteries, alternators, relays, and more. While it may appear at first to be a complex tool, you will quickly unravel the secrets of the multimeter with this guide. But first…
What is a multimeter?
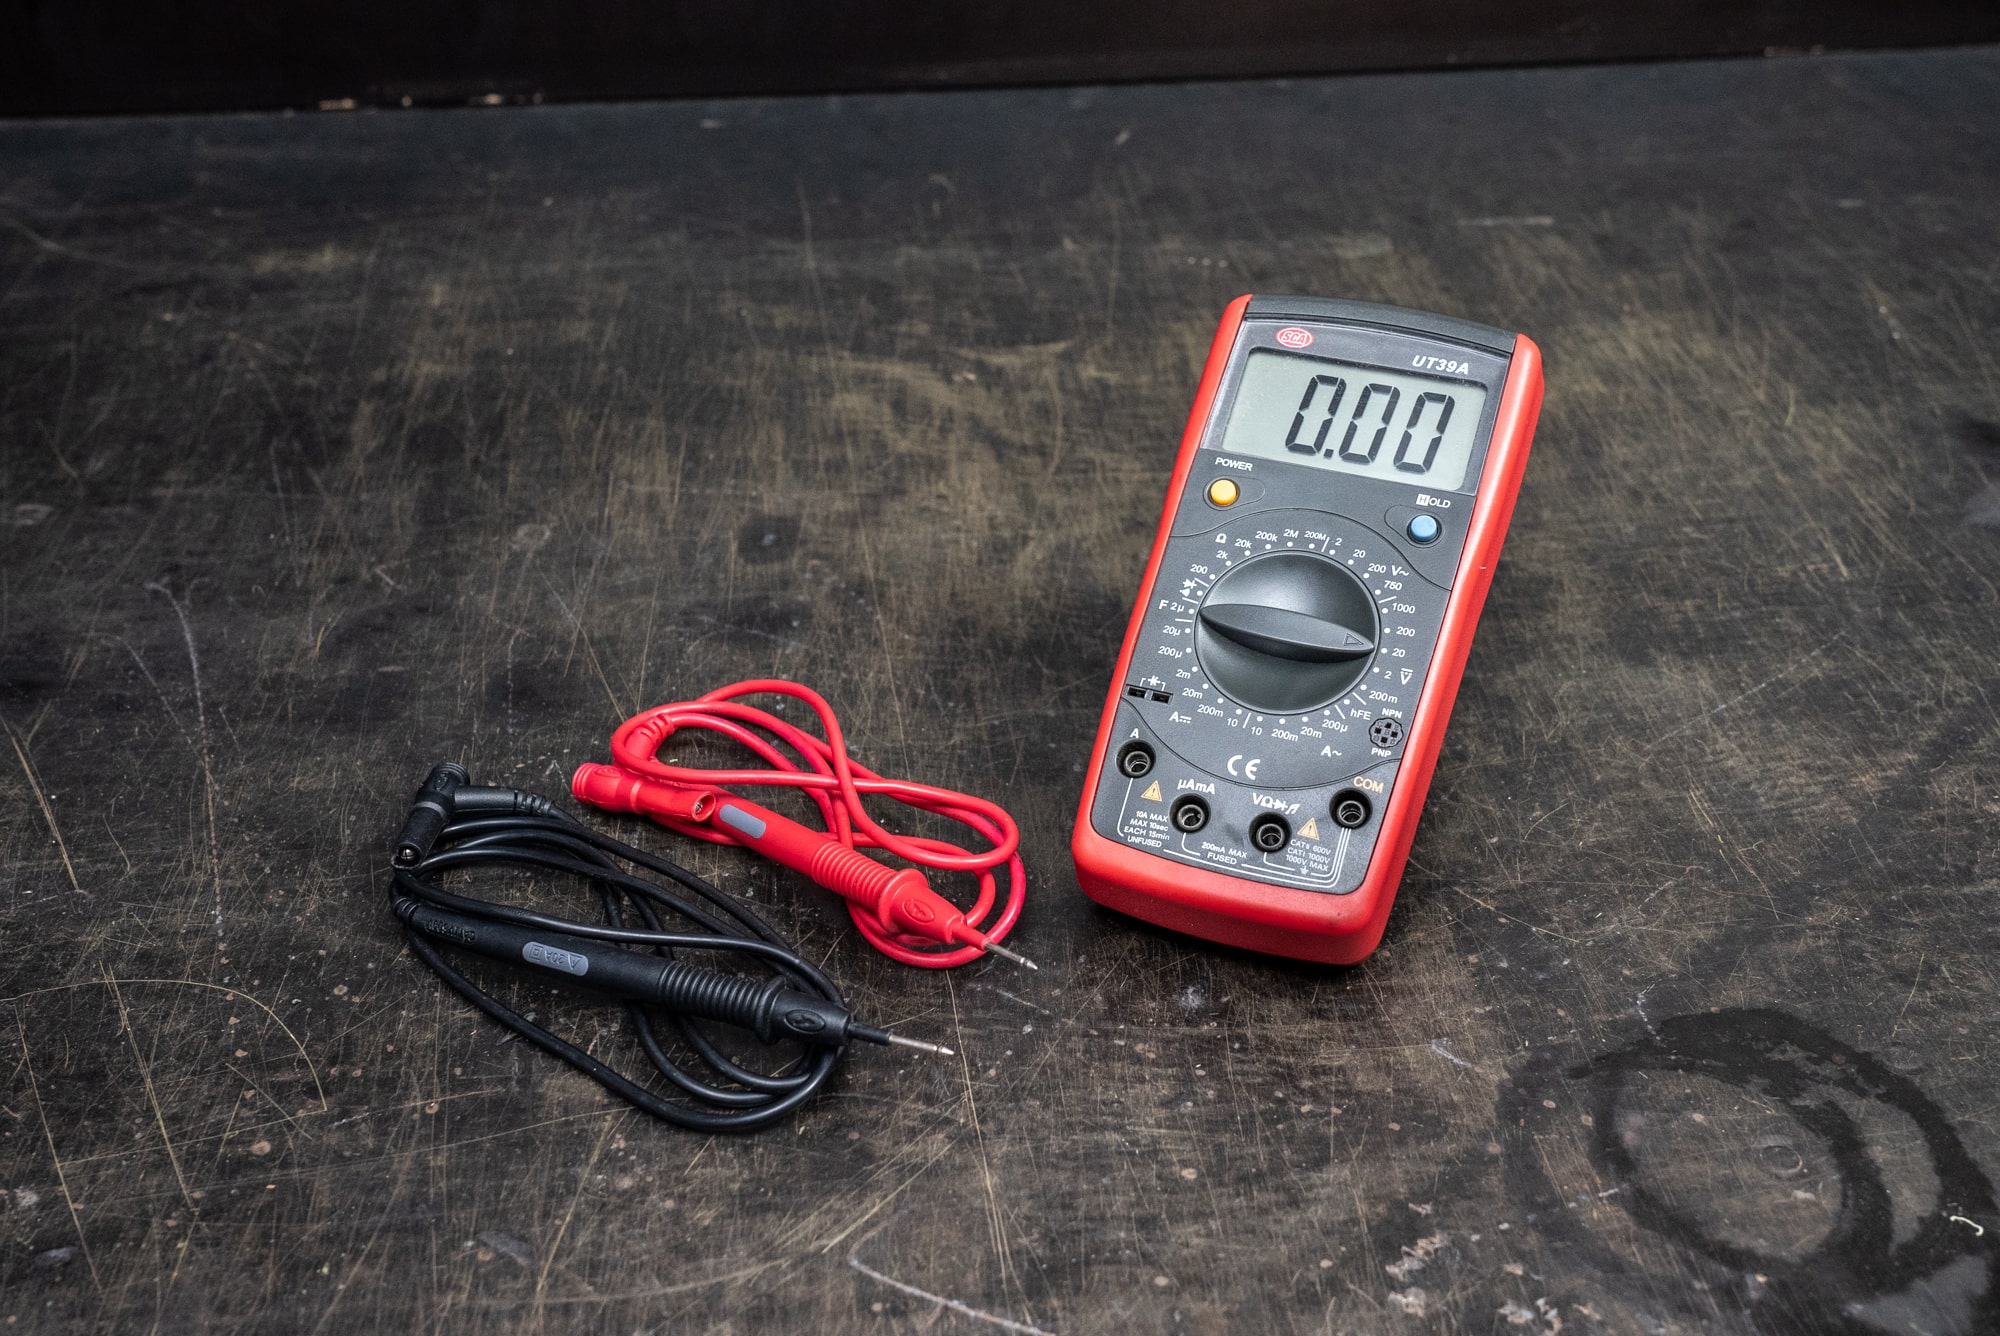
A multimeter is the Swiss Army Knife of electrical tools. It typically measures AC and DC voltage, current, and resistance in electrical circuits. Your multimeter will have a digital display, test leads and a switch to select the desired measurement. Some units will also have sockets for inserting and testing circuit board components.
What are the symbols on a multimeter?
The symbols on a multimeter help you to select the right measurement mode. This varies from model to model depending on feature set. Around the outside of the selection dial you will see at least four multimeter symbols:
V~ This is volts AC (alternating current) this is what your home uses.
V⎓ This is volts DC (direct current) this is what your car uses.
Ω This is ohms, the measurement of resistance.
A~ This is amperes (amps) AC (alternating current) which is what your home uses.
A⎓ This is amperes (amps) DC (direct current) which is what your car uses.
F This is farad, often represented as µ and is used for testing capacitors.
Closer to the inside of the dial you will find numbers to correspond with the multimeter symbols. For example, next to V⎓ you may find 2, 20, 200, 1000. This is where you make the selection for which voltage you’d like to measure. Very important if you’d like to know how to read a multimeter.
Steps
How to use a multimeter on a car battery
To begin with, plug the test leads into your multimeter. The black lead always goes into the COM port, the red lead must be fitted to the port marked with V, most likely there will be other symbols here too.
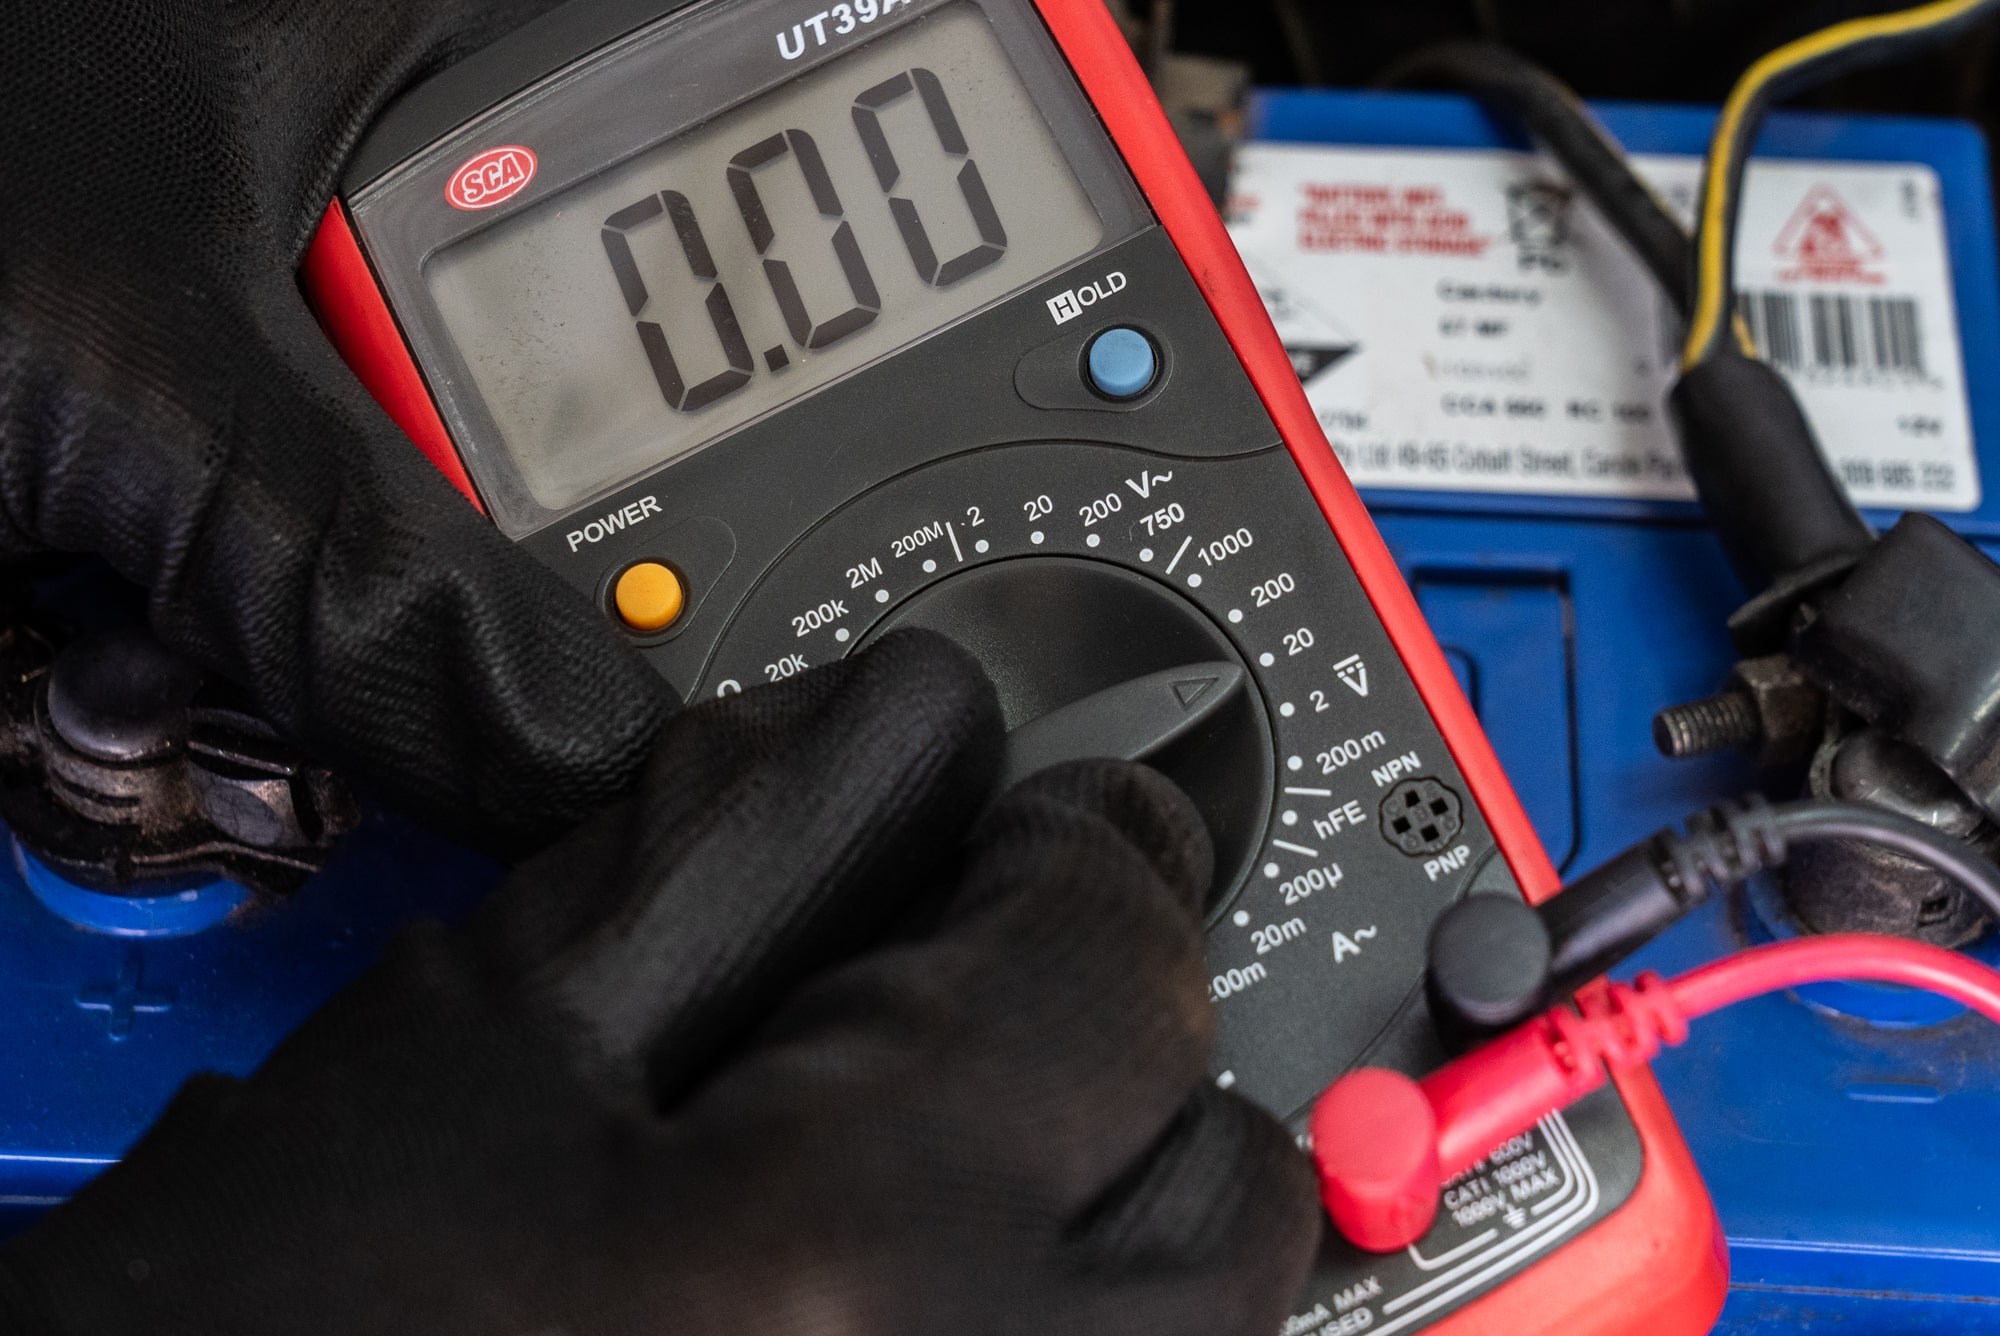
Now switch your multimeter on and turn the selection dial to the volts DC range. Because a car battery is twelve volts, you will select the nearest voltage that is not LOWER than twelve volts. In most cases this will be 20 volts. If you have an auto ranging multimeter you won’t need to select a voltage, just ensure it is set to volts DC.
From here it’s all super simple!
Touch the red lead to the positive terminal on your battery, and the black lead to the negative terminal. The number shown on your multimeter screen is the current battery voltage. If your battery is fully charged, the mulitmeter will show 12.6 to 12.8 volts. Less than twelve volts indicates that your battery is flat. It probably will not start a car in this state.
How to test an alternator with a multimeter
Okay, so your battery is flat, and you’ve been caught out by this a few times recently. It may be a good idea to test your
alternator with a multimeter.
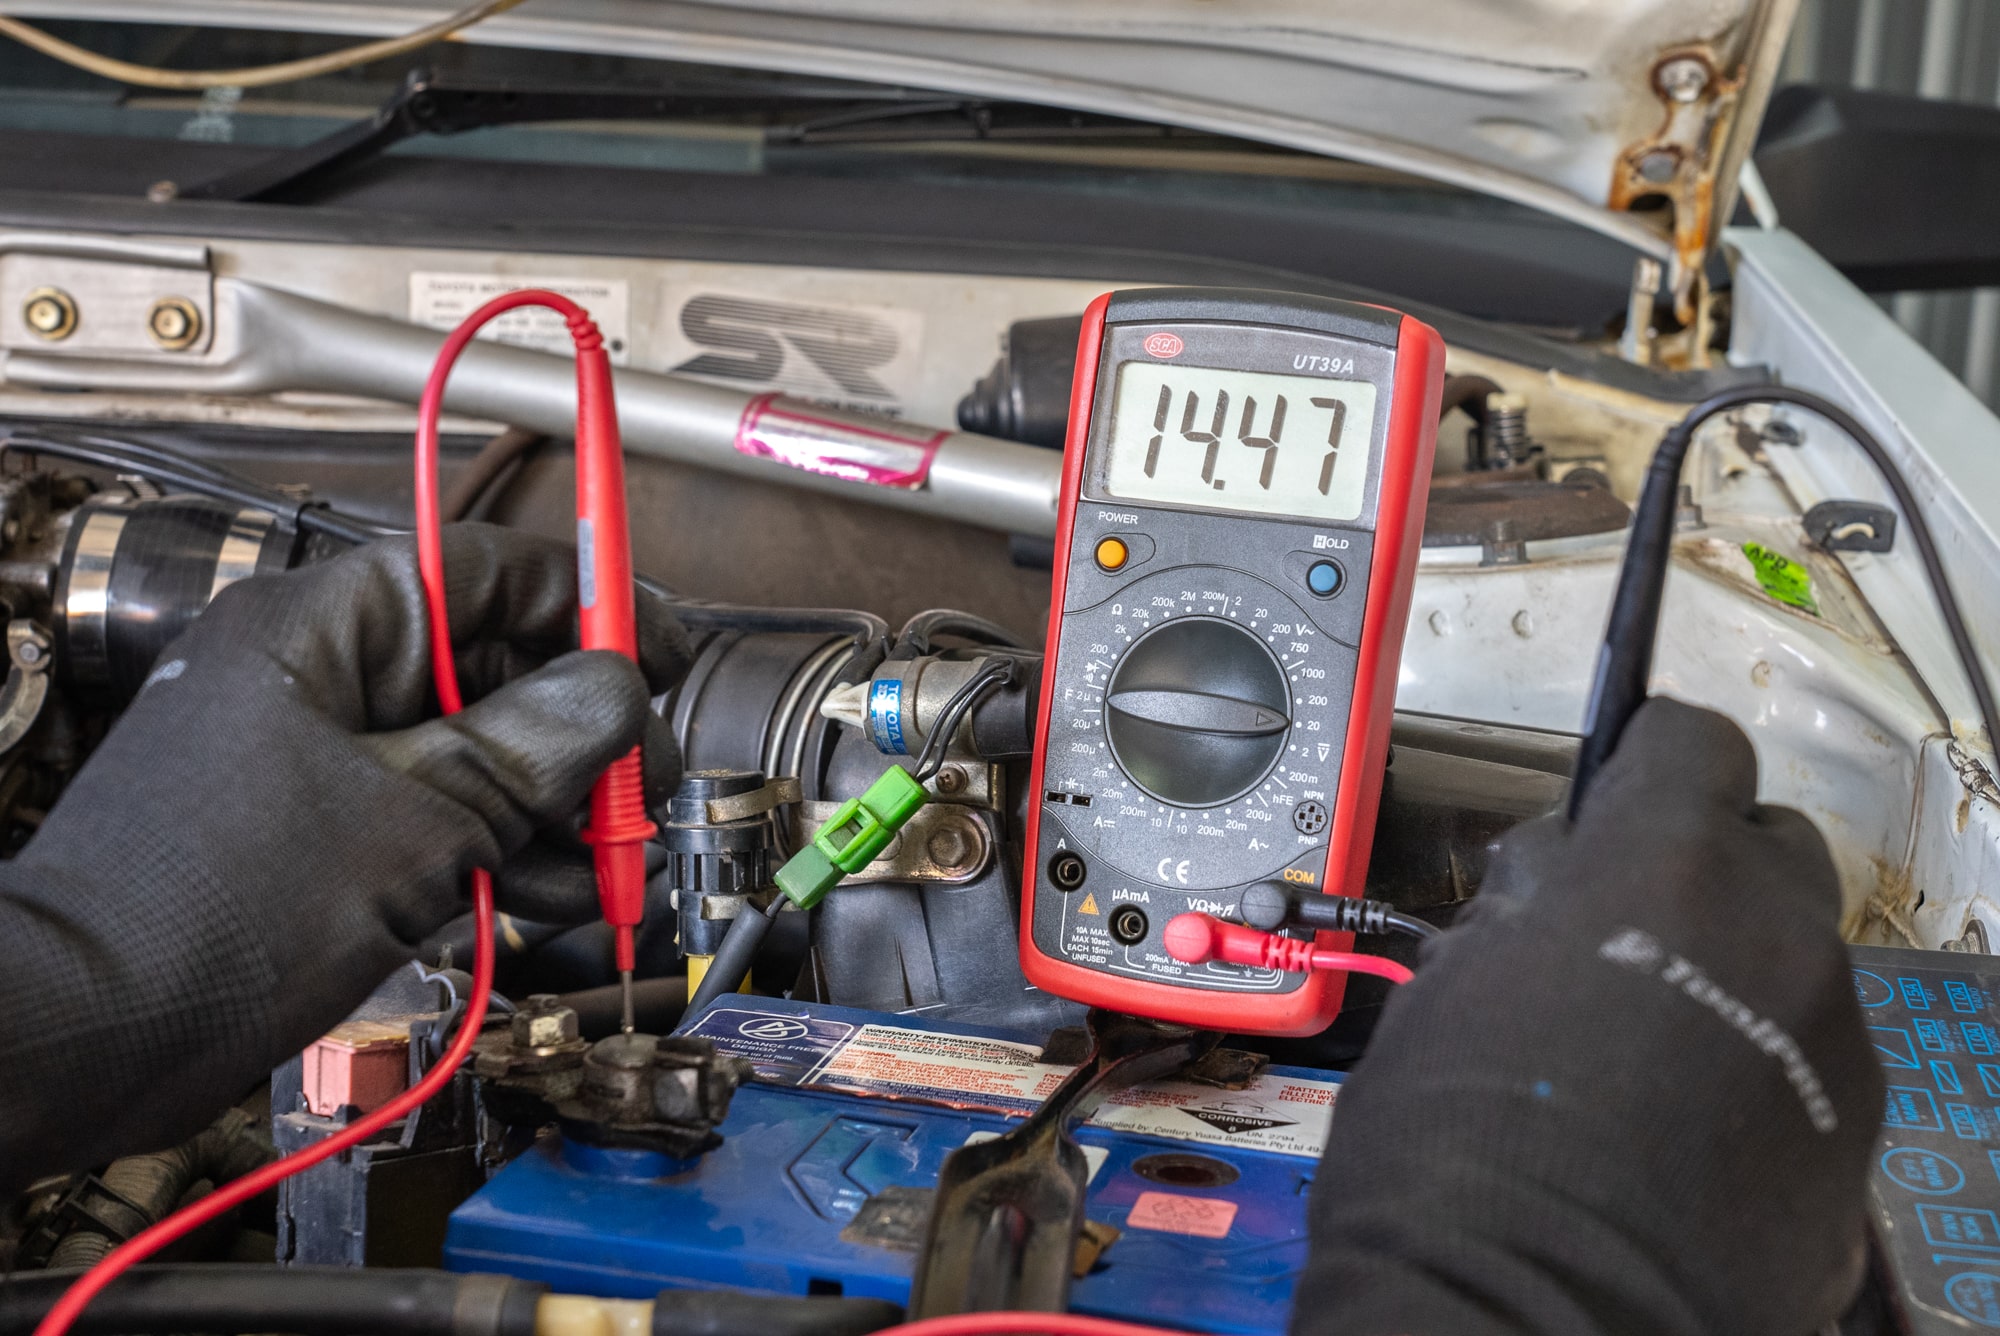
Just like the car battery test, select volts DC and the 20-volt range. Touch the leads to the positive and negative terminals on your car battery and note the voltage.
Now go and start your car. If you need to jump start it that’s fine, it won’t impact the result of this test.
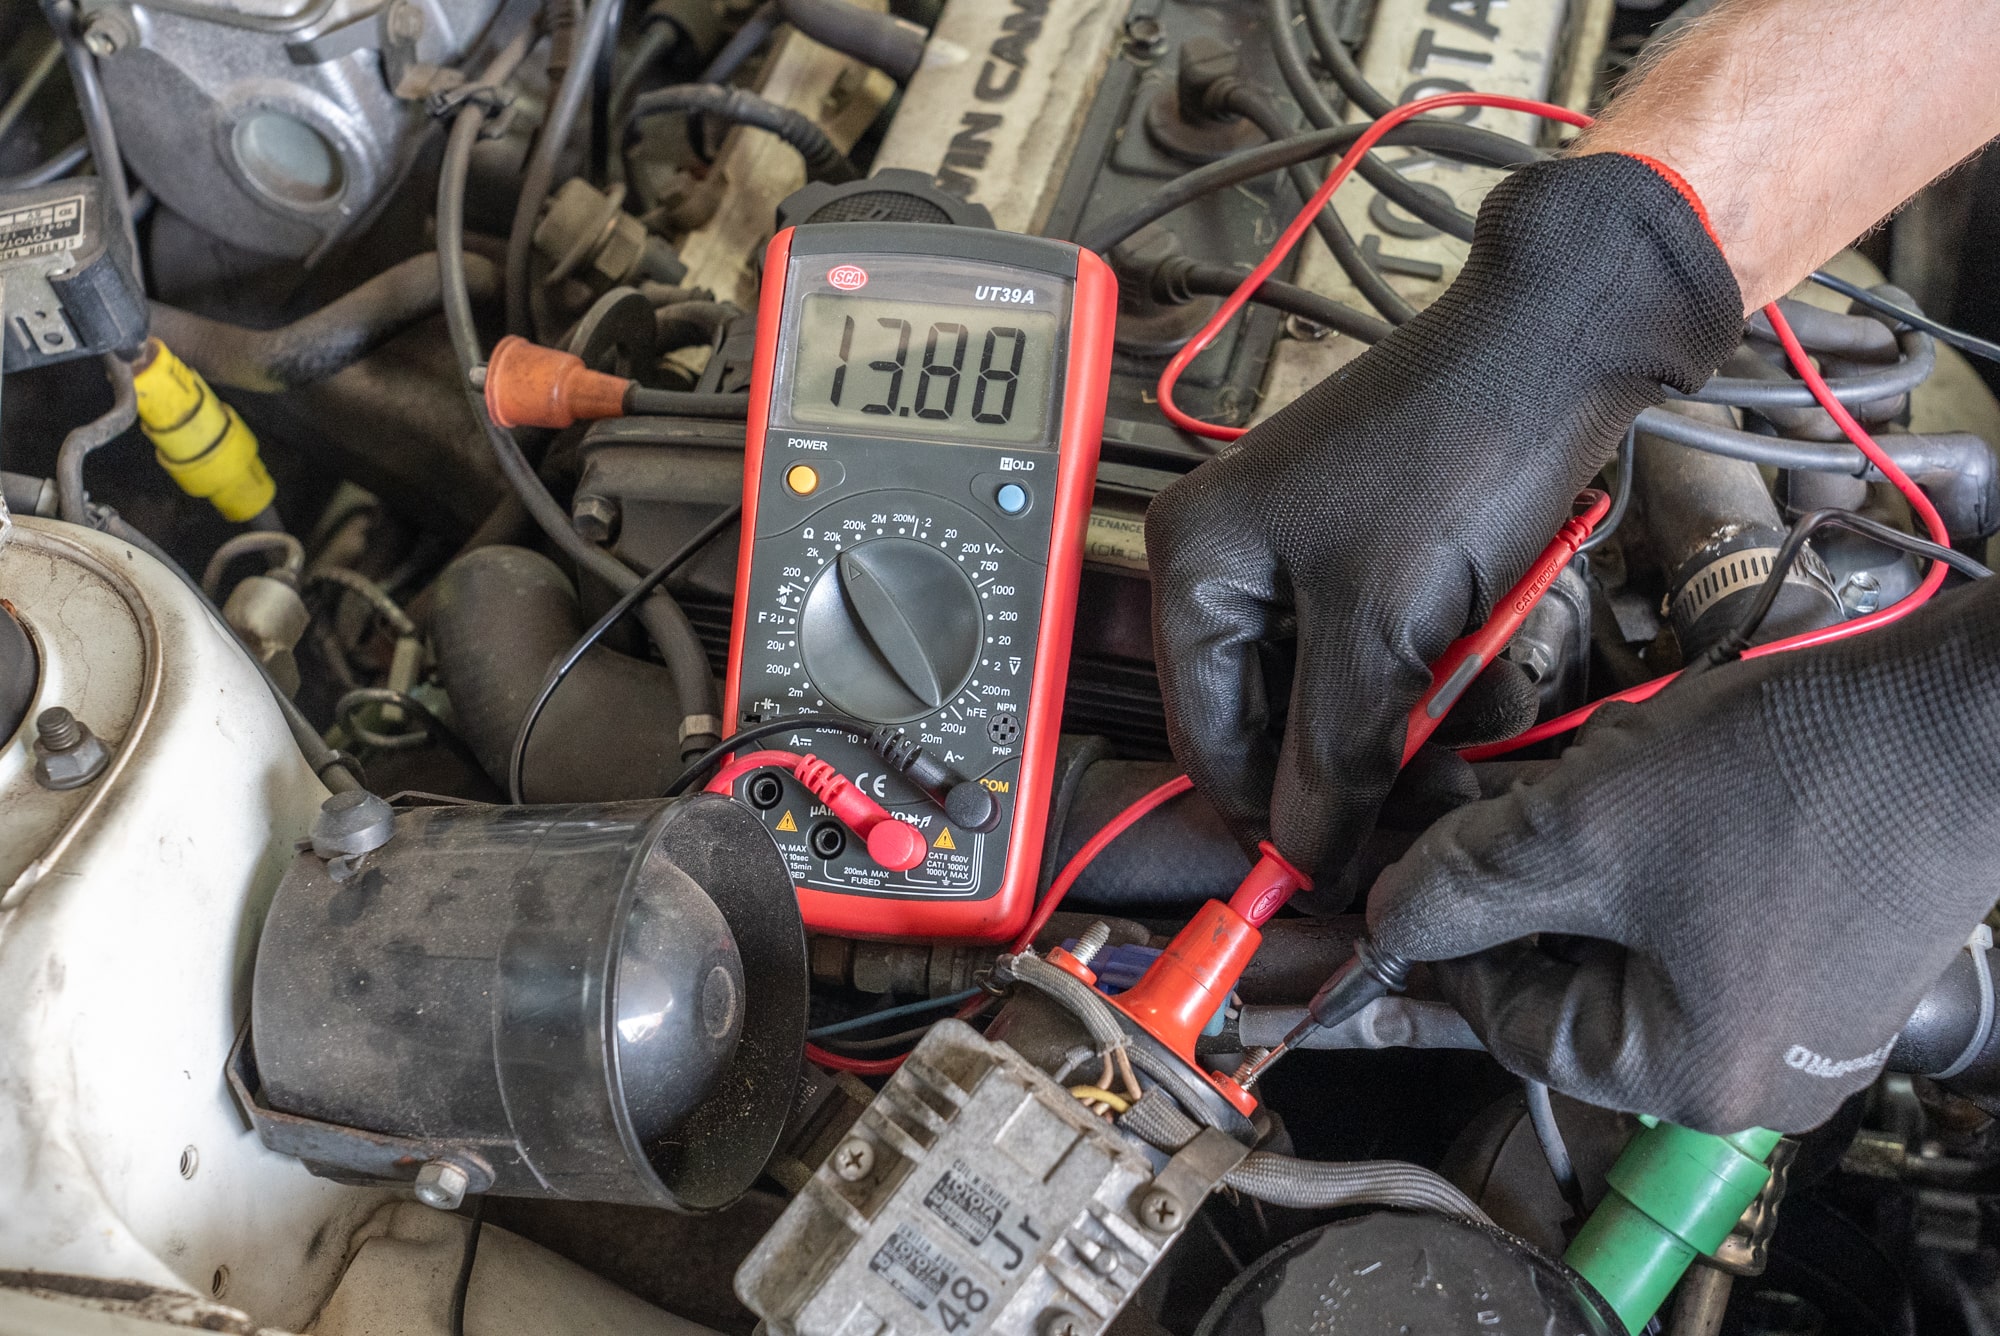
Take another reading on your multimeter. If your alternator is working, the voltage will read higher than before. A healthy charge voltage is usually between 13.8 and 14.4 volts, although this can vary between vehicles.
How to test a relay with a multimeter
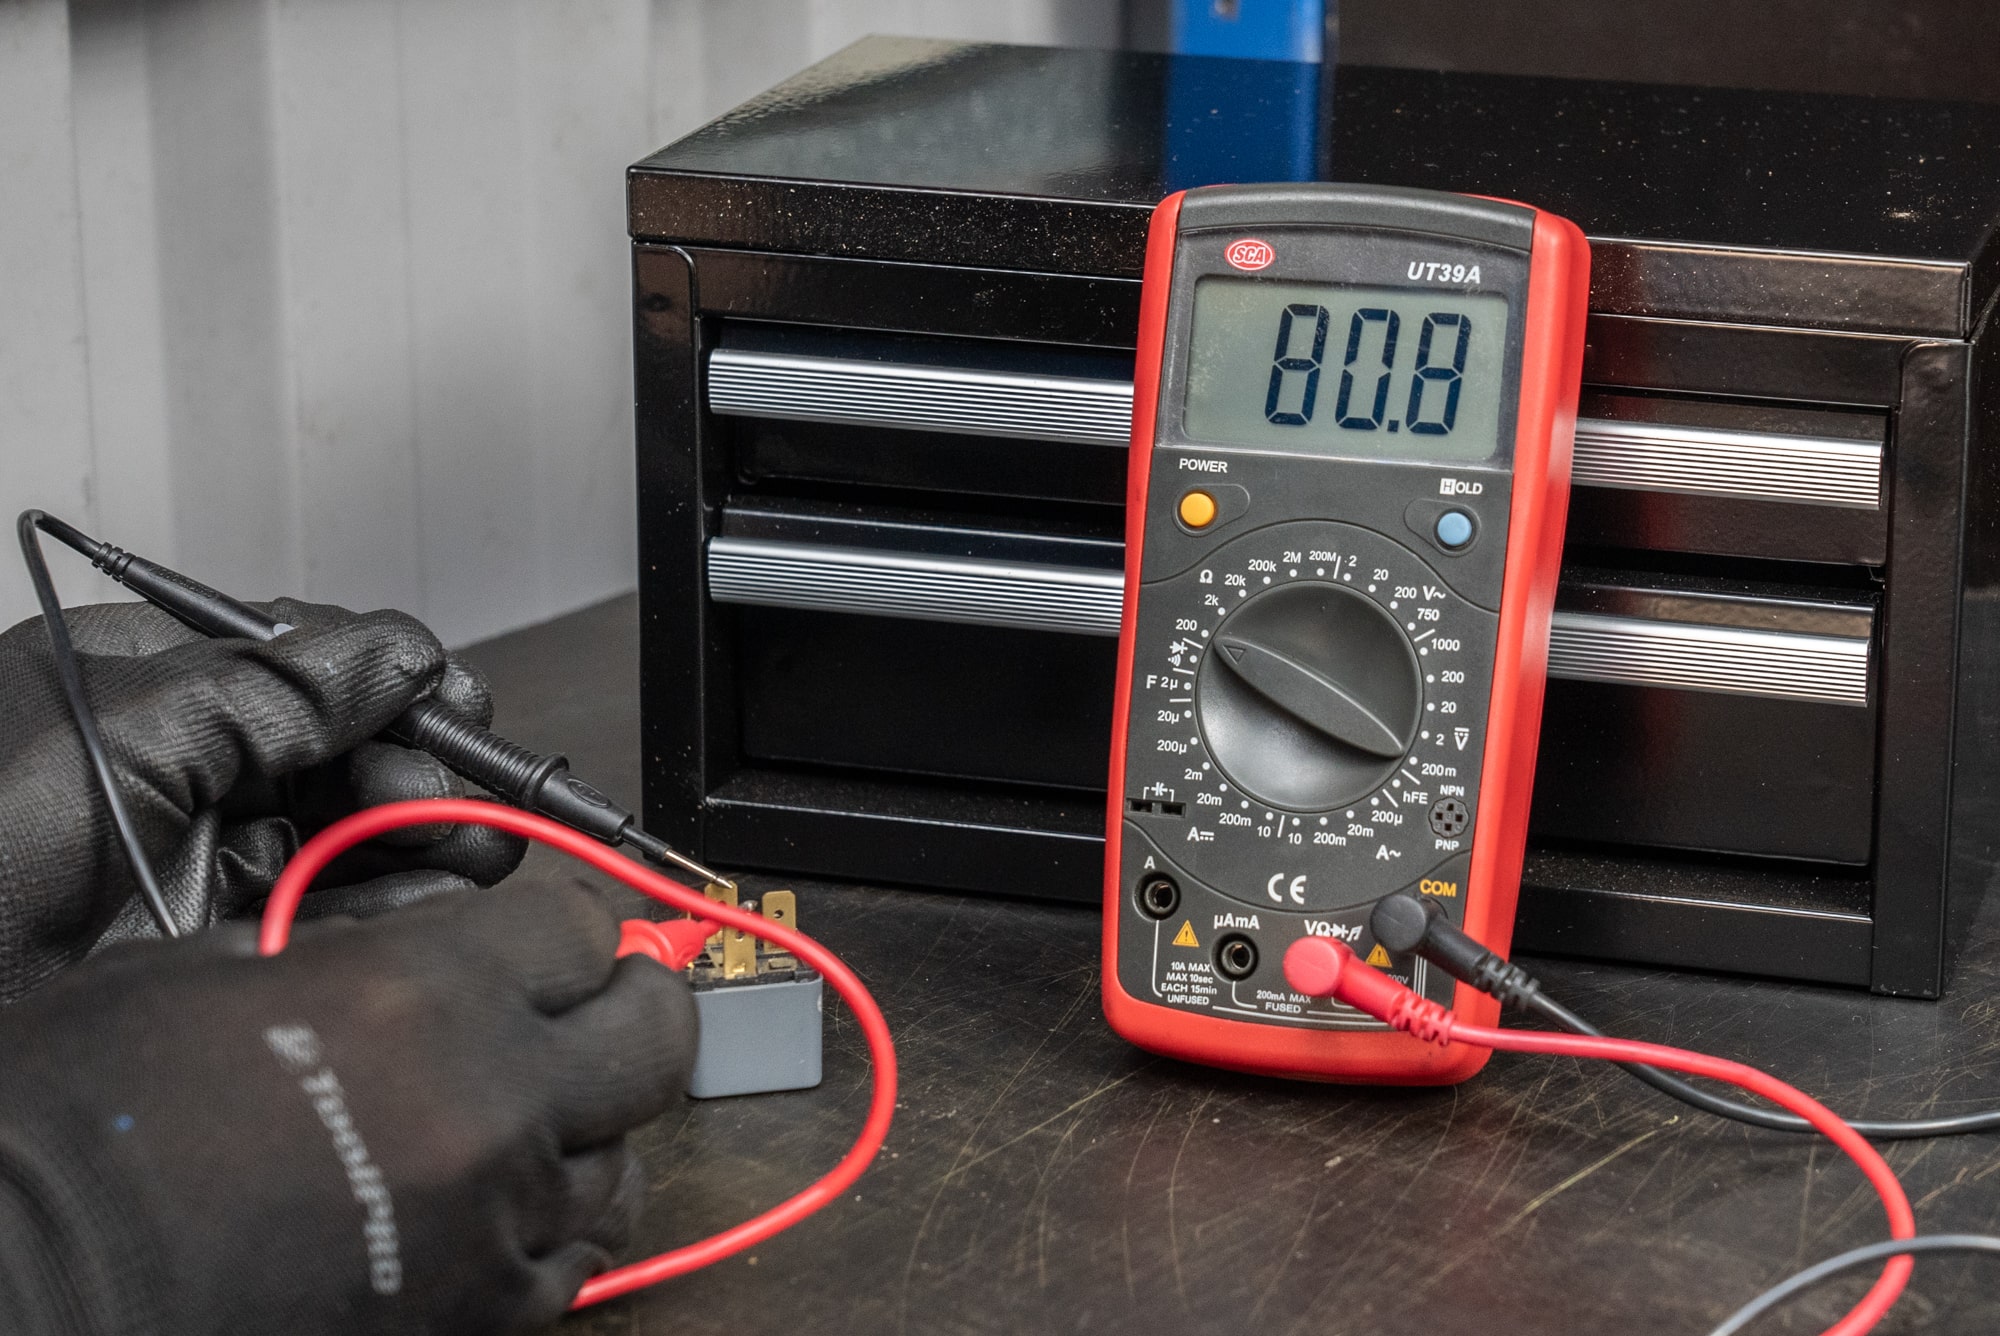
To test a relay with a multimeter, first remove it from the car. Most automotive relays will have four or five numbered pins. A circuit diagram on top of the relay will help you decipher the function of each pin. If your relay doesn’t have one; you’ll need to look one up.
To begin, measure resistance of the coil circuit. This is usually pins 85 and 86. Switch your multimeter on and turn the dial to measure resistance (the ohms Ω symbol). Select 200 ohms, and then touch the probes to the 85 and 86 pins (it doesn’t matter which way around). If you get a reading between about 50 and 150 ohms; the coil circuit is likely fine.
Next, you’ll need to connect pin 30 to a 12-volt power source, pin 85 to an earth, and touch a wire from pin 86 to the 12-volt power source. If you hear a small click, the relay has engaged. To verify this, switch your multimeter to volts DC measuring mode and while holding the black probe to an earth; touch the red probe to pin 87 or 87a. If the relay is working correctly, you should have a voltage reading.
Remember that some relays work a little differently, so referring to the correct circuit diagram is super important.
How to measure amps with a multimeter
Measuring amps with a multimeter can be useful for many reasons. For example, if something is running your car battery flat, you can test circuits until you find the problem.
Amps can also be known as current, or current draw. To measure amps, you will usually need to swap the positive test lead into a different port on your multimeter. For measuring amps on a car, you should start with the port marked A for amps. There may also be a port marked mA which is milliamps.
To measure amps with a multimeter, the multimeter must become part of the circuit. In a car, the easiest way to do this is to remove the fuse from the circuit you want to test and poke your probes into either side of the fuse holder. Twist the dial to A⎓ and select the value nearest to the value of the fuse you removed.
Keep in mind that every multimeter has a limit of amps it can handle. Usually this is 10 amps.
To ensure you don’t fry your multimeter, never test a circuit with an amp draw higher than your multimeter.
How to test a capacitor with a multimeter
To test a capacitor with a mutlimeter, we will use a multimeter with a capacitance function. You will first need to remove the capacitor from its circuit. Then, using a resistor; bridge the two terminals of the capacitor to discharge it.
Take the positive probe for your multimeter and plug into the correct port for measuring capacitance. This is usually marked with an F or µ symbol. Then turn the selector dial on your multimeter to the same. Now touch the positive and negative probes to the corresponding terminals on the capacitor. Polarity is usually marked on the side of the capacitor.
If the value shown on your multimeter is the same as or close to that which is written on the side of the capacitor; then then capacitor is functioning well.
How to test an ignition coil with a multimeter
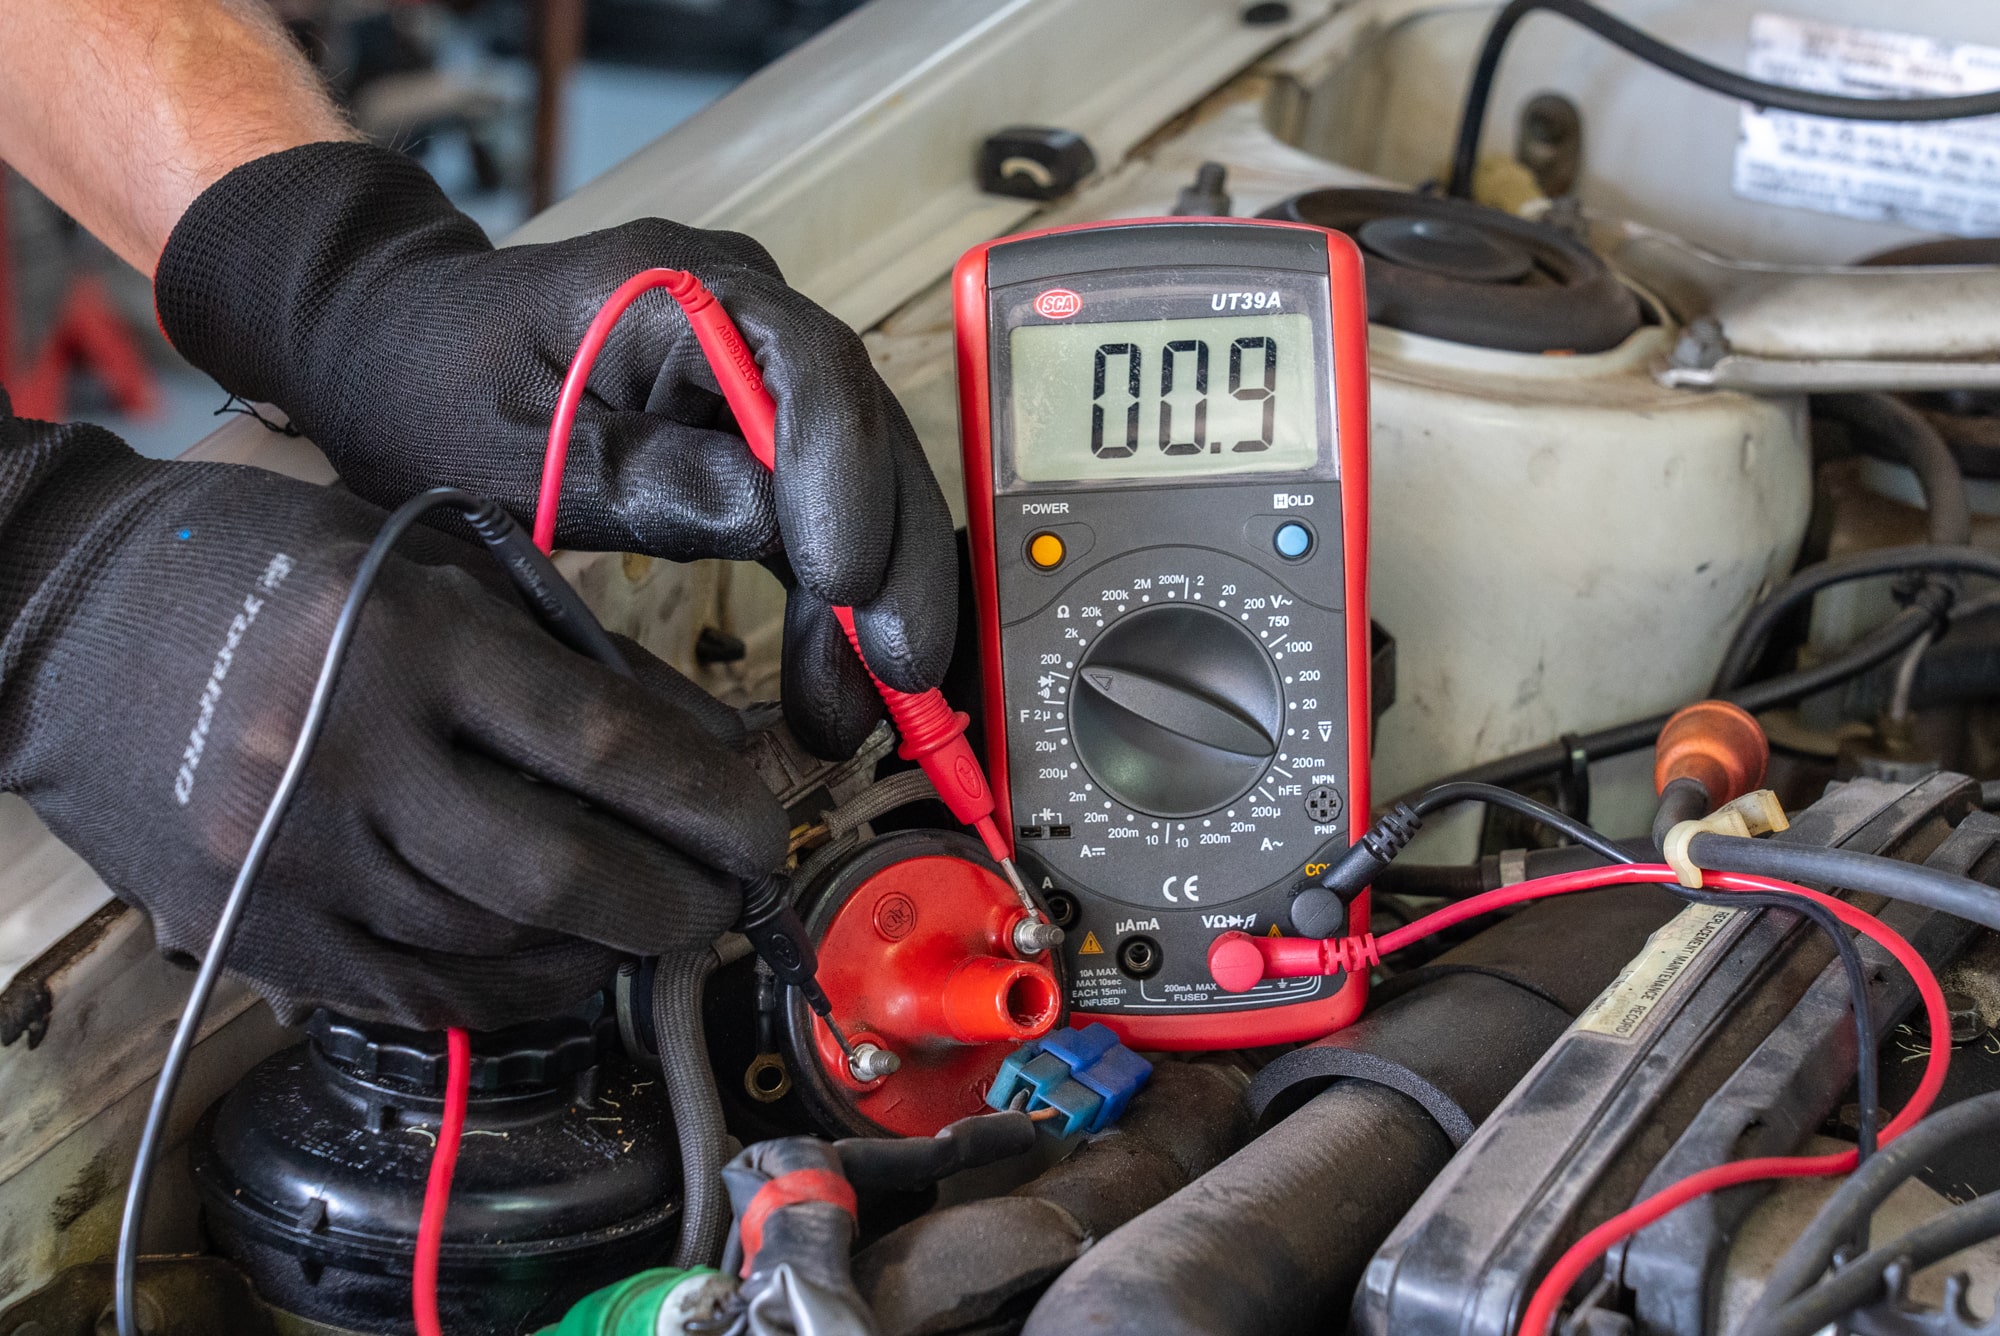
To test an ignition coil with a multimeter you must first remove it from the vehicle. Then you’ll need to find the factory resistance values for your ignition coil, these are printed inside all quality workshop manuals. Now plug the positive probe of your multimeter into the appropriate port for measuring resistance, this is marked with a Ω symbol. Use the selection dial on your multimeter to select the resistance value closest to the factory value printed in your service manual.
There are two coils within your ignition coil. The primary and secondary. To measure the primary, touch the black probe to the negative terminal, and the red probe to the positive terminal both on the outside of your coil. To measure the secondary coil, keep the black probe where it is; and poke the red probe into the centre terminal.
If either of the values shown on your multimeter are outside of those printed in your service manual; then the ignition coil is due to be replaced.
How to test a fuse with a multimeter
A simple continuity test will enable you to test a fuse with a multimeter. Turn the dial on your multimeter to continuity test mode, and ensure that the positive probe is connected to the appropriate port. Touch a probe to each terminal on the fuse (it doesn’t matter which way around) and if your multimeter emits a beep; the fuse is good.
Some models will have a port where you can insert a fuse directly for an instant test.
How to test solar panels with a multimeter
To test a solar panel with a multimeter, you’ll need to find the normal open circuit voltage for your solar panel. It may be printed on the back of the panel. Then, ensure the positive probe is in the volts DC testing port, turn the selection dial to volts DC, and select the nearest voltage that is not LOWER than that of your solar panel.
Now touch the red probe to the positive and the black probe to the negative output on your solar panel while it is in full sun. Your multimeter should read close to the rated open circuit voltage specified for your panel.
Tips
Okay, so you can do a lot with a basic multimeter. If you don’t already own one, it’s time to add one to your toolkit! At Supercheap Auto, we have a multimeter range to suit everyone from the occasional tinkerer to the auto electrical enthusiast.
*Important information* - Click here to read more about our DIY Advice Terms and Conditions.