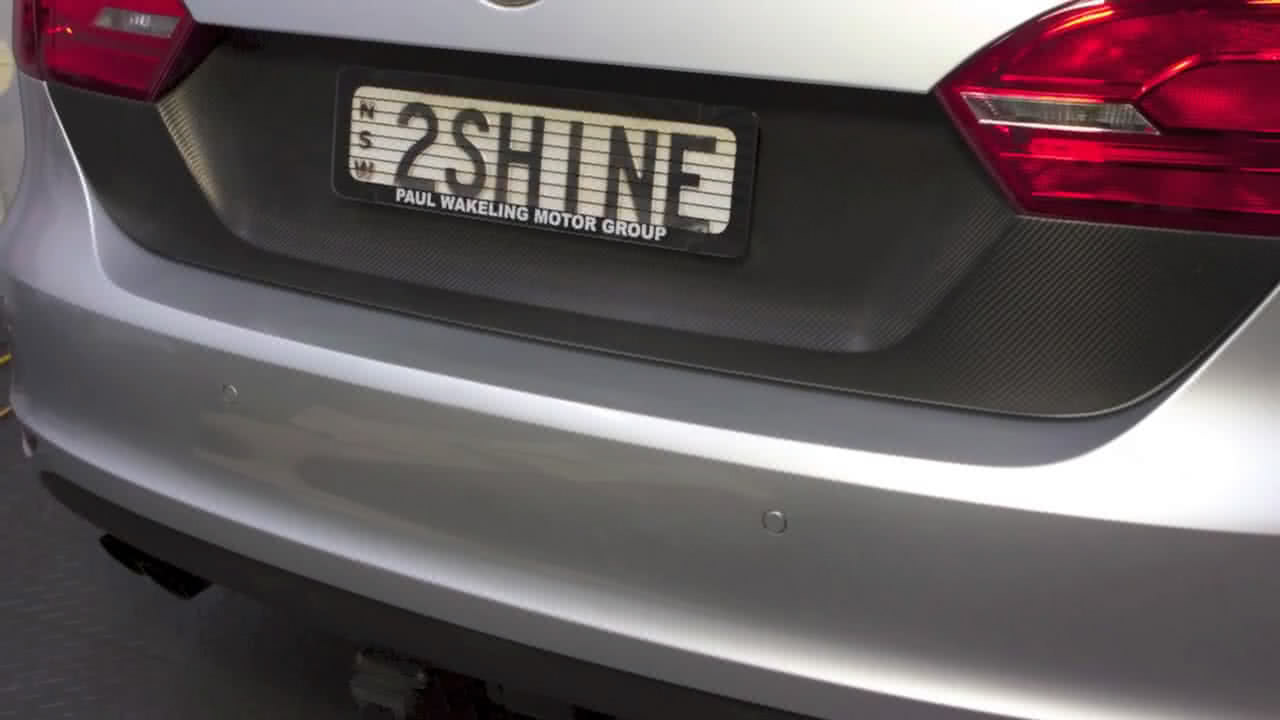
How To Repair Scratches and Paint Chips
Overview
Nothing quite ruins an otherwise tidy paint job quite like a deep scratch or an assortment of stone chips. But can you easily fix stone chips or scratches yourself? Sure, repairing a deep scratch or an unsightly chip in your vehicle’s paint might sound like a lot of work, but with the right paint, a little patience, and help from this handy guide, achieving a professional result has never been so easy and affordable.
How do you get deep scratches out of car paint?
Sometimes it won’t just buff out, and although in some instances you can simply hide a stone chip or a small scratch with a little touch up paint - if you want to repair the damage properly you’ll need to do a little bit more than that. To do the job properly, and fix a deep scratch in your car paint, you will sometimes need to respray the whole panel.Looking to polish out light scratches? Learn how to protect your car's paintwork and bring back that showroom shine Click Here.
How much does it cost to fix a stone chip or scratched paint?
Unfortunately, repairing even the smallest scratches and chips can cost upwards of a few hundred dollars if you take your car to a professional body shop.With a little bit of effort though, you can fix damaged paint for less than $100, and if you put in the right amount of care and follow the steps thoroughly, your repair will be practically unnoticeable.

Items
Steps
Prepare Paint
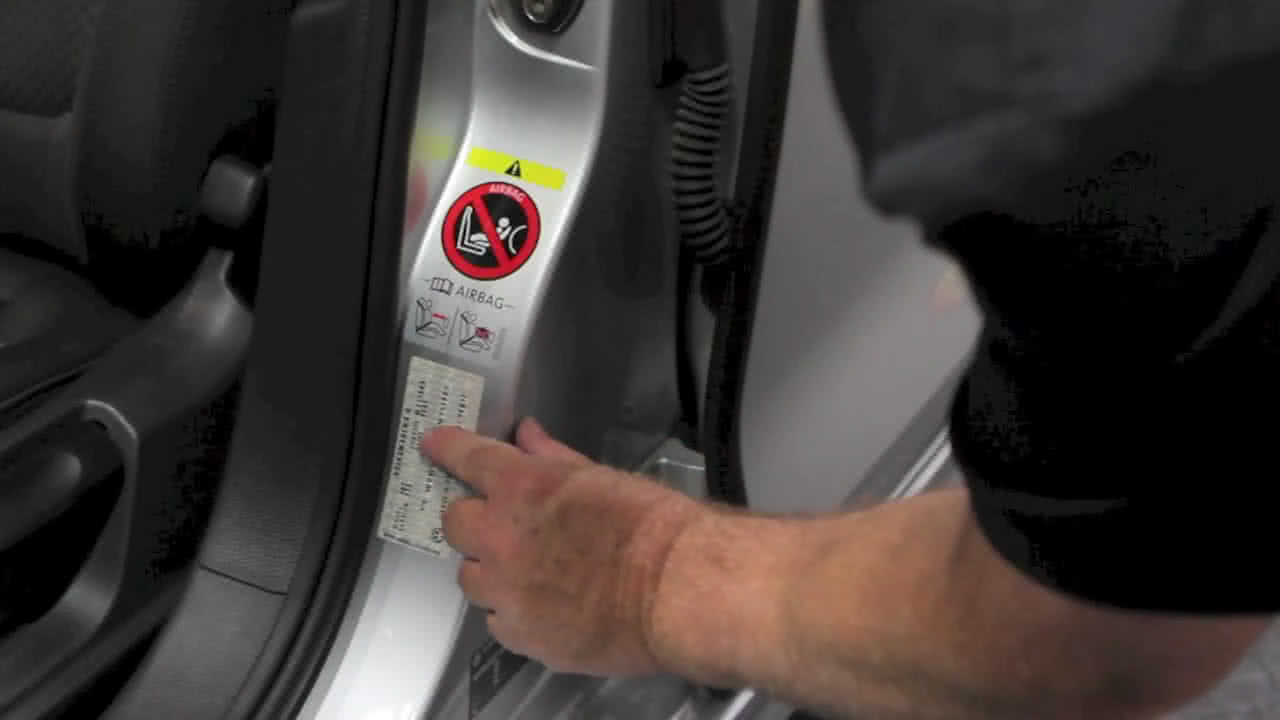
Obtain the paint code off the vehicle, usually found in the door jamb or under the bonnet on the majority of vehicles. Visit your local Supercheap Auto Superstore and have the paint mixed to your requirements.
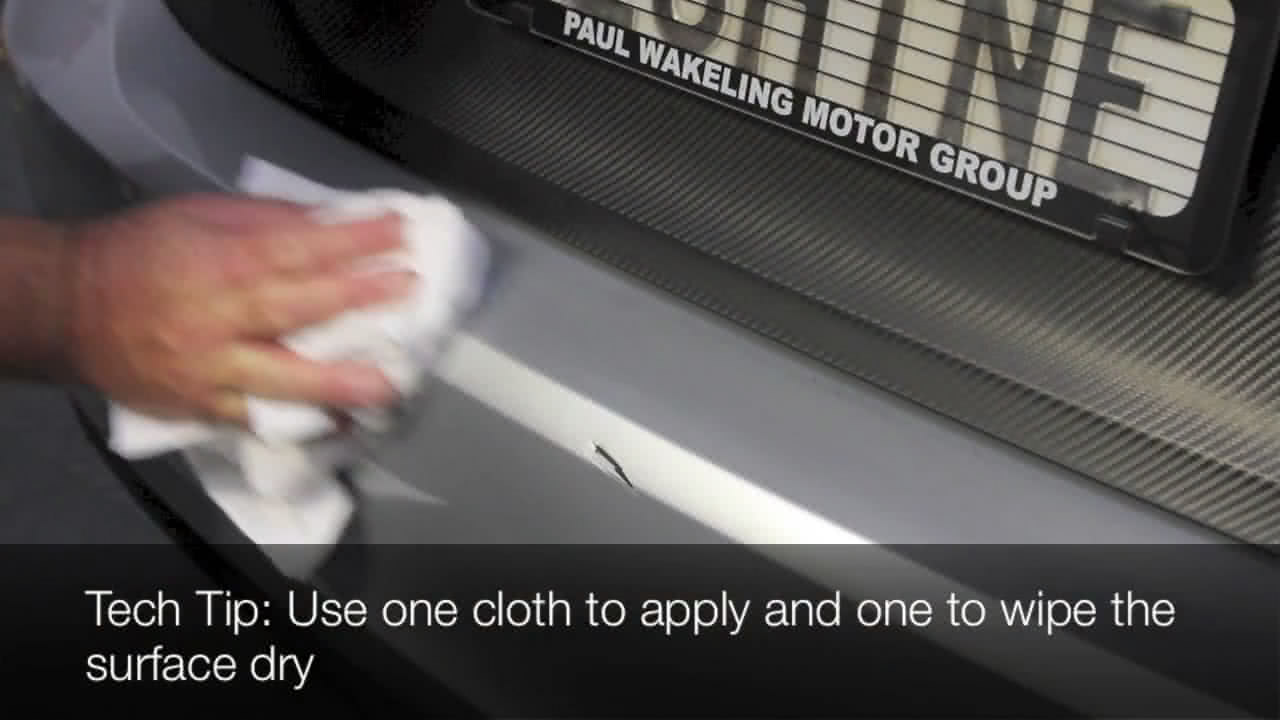
Clean Area
Clean the repair area and surrounding substrate with wax and grease remover.
NOTE: Use one cloth to apply and another to wipe the surface dry.
Mask Area
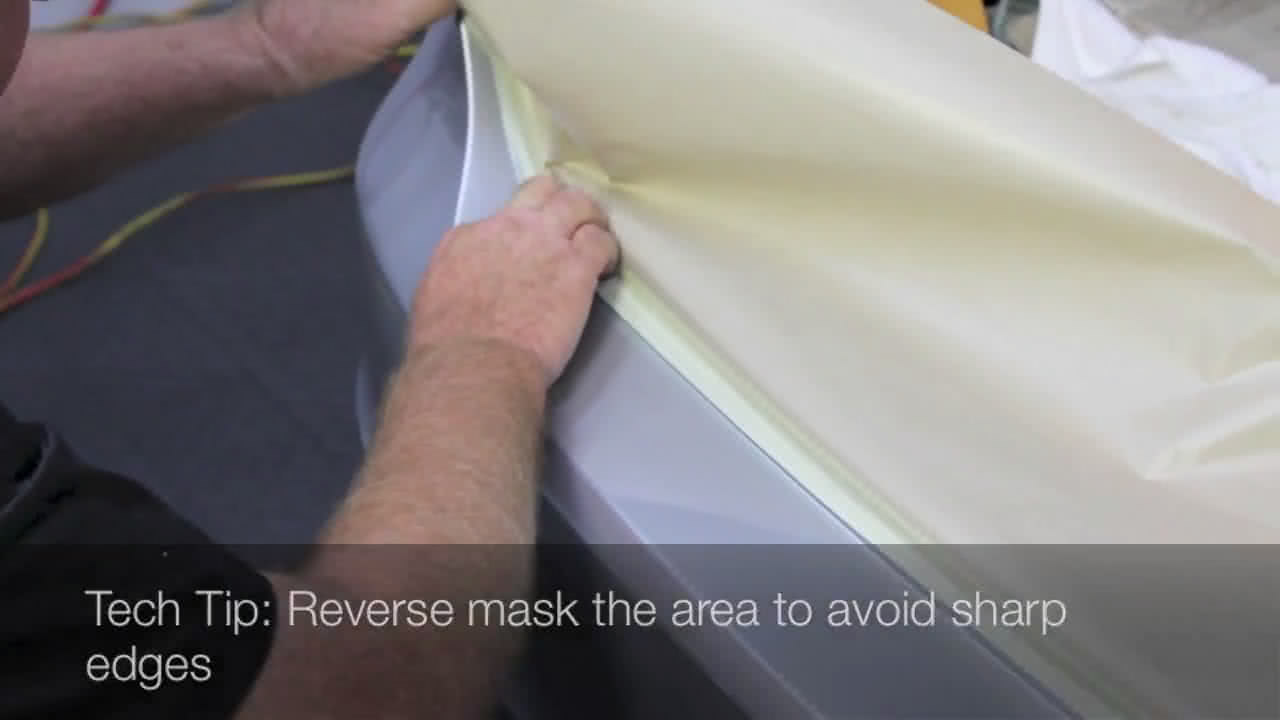
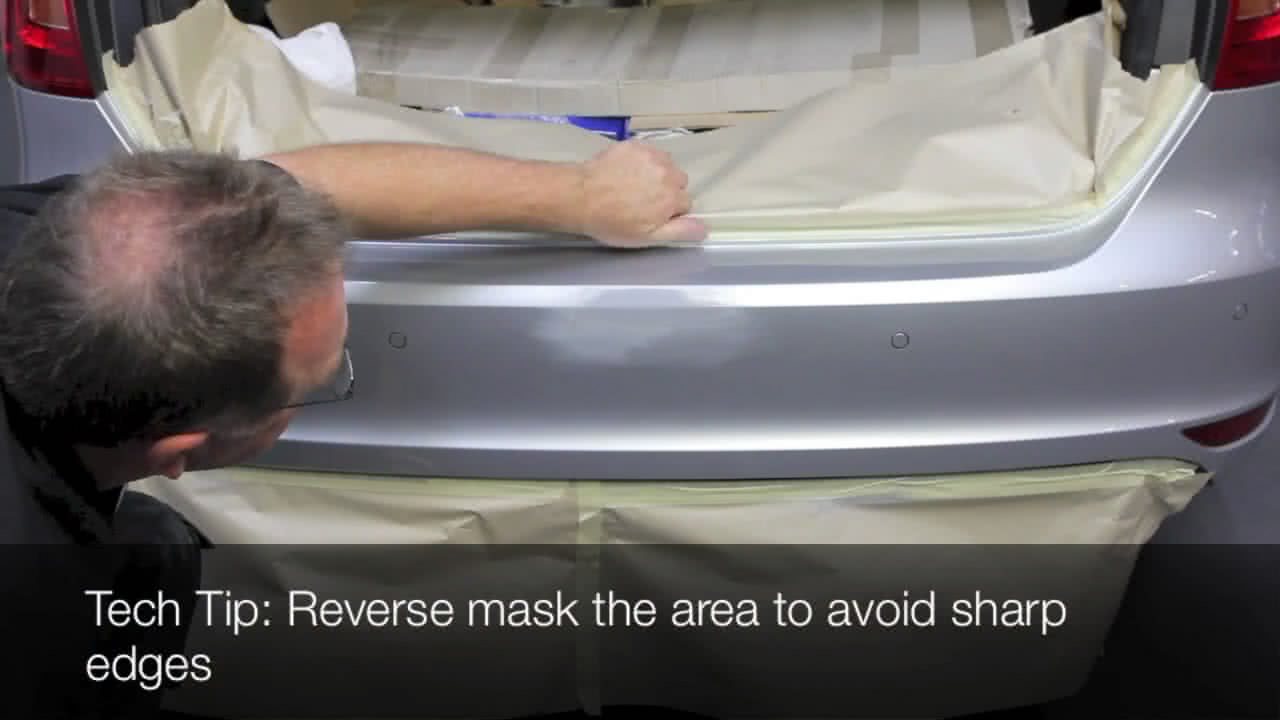
Mask off the repair area using masking paper to protect the adjacent panels.
Reverse mask the area to avoid sharp edges.
Sand Surface
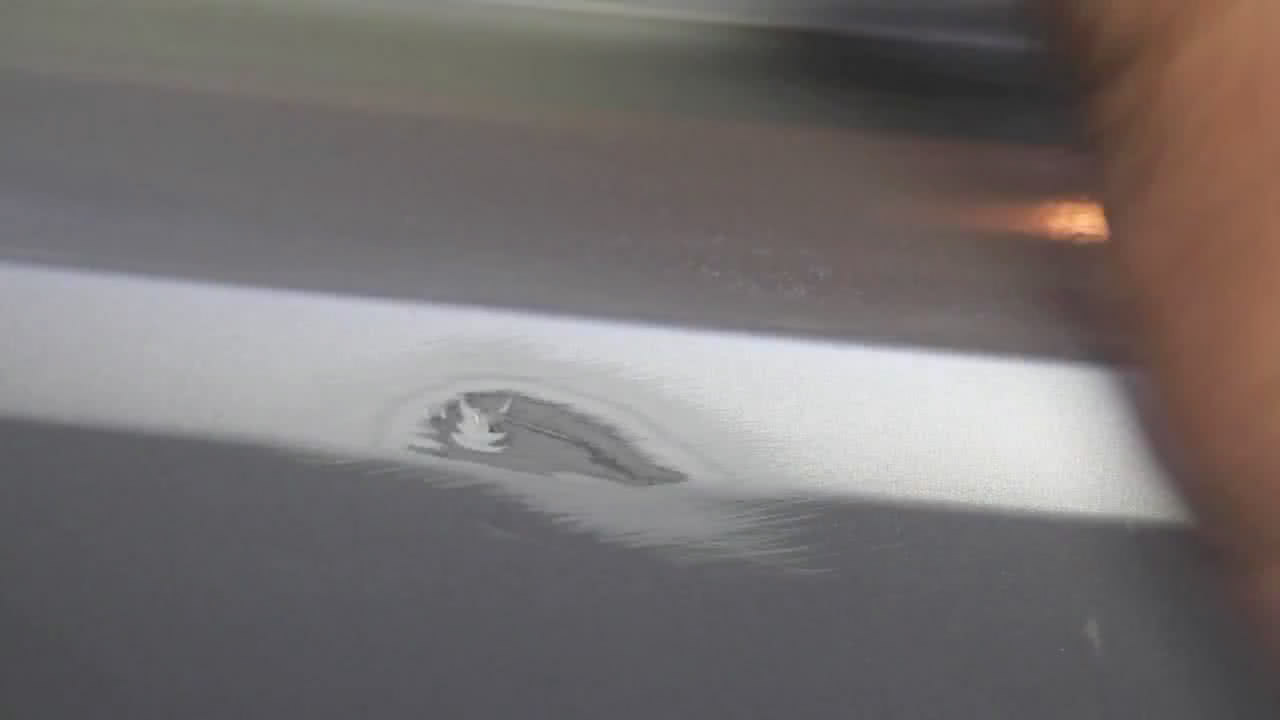
Sand the damage with 180 grit dry sanding paper.
NOTE: Depending on the severity of the damage, a complex repair may be necessary
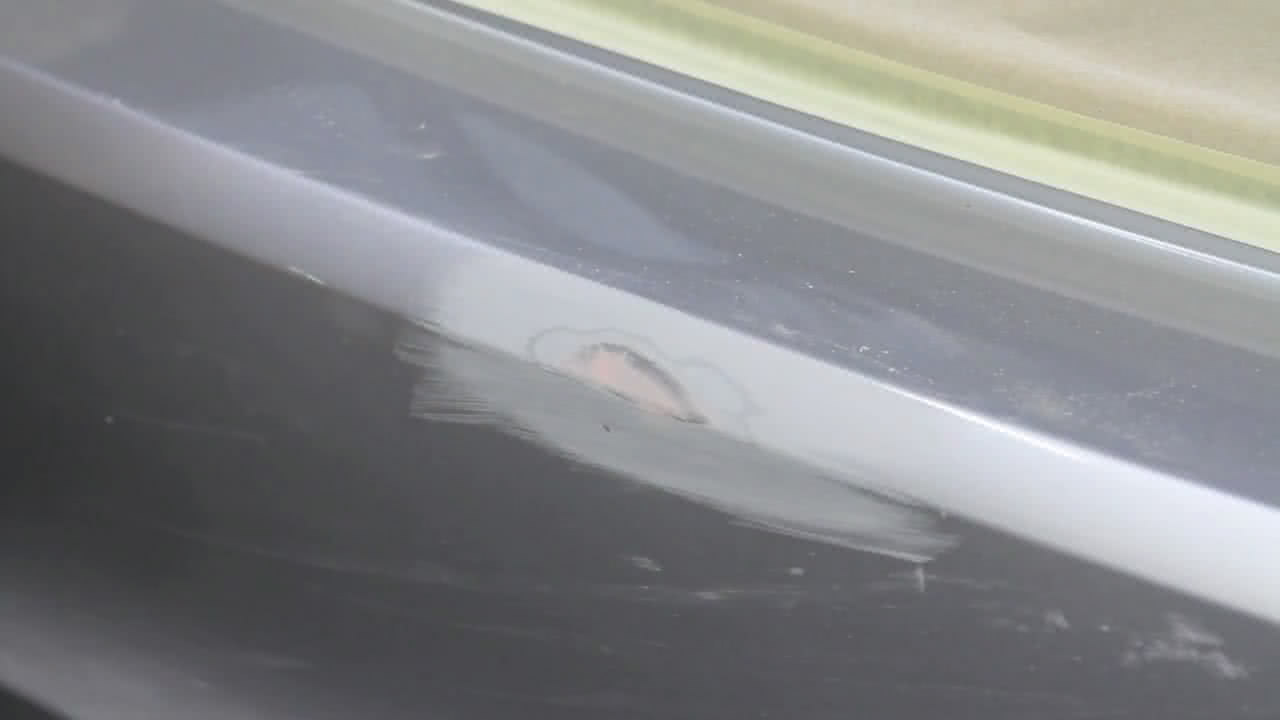
Feather Edges
Feather paint edges of repair area with 320 grit sanding paper.
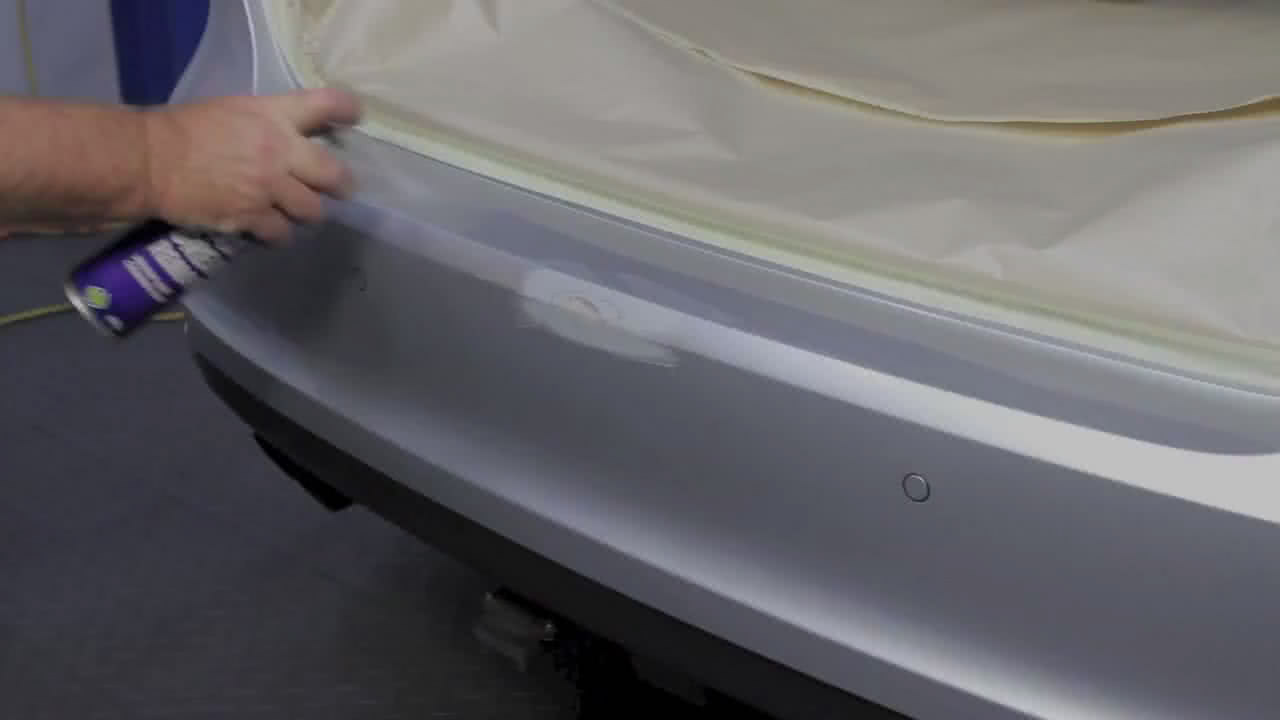
Clean Surrounding Area
Clean the repair area and surrounding substrate with wax and grease remover.
NOTE: Use one cloth to apply and another to wipe the surface dry.
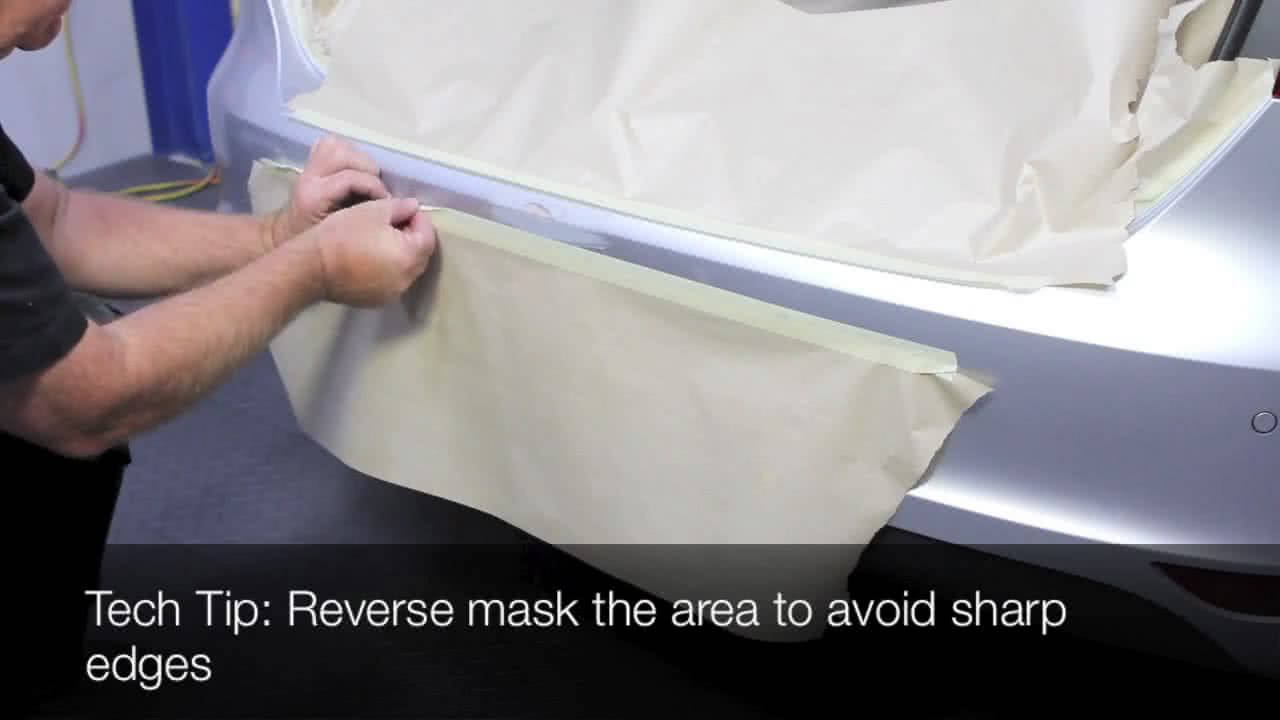
Prepare for Primer
Using masking tape and paper, mask off the repair area in preparation for primer surfacer application.
NOTE: Reverse mask the area to avoid sharp edges.
Apply Multiple Coats
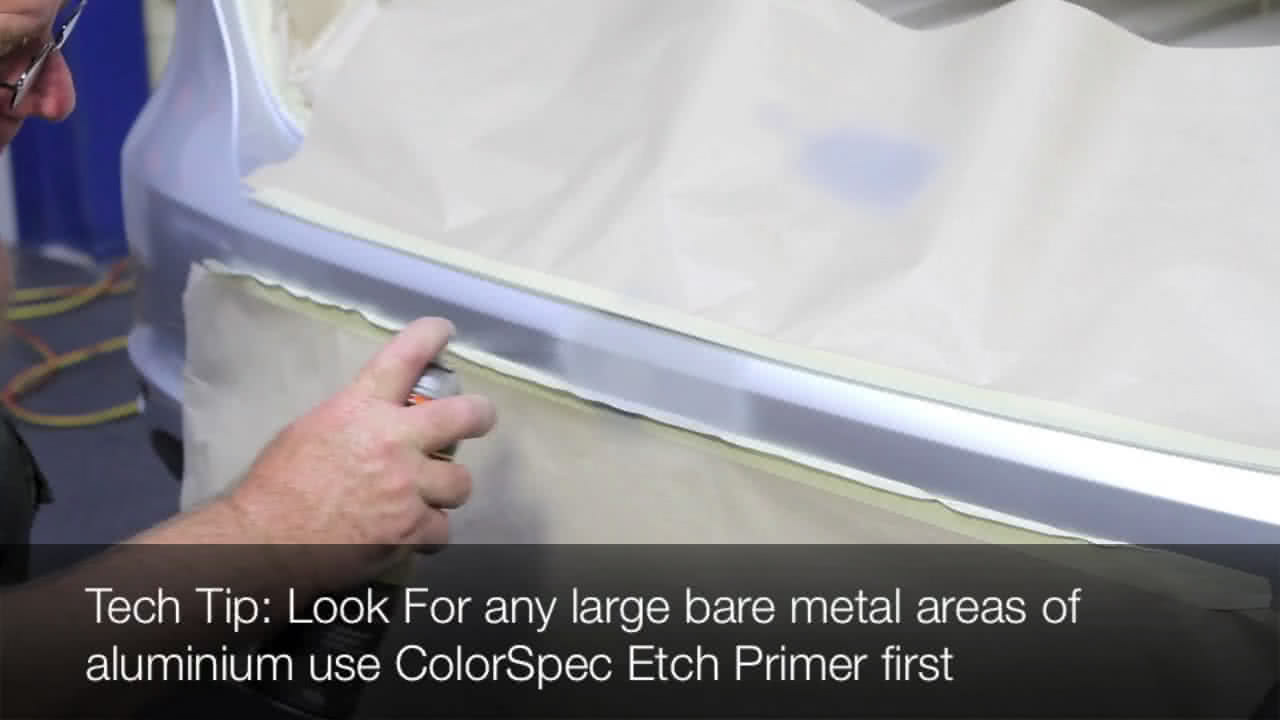
Apply two to three medium coats of Color Spec primer surfacer. Look for any large bare metal areas and use Color Spec Etch Primer first.
NOTE: Shake can vigorously for 5 minutes after the ball bearings begin to rattle. Look for small dents in the base of the can.
Leave for 5 minutes dry time between each coat. For best results leave for 4 hours or overnight before sanding.
NOTE: After primer application, invert can to clear nozzle.
Fix Imperfections
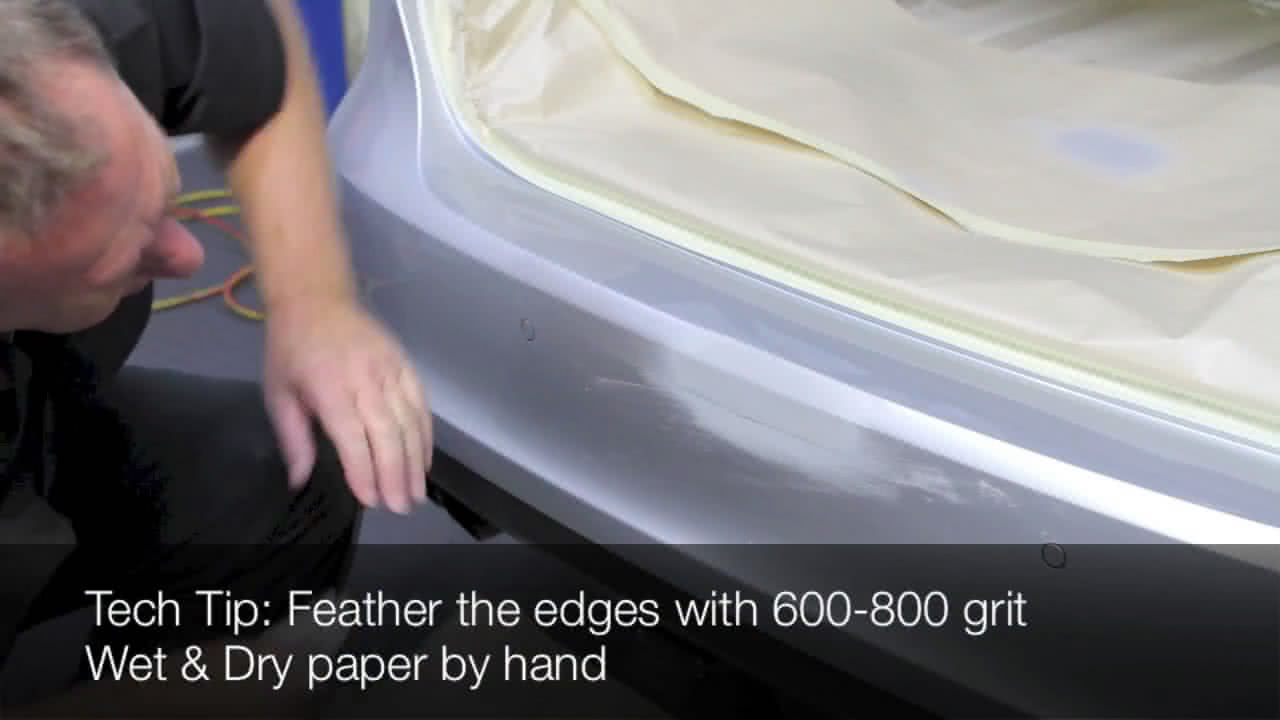
Unmask repair area and firstly sand with 600 grit dry or 800 grit wet and dry sandpaper to remove surface imperfections and sanding scratches from the repair process.
Apply Meguiar's Ultimate Compound
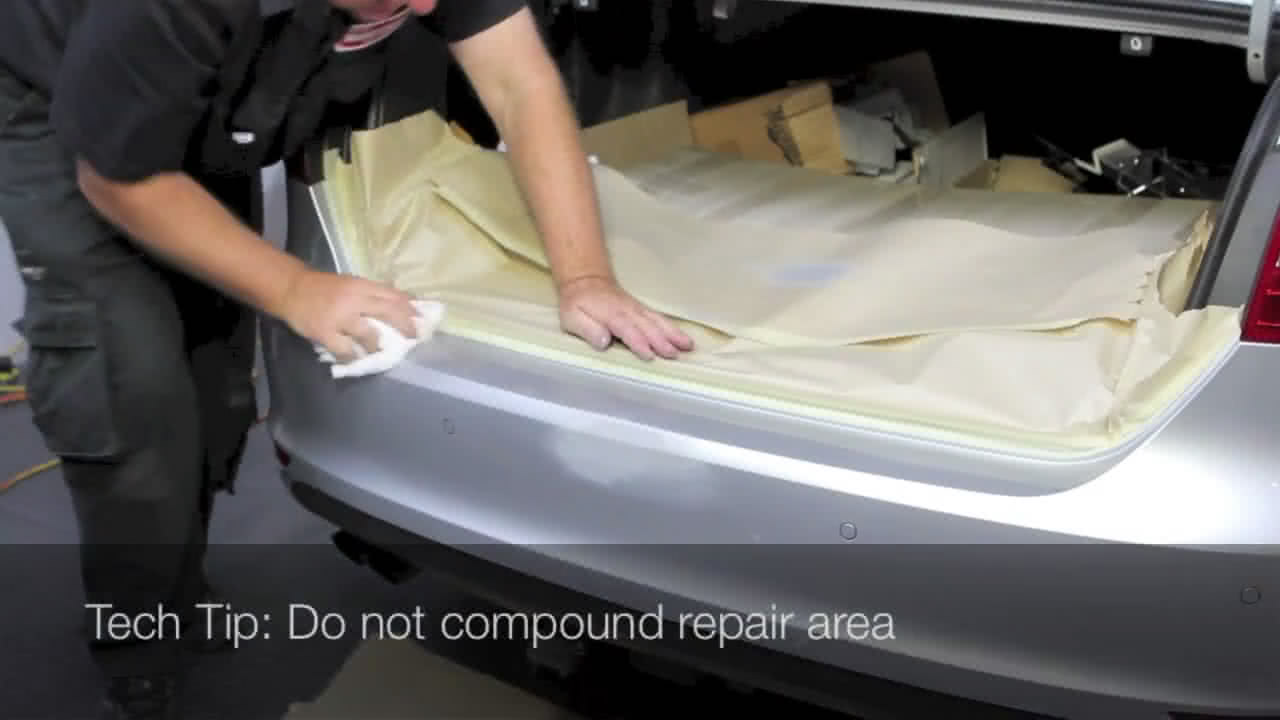
Prepare surrounding area with Meguiar's Ultimate Compound to assist with adhesion.
Do not compound repair area!
Clean Repair Area
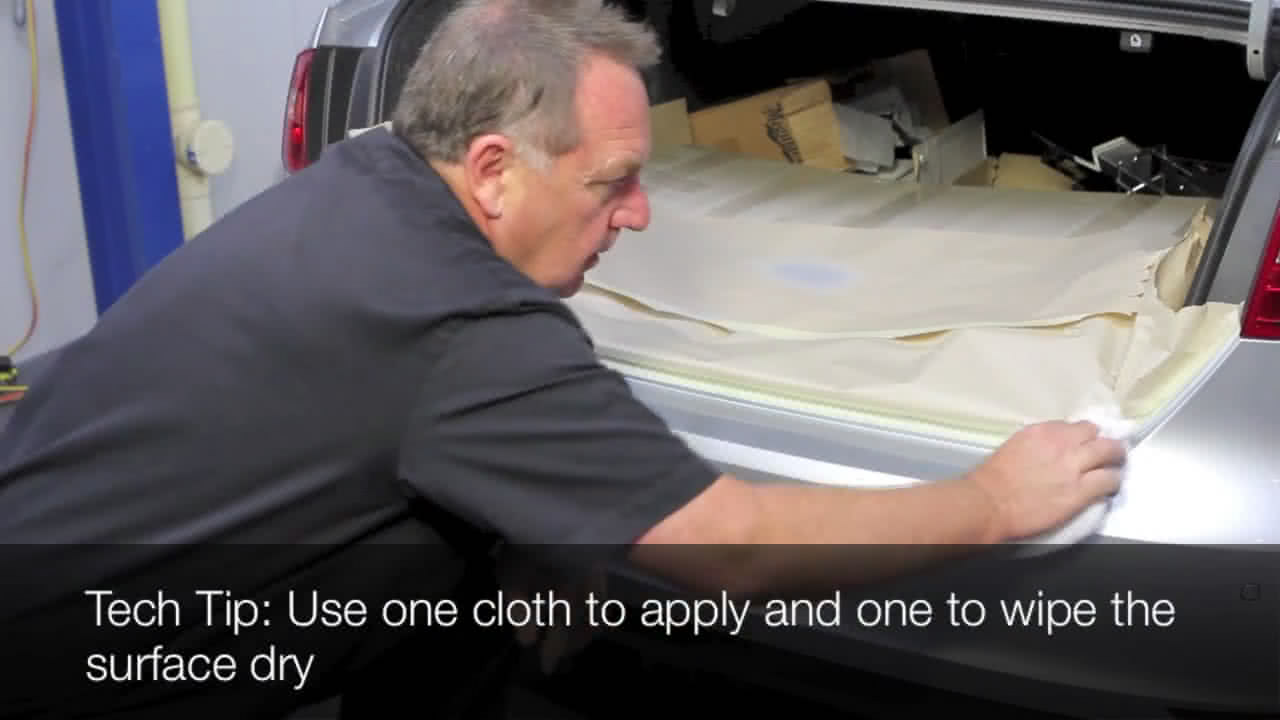
Clean the repair area and surrounding substrate with wax and grease remover.
NOTE: Use one cloth to apply and another to wipe the surface dry.
Panel in Preperation for Paint
Using masking paper and tape, mask off complete panel in preparation for the paint application to ensure to overspray onto adjacent panels. Reverse mask the area to avoid sharp edges.
NOTE: Test spray to ensure you have accurate spray control.
Leave for 5 Minutes
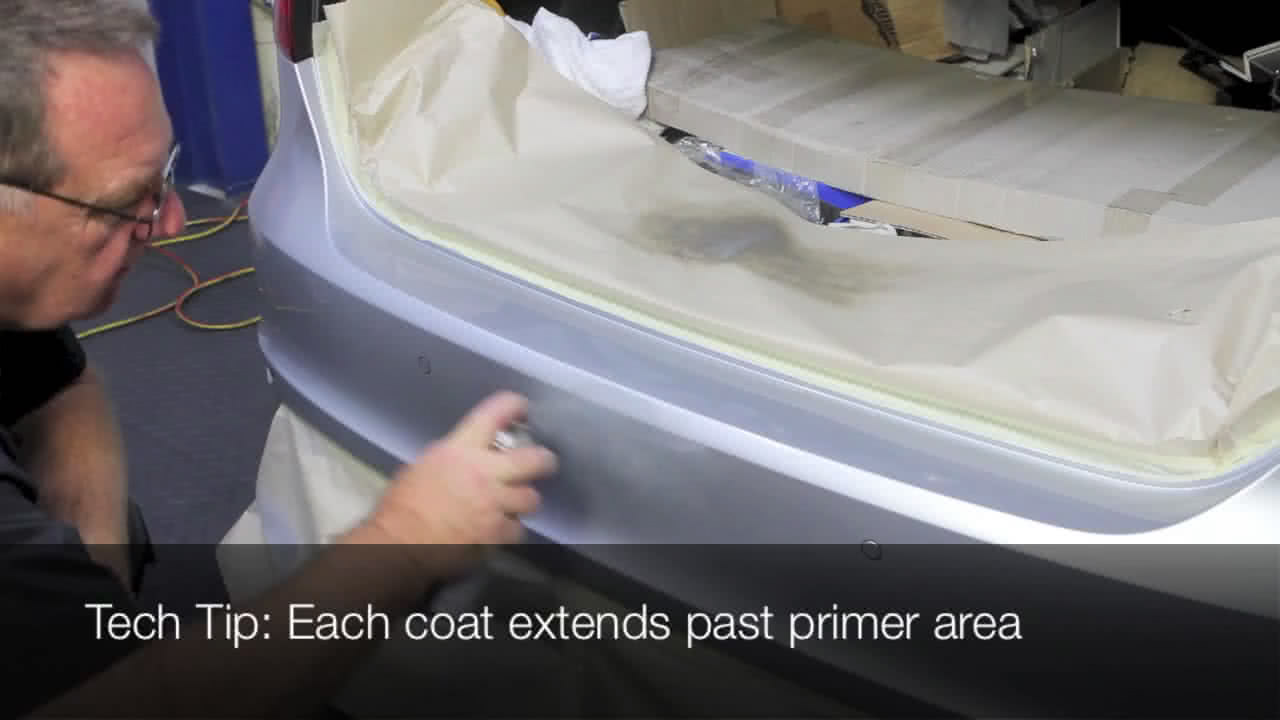
Apply a minimum three coats of Color Spec base coat. Make sure primed area is fully covered to achieve correct colour match. Leave for 5 minutes dry time between each coat. For best results, leave for 40 minutes to dry.
NOTE: After paint application, invert can to clear nozzle.
Apply Acrylic Clear Coat
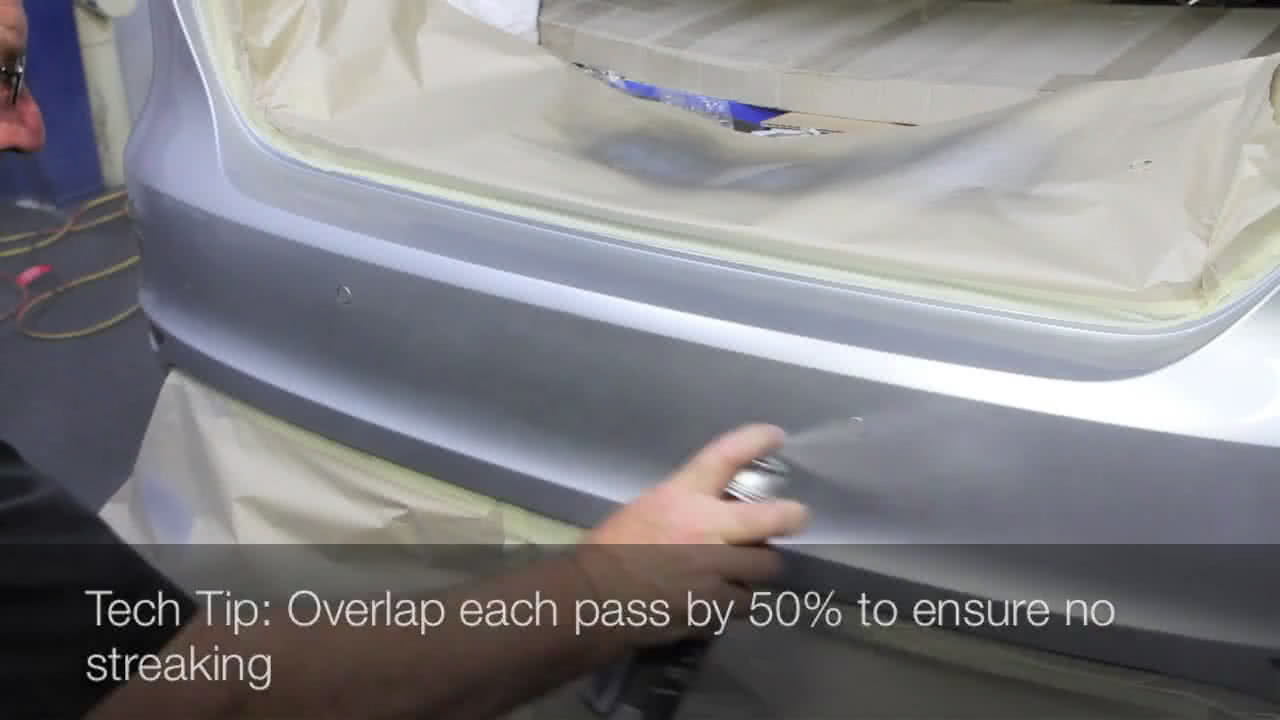
After the base coat is dry, apply 2-3 coasts of Colour Spec Acrylic Clear. This is required for UV protection and to match the original gloss finish. Blend clear over wider area than repair. Leave to dry for a minimum of four hours or overnight.
Apply Smooth Gloss Finsh
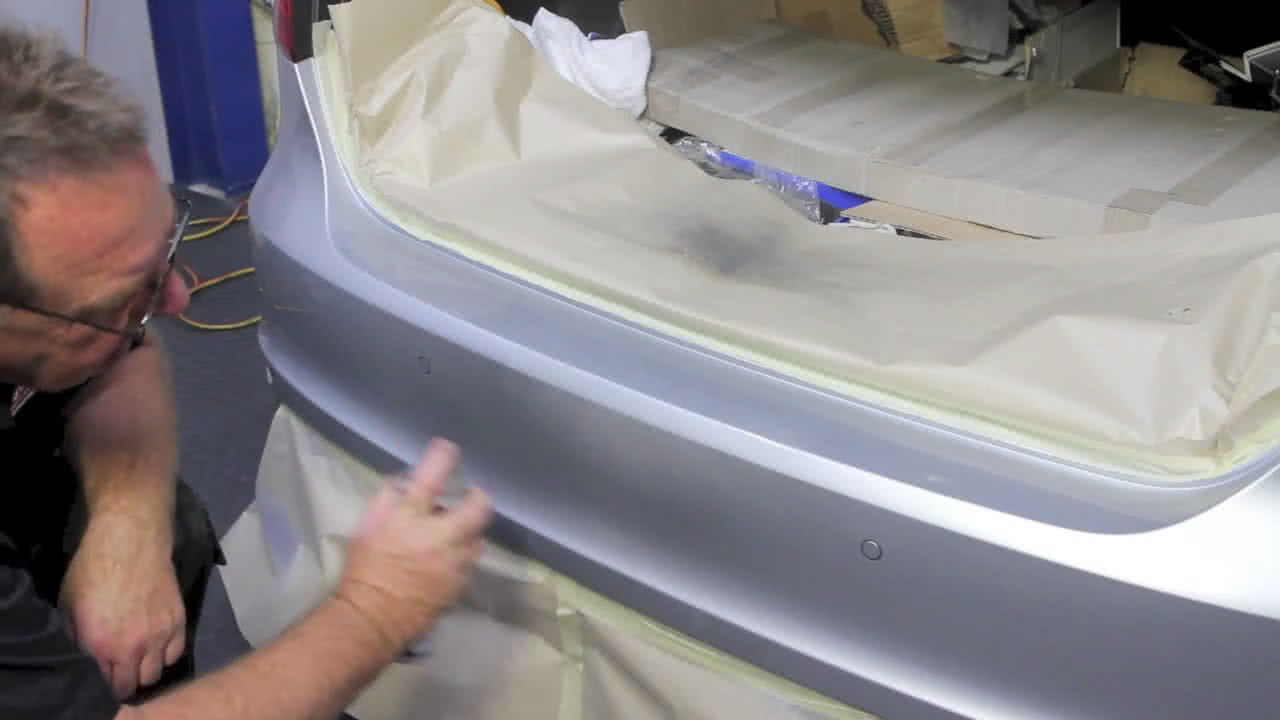
After drying finish with Meguiars Ultimate Compound to achieve a smooth gloss finish. If there are any dirt inclusions or imperfections sand with 1500 grit wet and dry sandpaper first.
You're Done
Congratulations! Your repair is now complete, but make sure that you treat it with care and leave your new paint for at least 60 days before applying a wax.
What's Next: How To Maintain A Glossy Showroom Shine - Click Here
